Heart Cube 3D Silicone Mold
SM-3D-HRT-CUBE
Our Heart Cube 3D Silicone Molds is meticulously crafted with intricate details to ensure a realistic and lifelike appearance. These molds offer exceptional ease of use, making them the perfect choice for creating exquisite candles. Can also be used for resin art projects or other craft projects as well.
Embrace your creativity and explore various possibilities as these versatile molds make candles and resin art making easy to do for all ages as their flexibility allows for easy removal of finished products, preserving intricate designs and details. Additionally, silicone molds are durable and heat-resistant, making them ideal for repeated use and ensuring consistent results with each pour.
Loading a silicone mold to make candles involves a few simple steps:
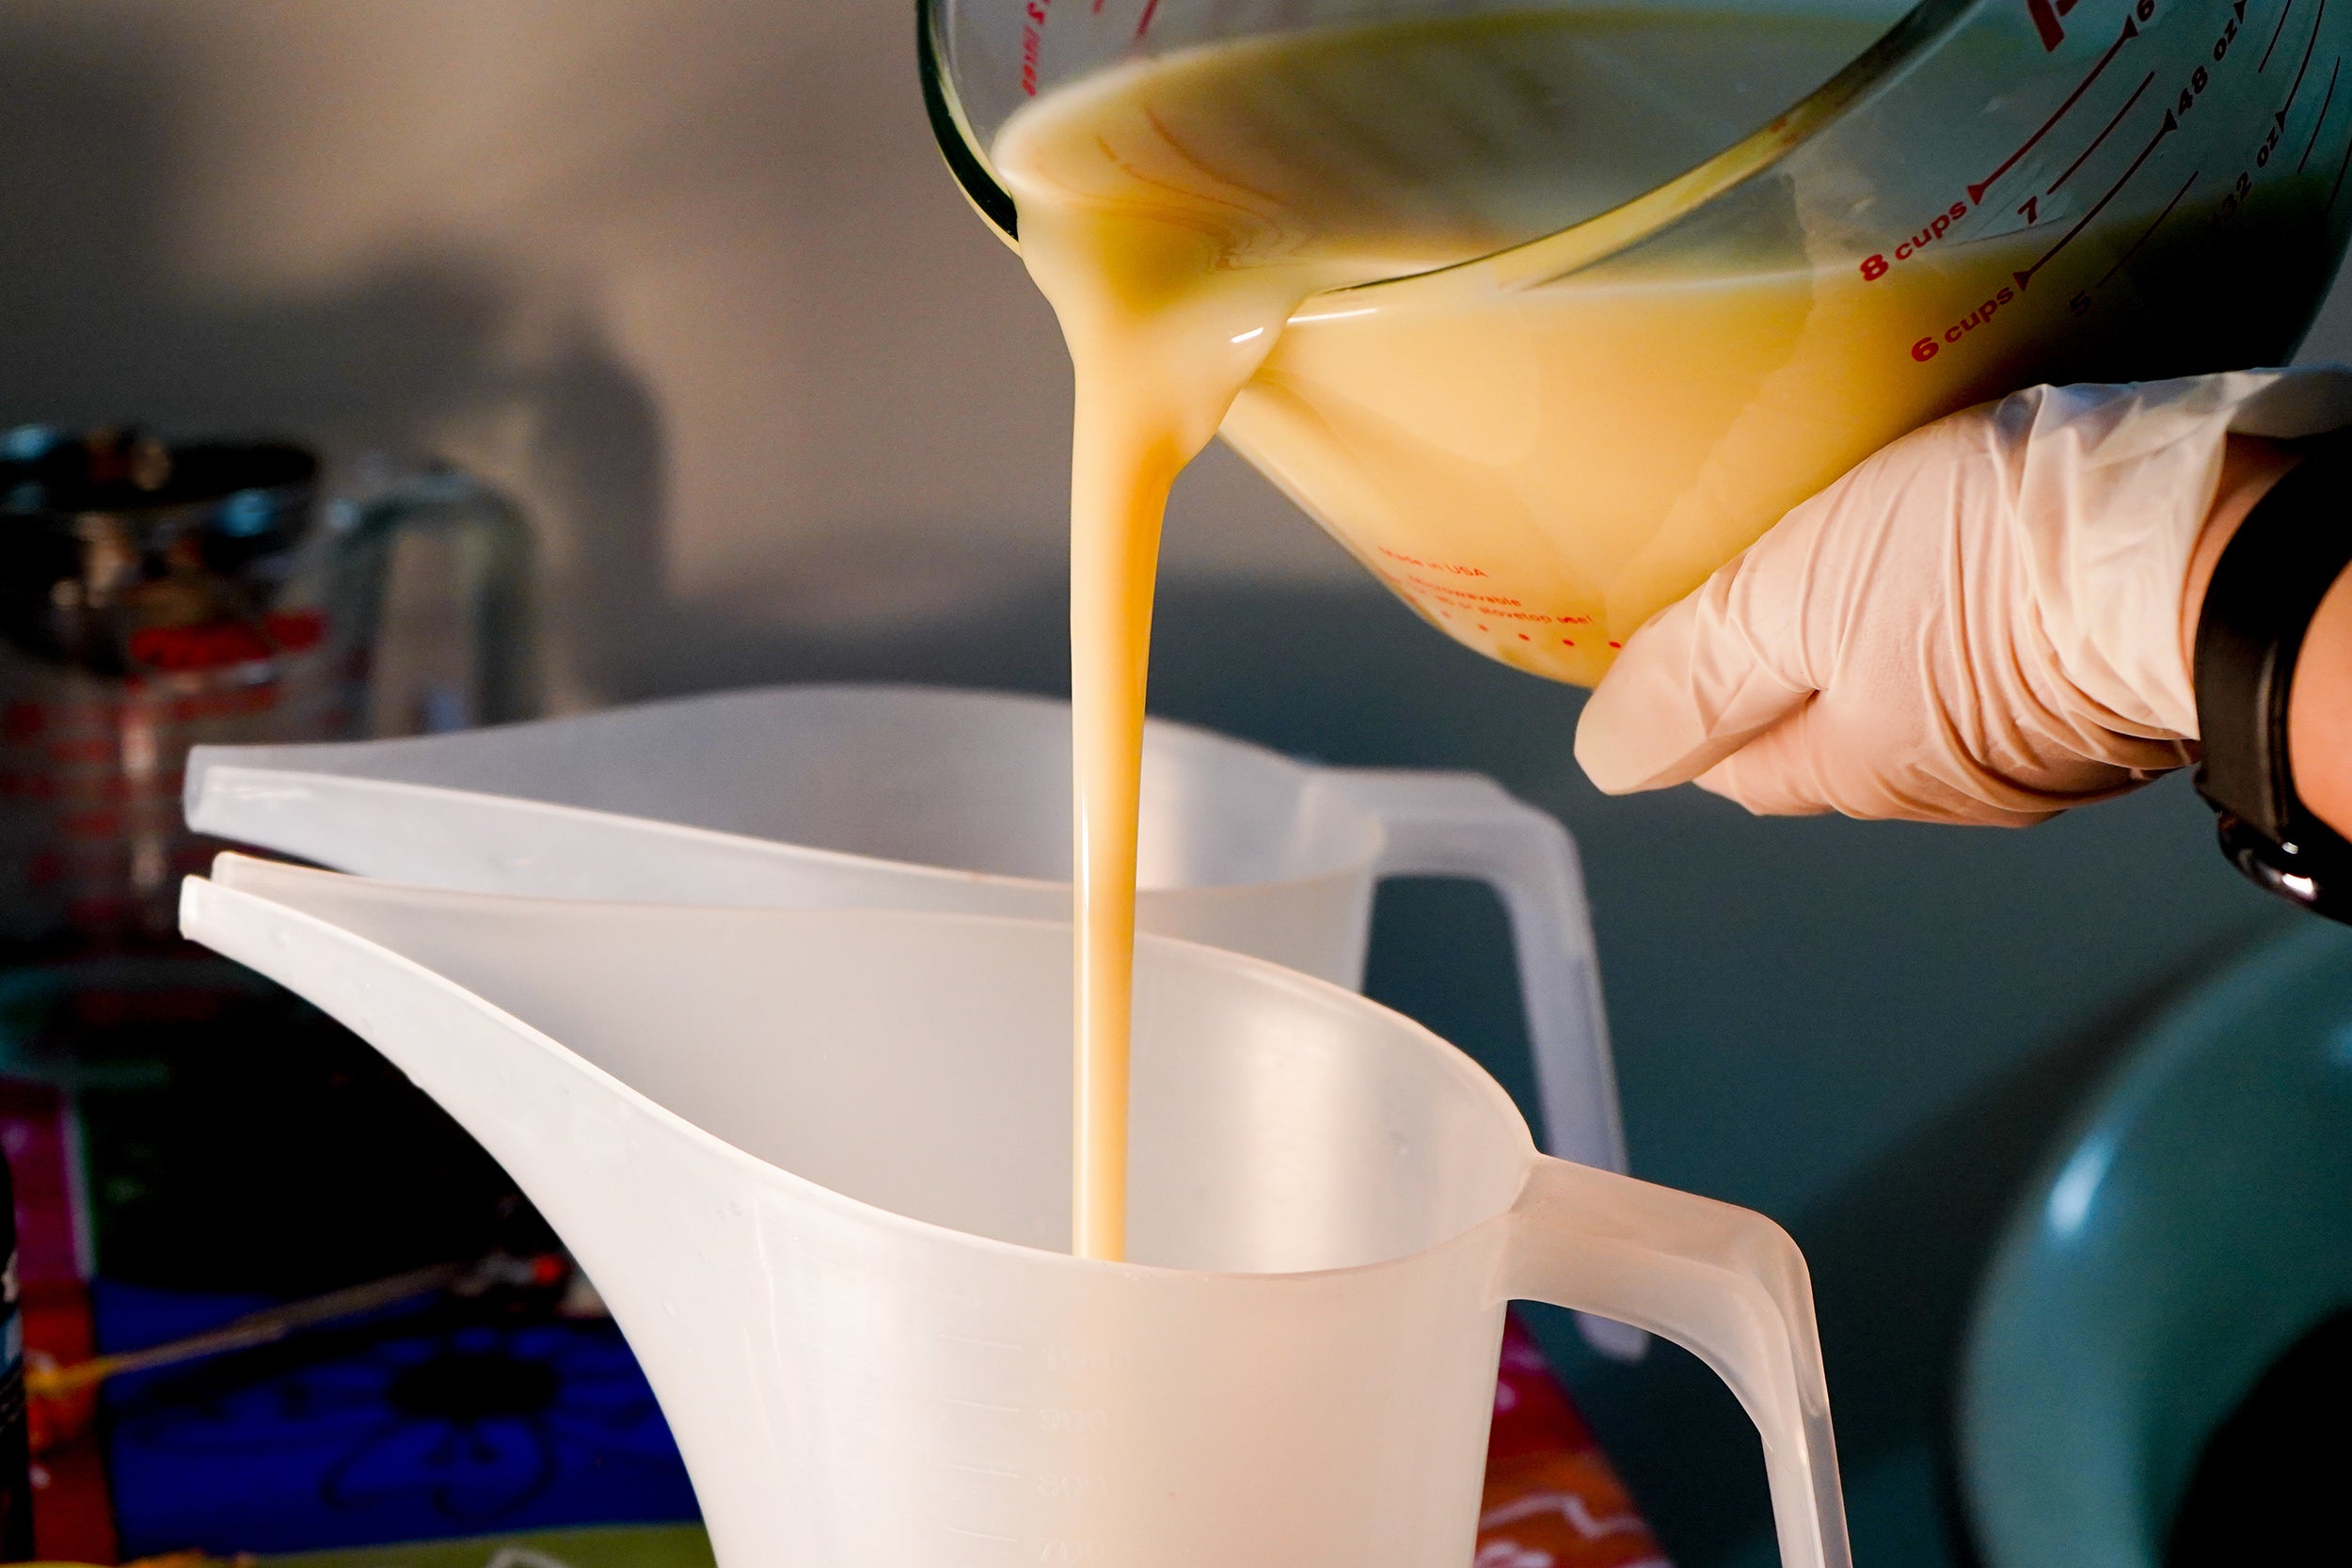
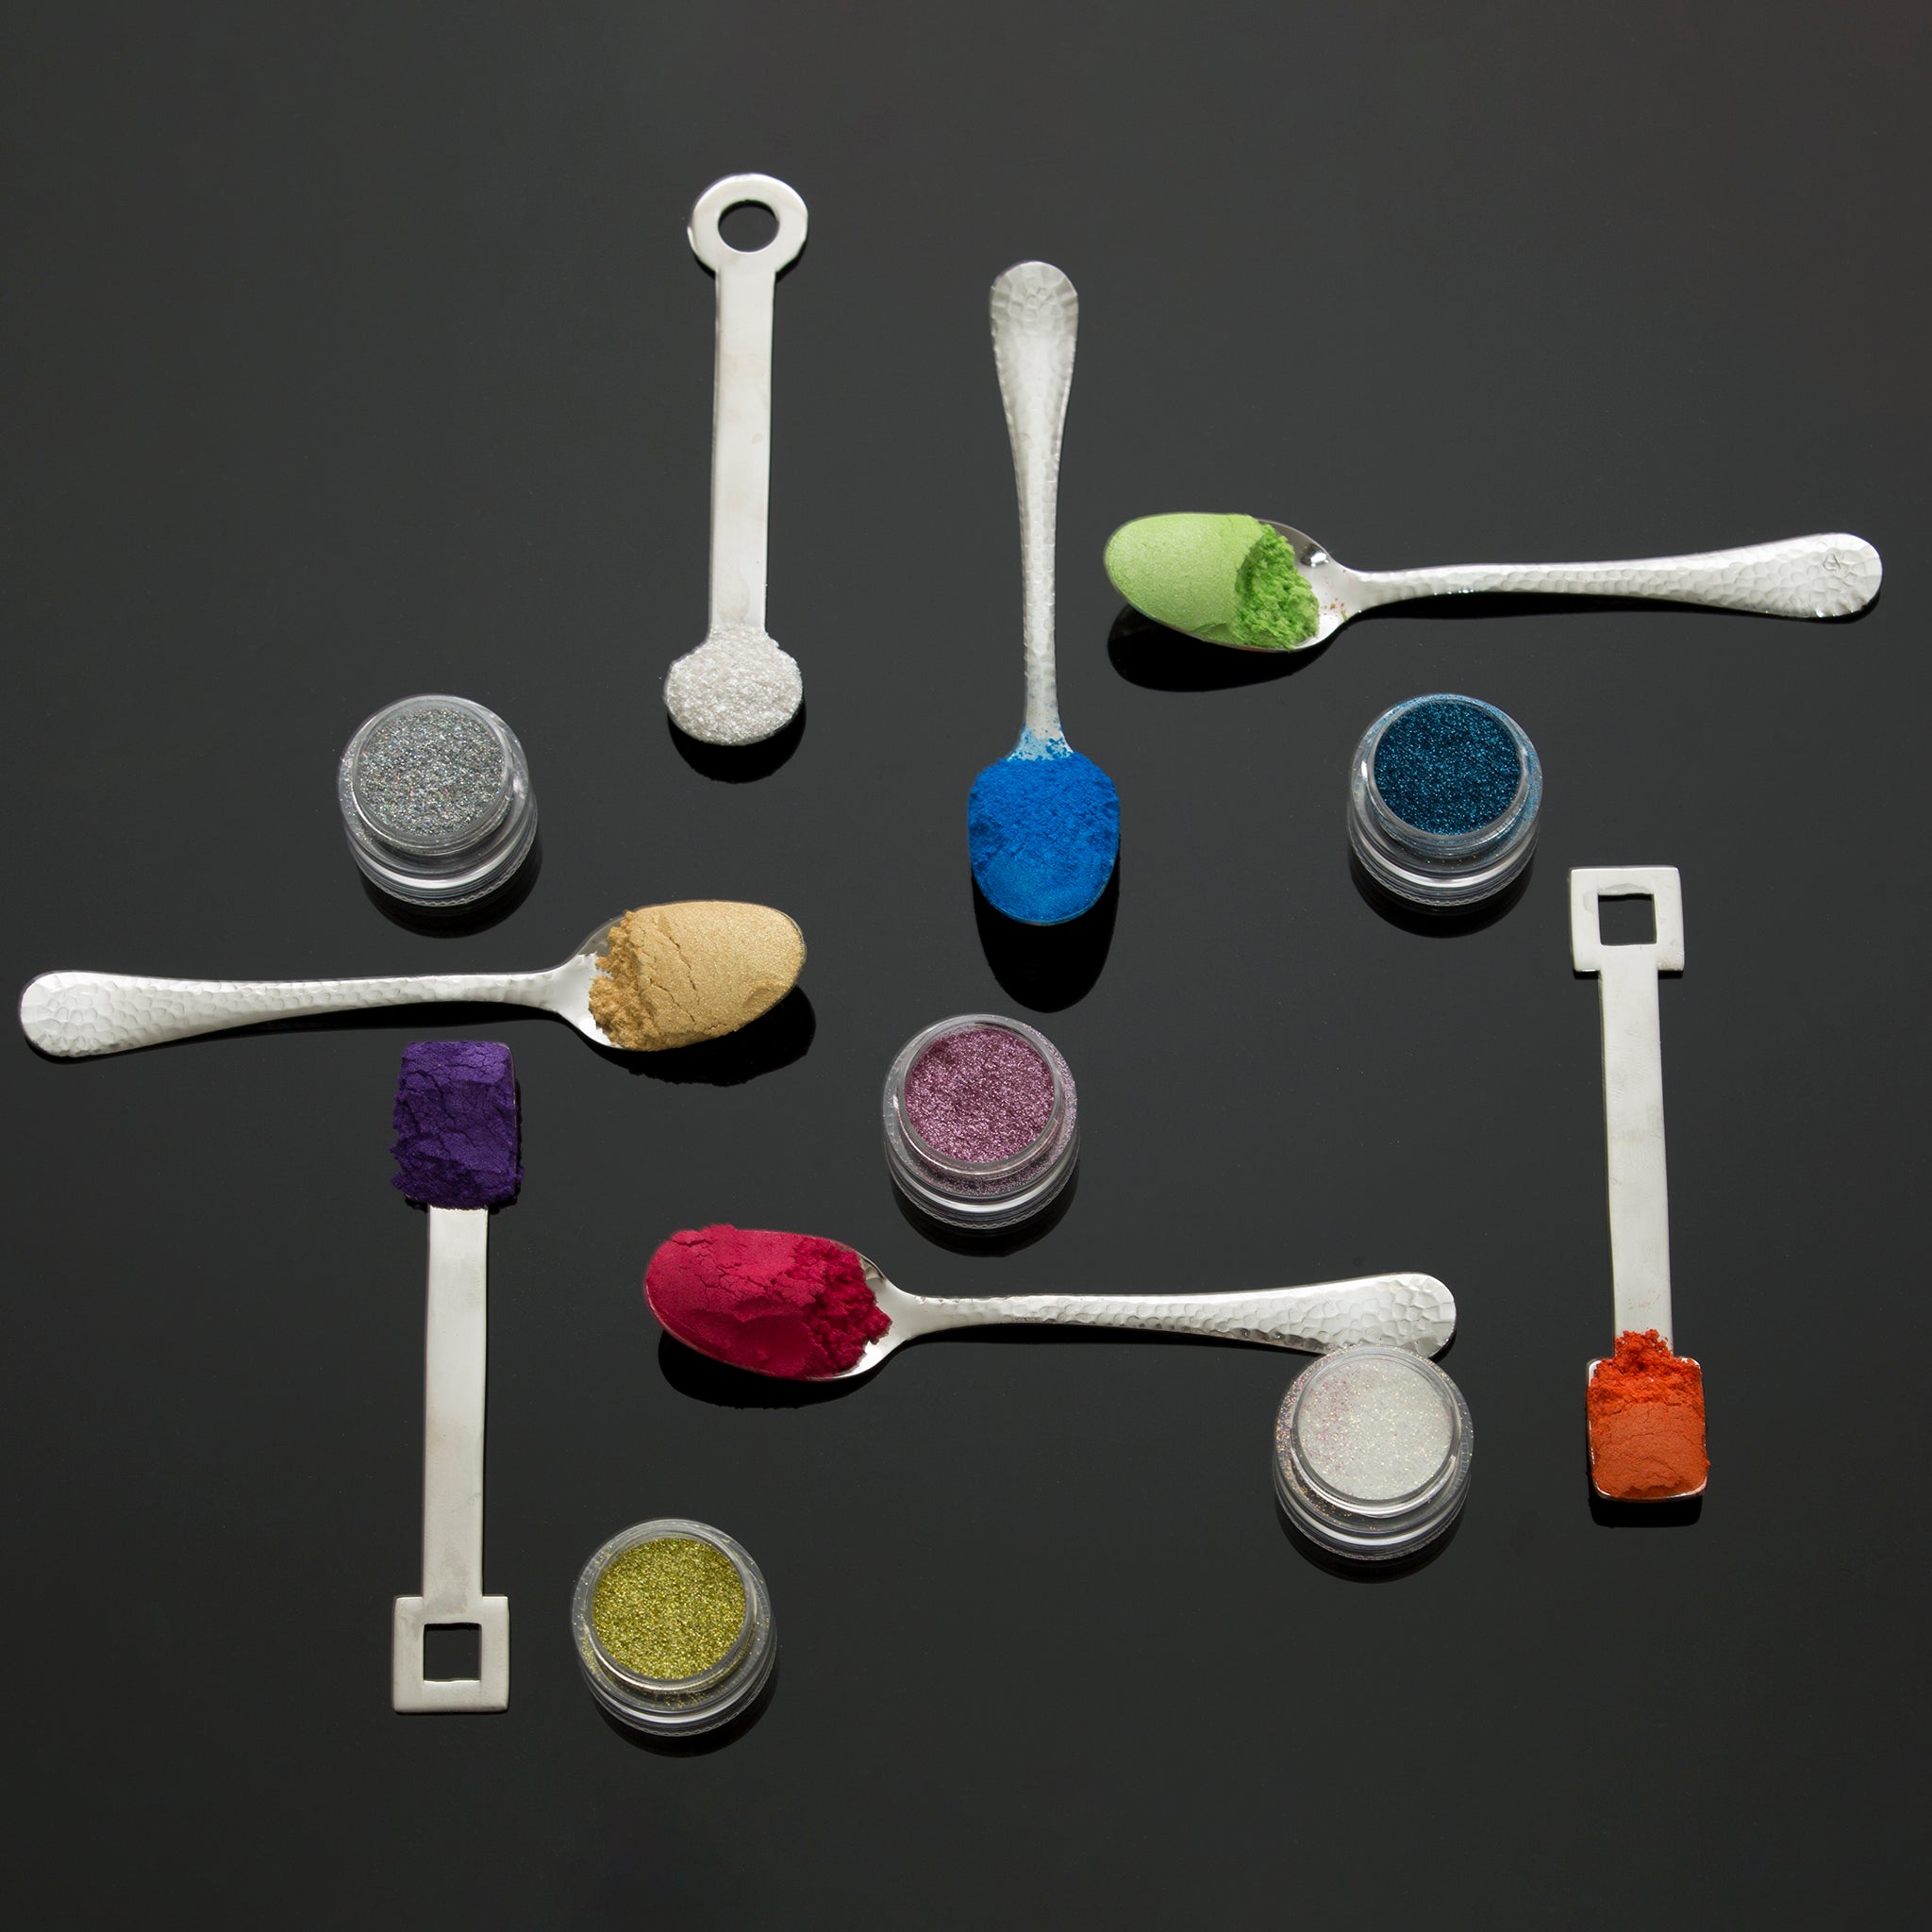
- Prepare your candle wax: Melt your chosen candle wax in a double boiler or a dedicated wax melter according to the instructions provided with your wax. Add any desired fragrance oils or colorants at this stage and stir well to incorporate them evenly into the wax.
- Prepare your silicone mold: Ensure that your silicone mold is clean and dry. If desired, you can use a mold release spray or a light coating of oil to help with the release of the finished candles.
- Place your silicone mold on a flat, stable surface that is heat-resistant.
- Wick your mold with the correct sized wick depending on the size of the mold. Some molds are small enough that the candle can be poured without a wick and then a steel rod or skewer can be pushed through the candle and a prepared wick can be inserted. If wicking with roll wick then often a wick pin or wicking tool will be used to create a hole in the mold and pull the wick through. You then tie off the wick at the bottom of the mold with a rod and use a bit of wick sealant putty to ensure that it does not leak when the hot wax is poured into the mold.
- Pour the melted wax carefully into the silicone mold, filling each cavity to the desired level. Be sure to pour slowly and steadily to avoid spills or air bubbles.
- Allow the wax to cool and solidify completely. This typically takes several hours, depending on the size and thickness of your candles and the type of wax used.
- Once the candles have fully cooled and hardened, gently flex the silicone mold to release them. If needed, you can carefully push from the bottom of each cavity to help release the candles.
- Trim any excess wax from the wick ends or edges of the candles, if necessary, and your finished candles are ready to use or package.
Remember to follow all safety precautions when working with hot wax, including using appropriate melting equipment, handling hot wax carefully, and ensuring proper ventilation in your workspace.
- Capacity: Makes Candle or Soap that weighs approximately
- Number of Cavities: 2
- Dimensions:
- Material: Food Grade Silicone
To ensure the longevity and optimal performance of silicone molds, it's essential to follow recommended care instructions. Here are some general guidelines for caring for silicone molds:
- Cleaning: Before the first use and after each subsequent use, clean the silicone mold thoroughly. Hand wash the mold in warm, soapy water using a soft sponge or cloth. Avoid using abrasive scrubbers or cleaning agents that could damage the silicone material.
- Avoid sharp objects: Do not use sharp objects like knives or metal utensils to remove baked goods or other items from the silicone mold. Instead, gently press on the bottom of the mold to release the contents without causing damage.
- Temperature range: Silicone molds are designed to withstand a wide range of temperatures. Typically, they are safe for use in temperatures ranging from -40°C to 230°C
- Storage: After cleaning and drying the silicone mold, store it in a cool, dry place away from direct sunlight. Avoid folding or creasing the mold, as this may cause damage.
- Avoid sudden temperature changes: While silicone molds are generally heat-resistant, it's best to avoid exposing them to rapid temperature changes. Allow the mold to cool down gradually before cleaning or storing.
- Check for damage: Regularly inspect the silicone mold for any signs of damage or wear. If you notice any tears, cuts, or deformities, it's time to replace the mold.
By following these care instructions, you can help ensure that your silicone molds remain in excellent condition and continue to produce wonderful creations for a long time.


