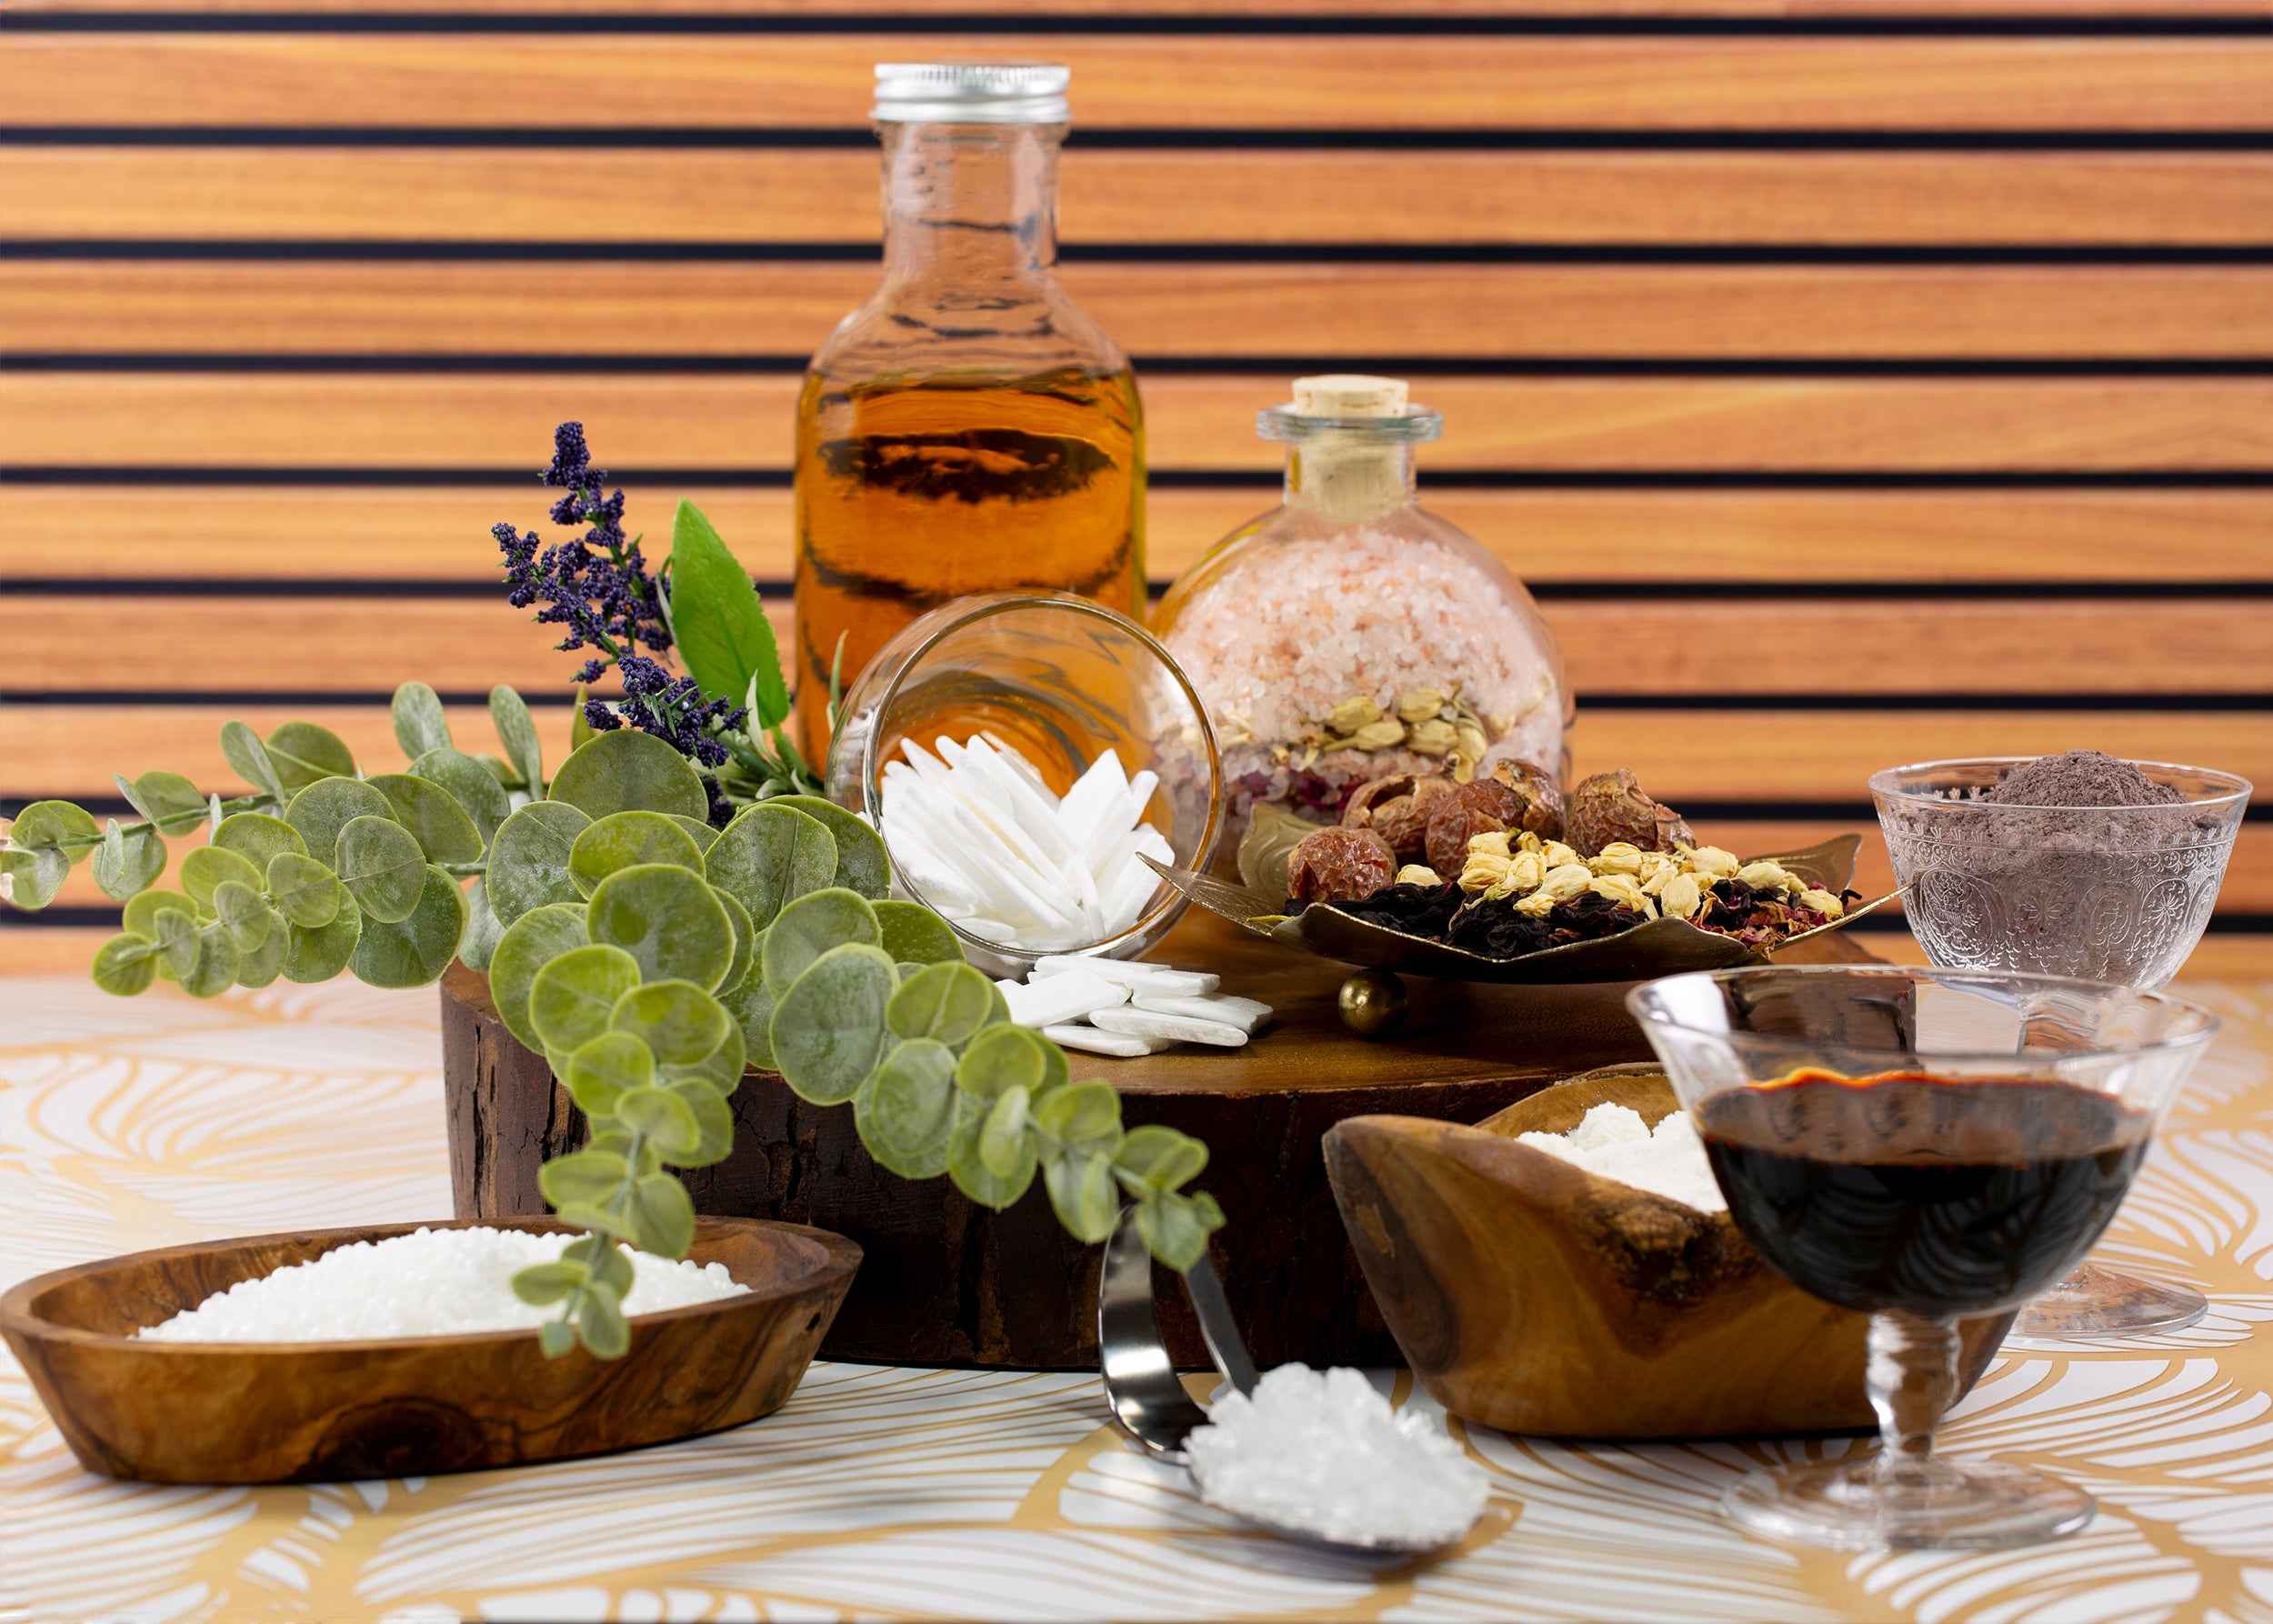
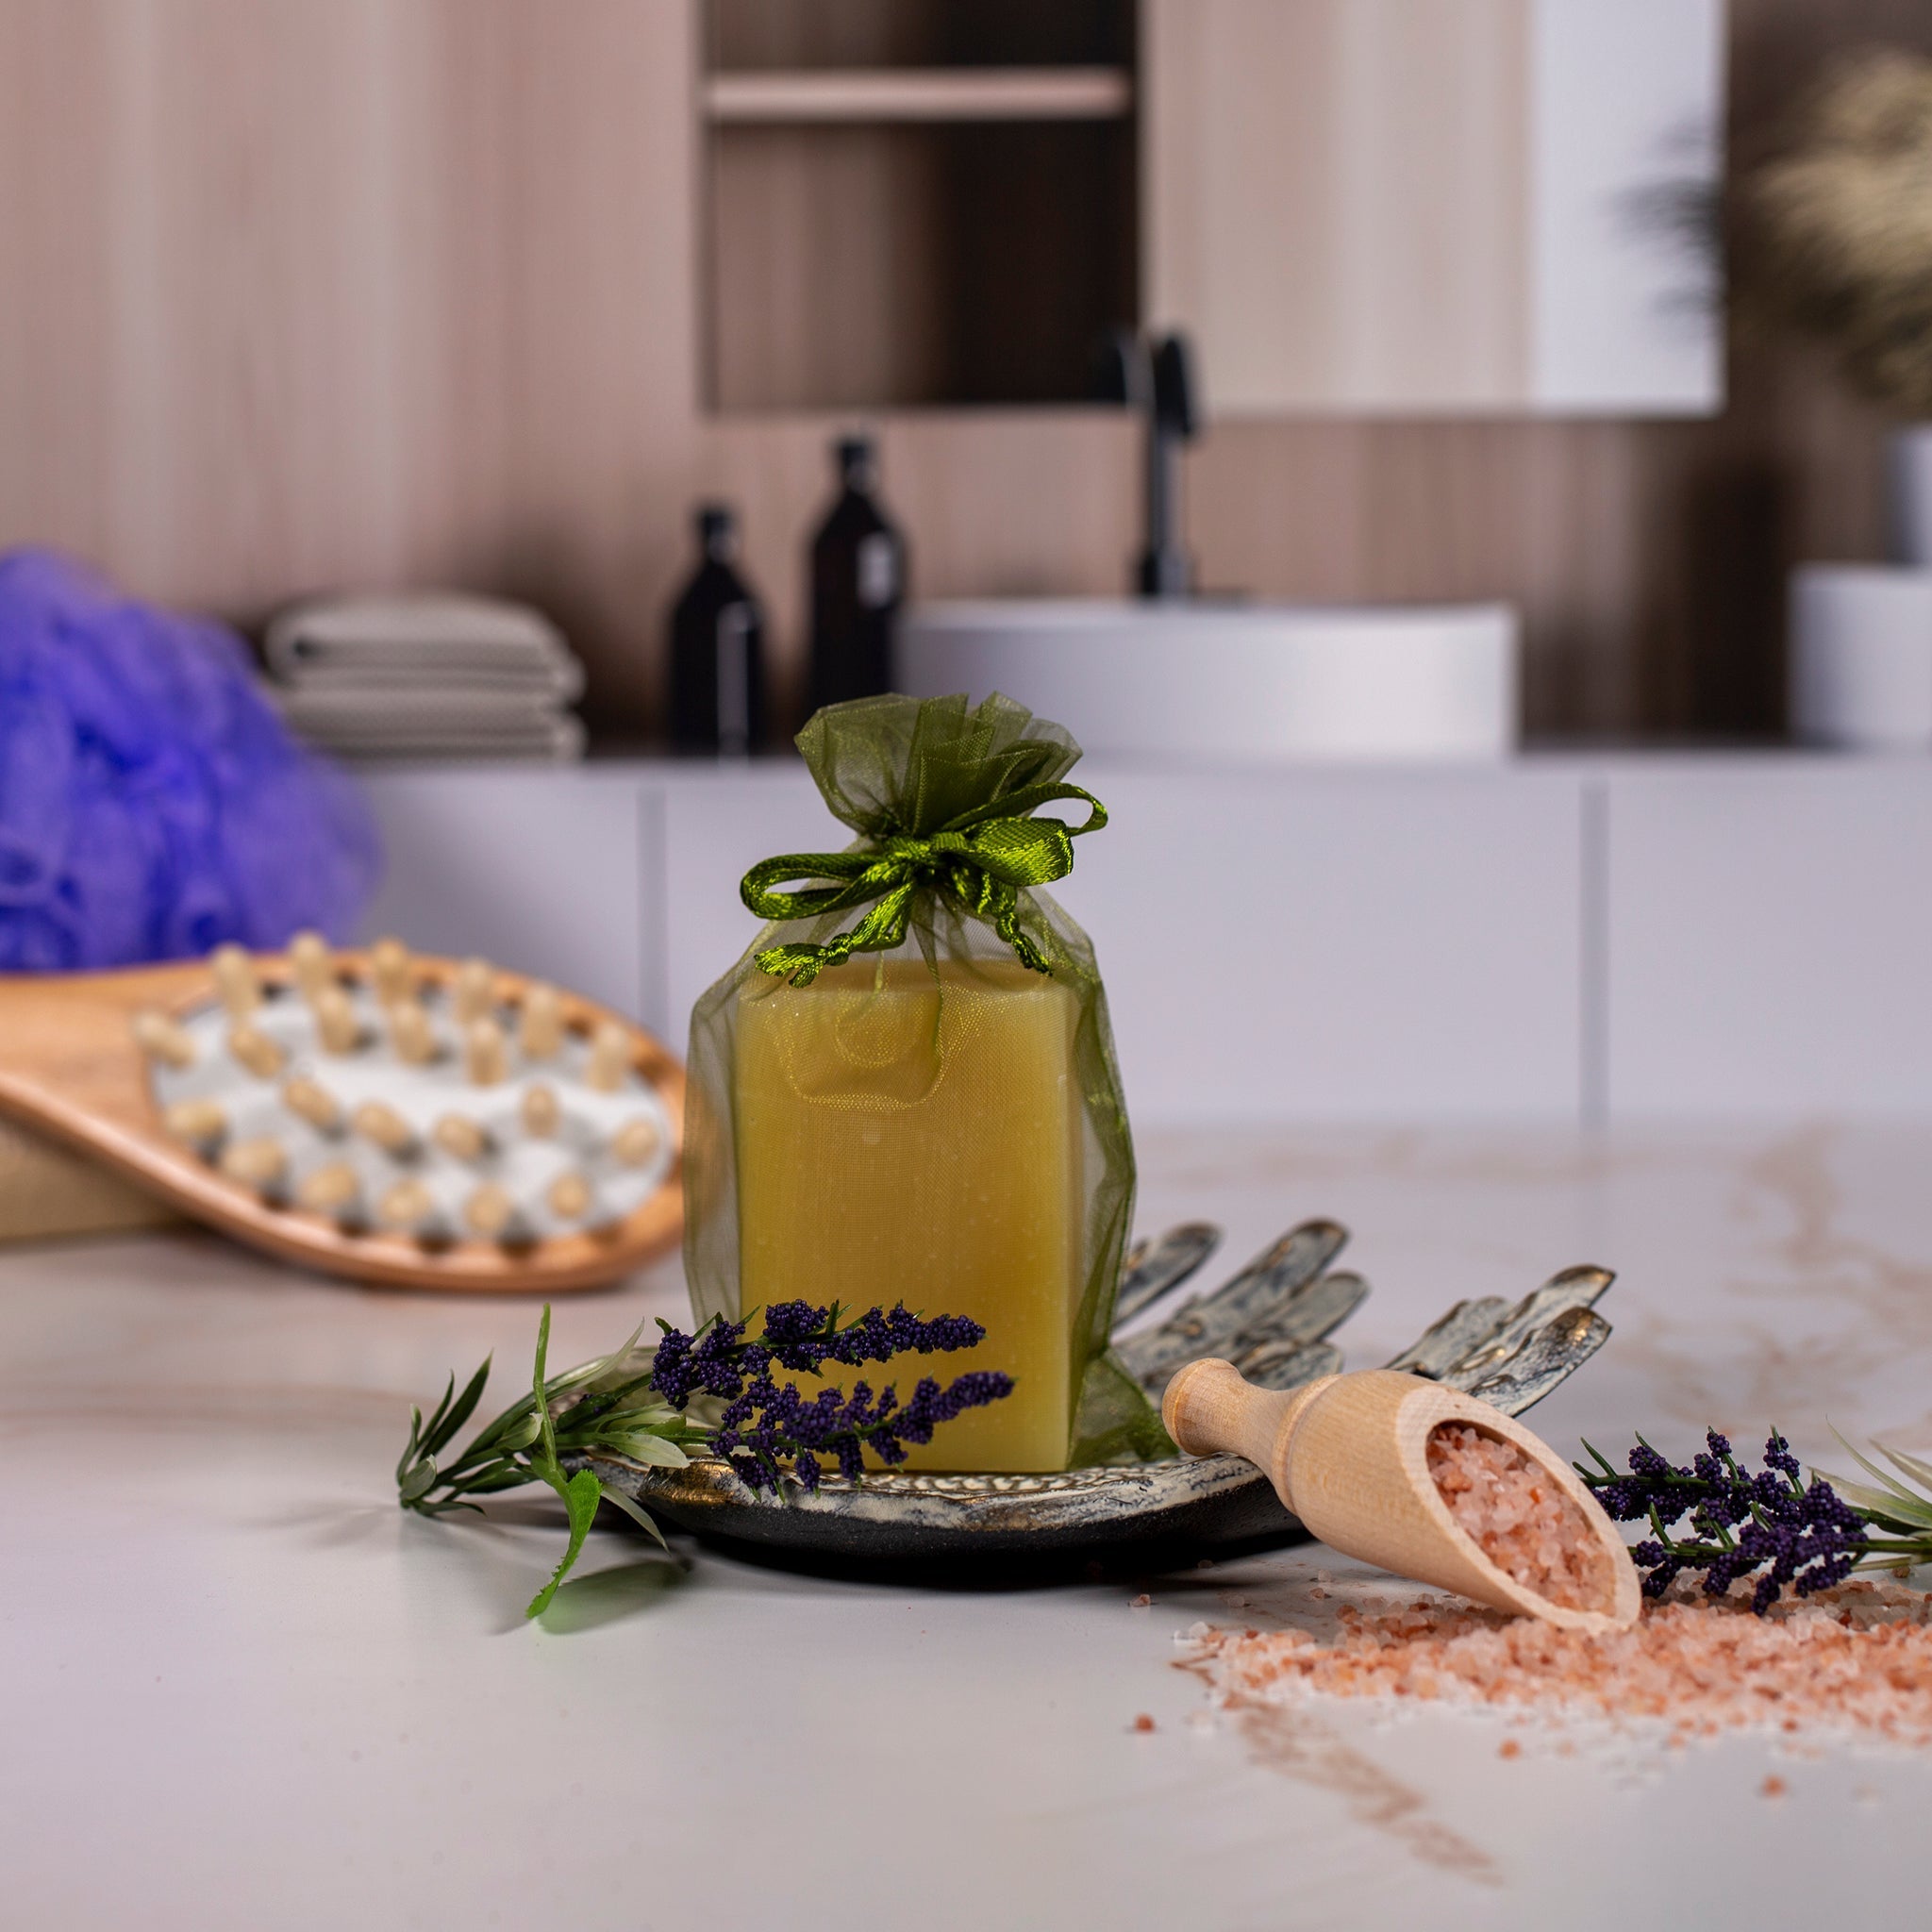
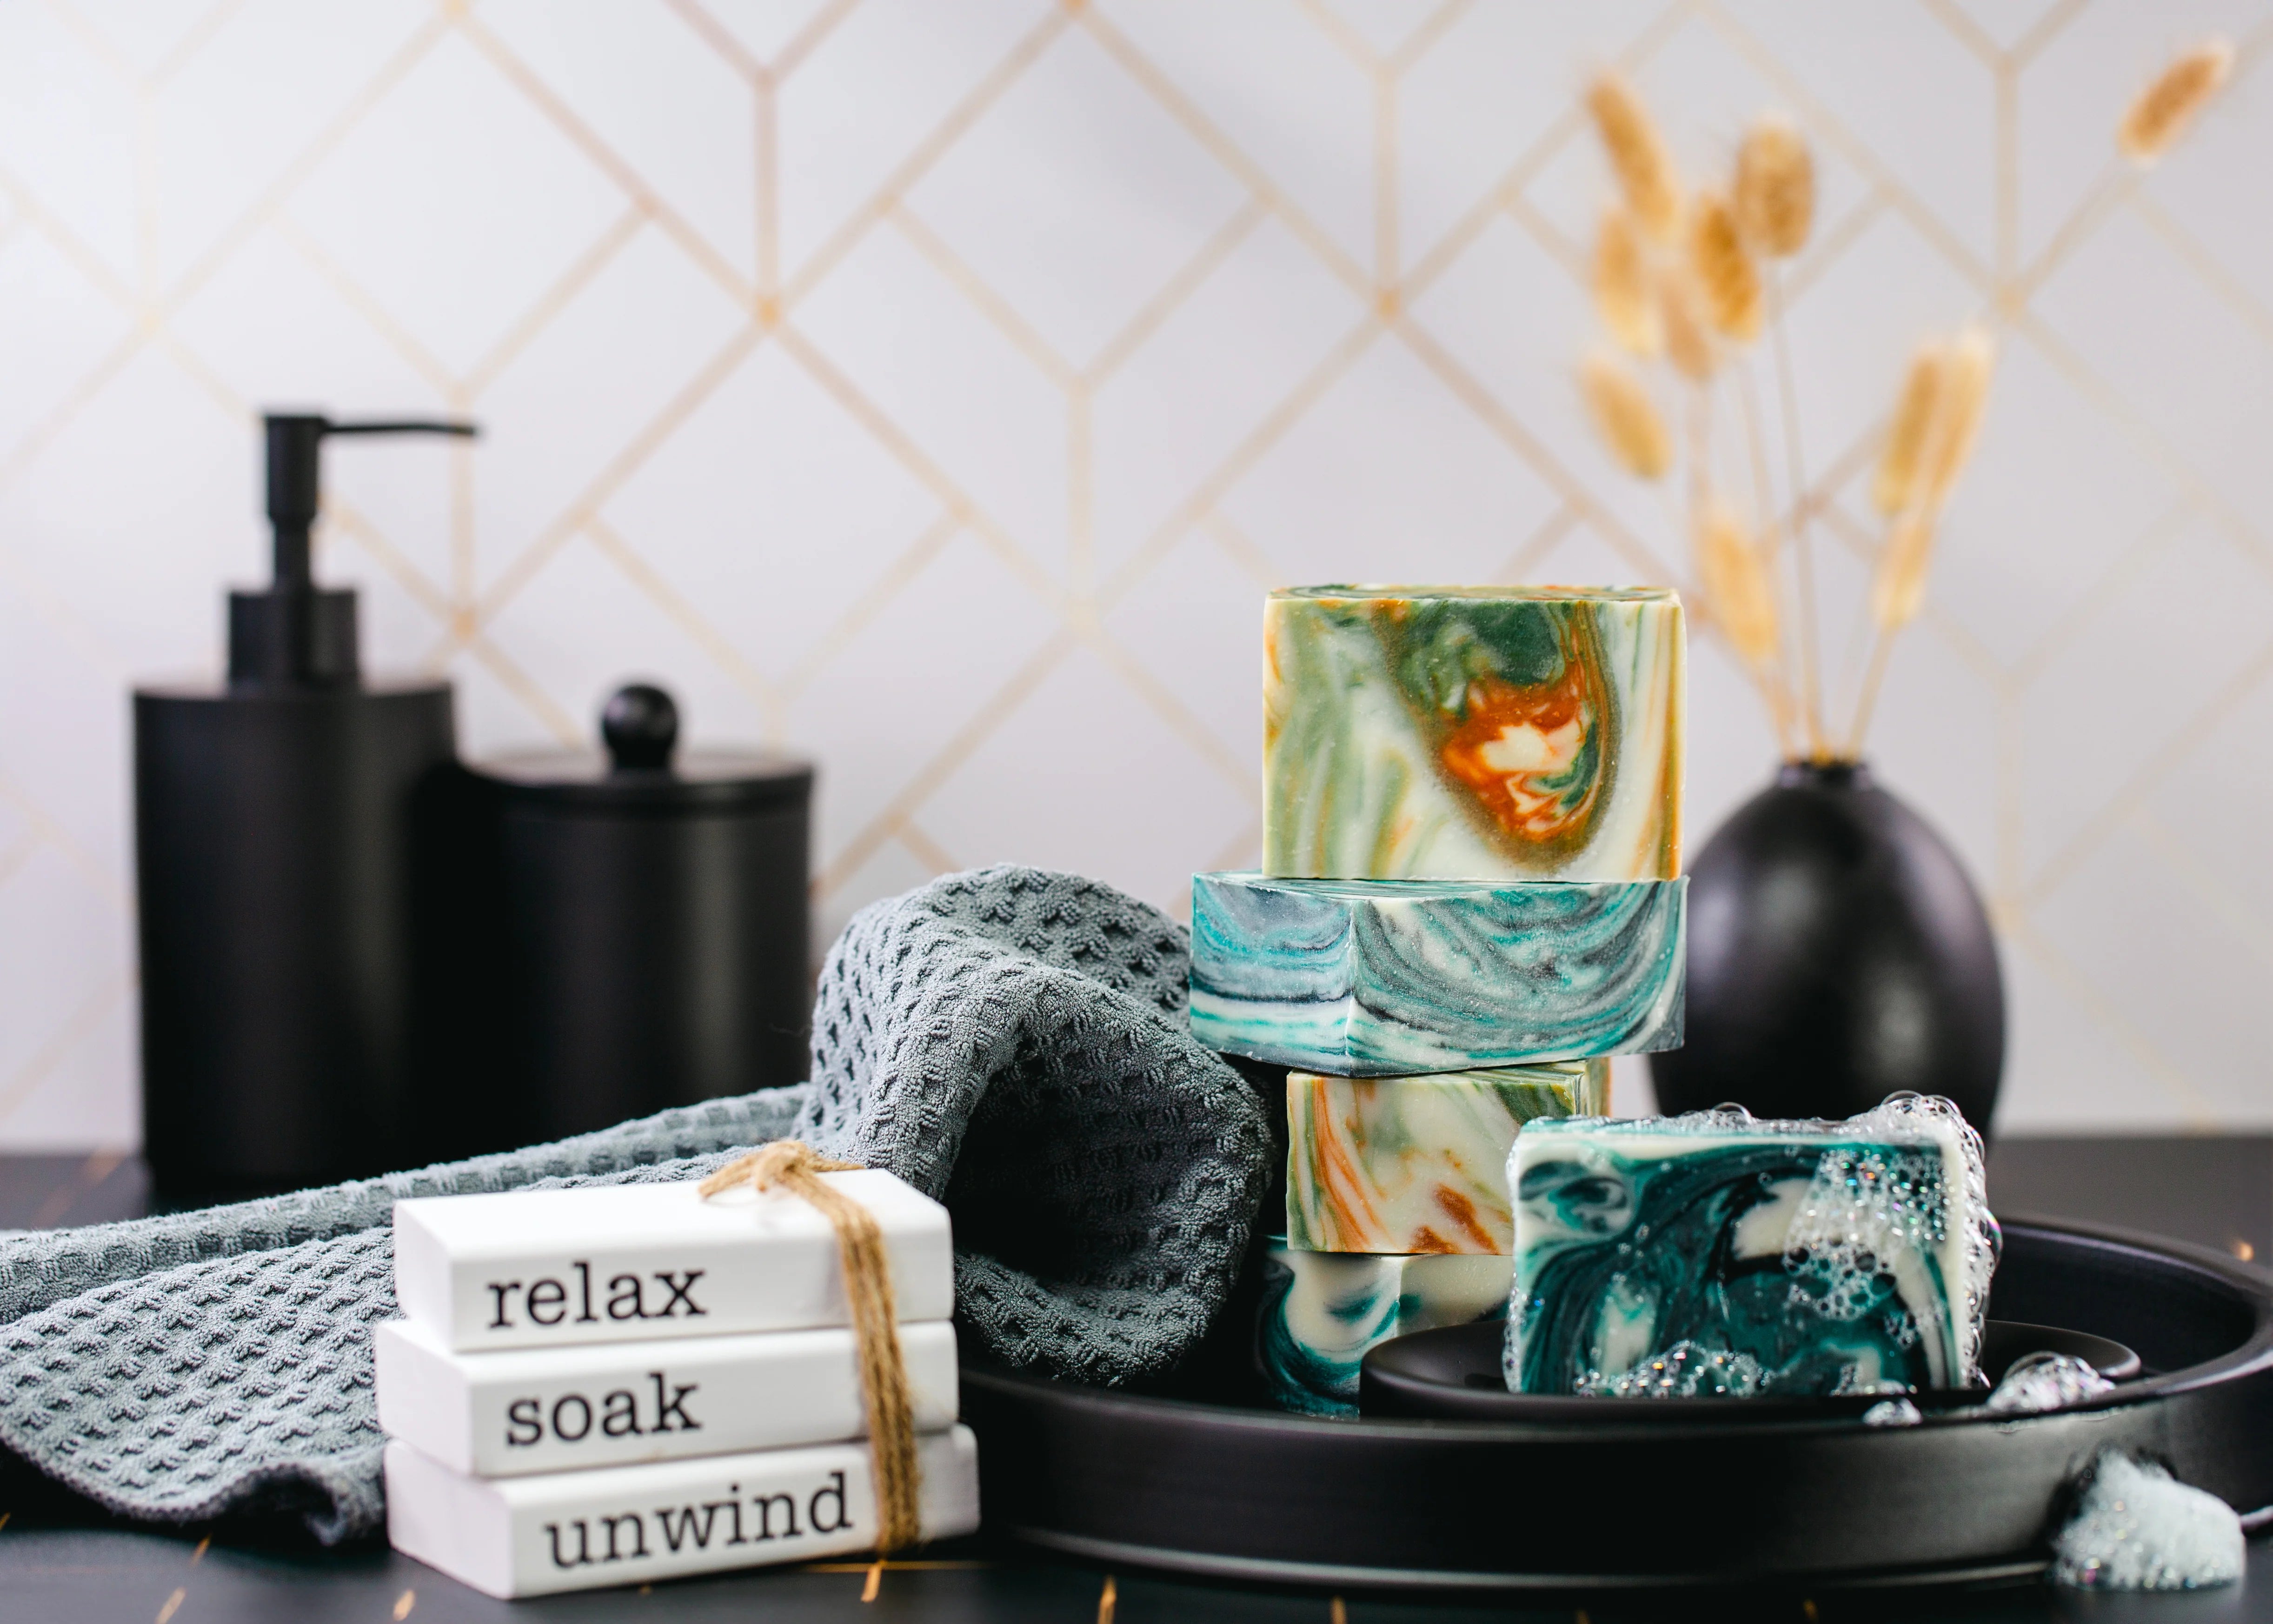
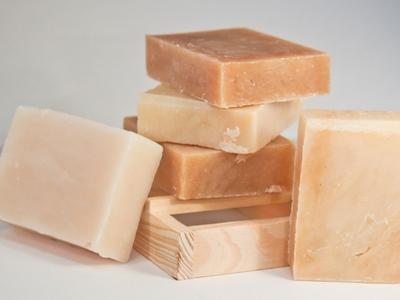
A beautiful skin care bar, this soap is a medium hardness bar which lathers well. The oils used in this soap include palm oil, coconut oil, sunflower oil and shea butter.
The additives to this skin therapy soap include wheat germ and unpasteurized honey.
Basic Cold Process Soap Making Instructions
Use these step-by-step soap making instructions as a basic guide along with your specific soap recipe.
Prepare the work area:
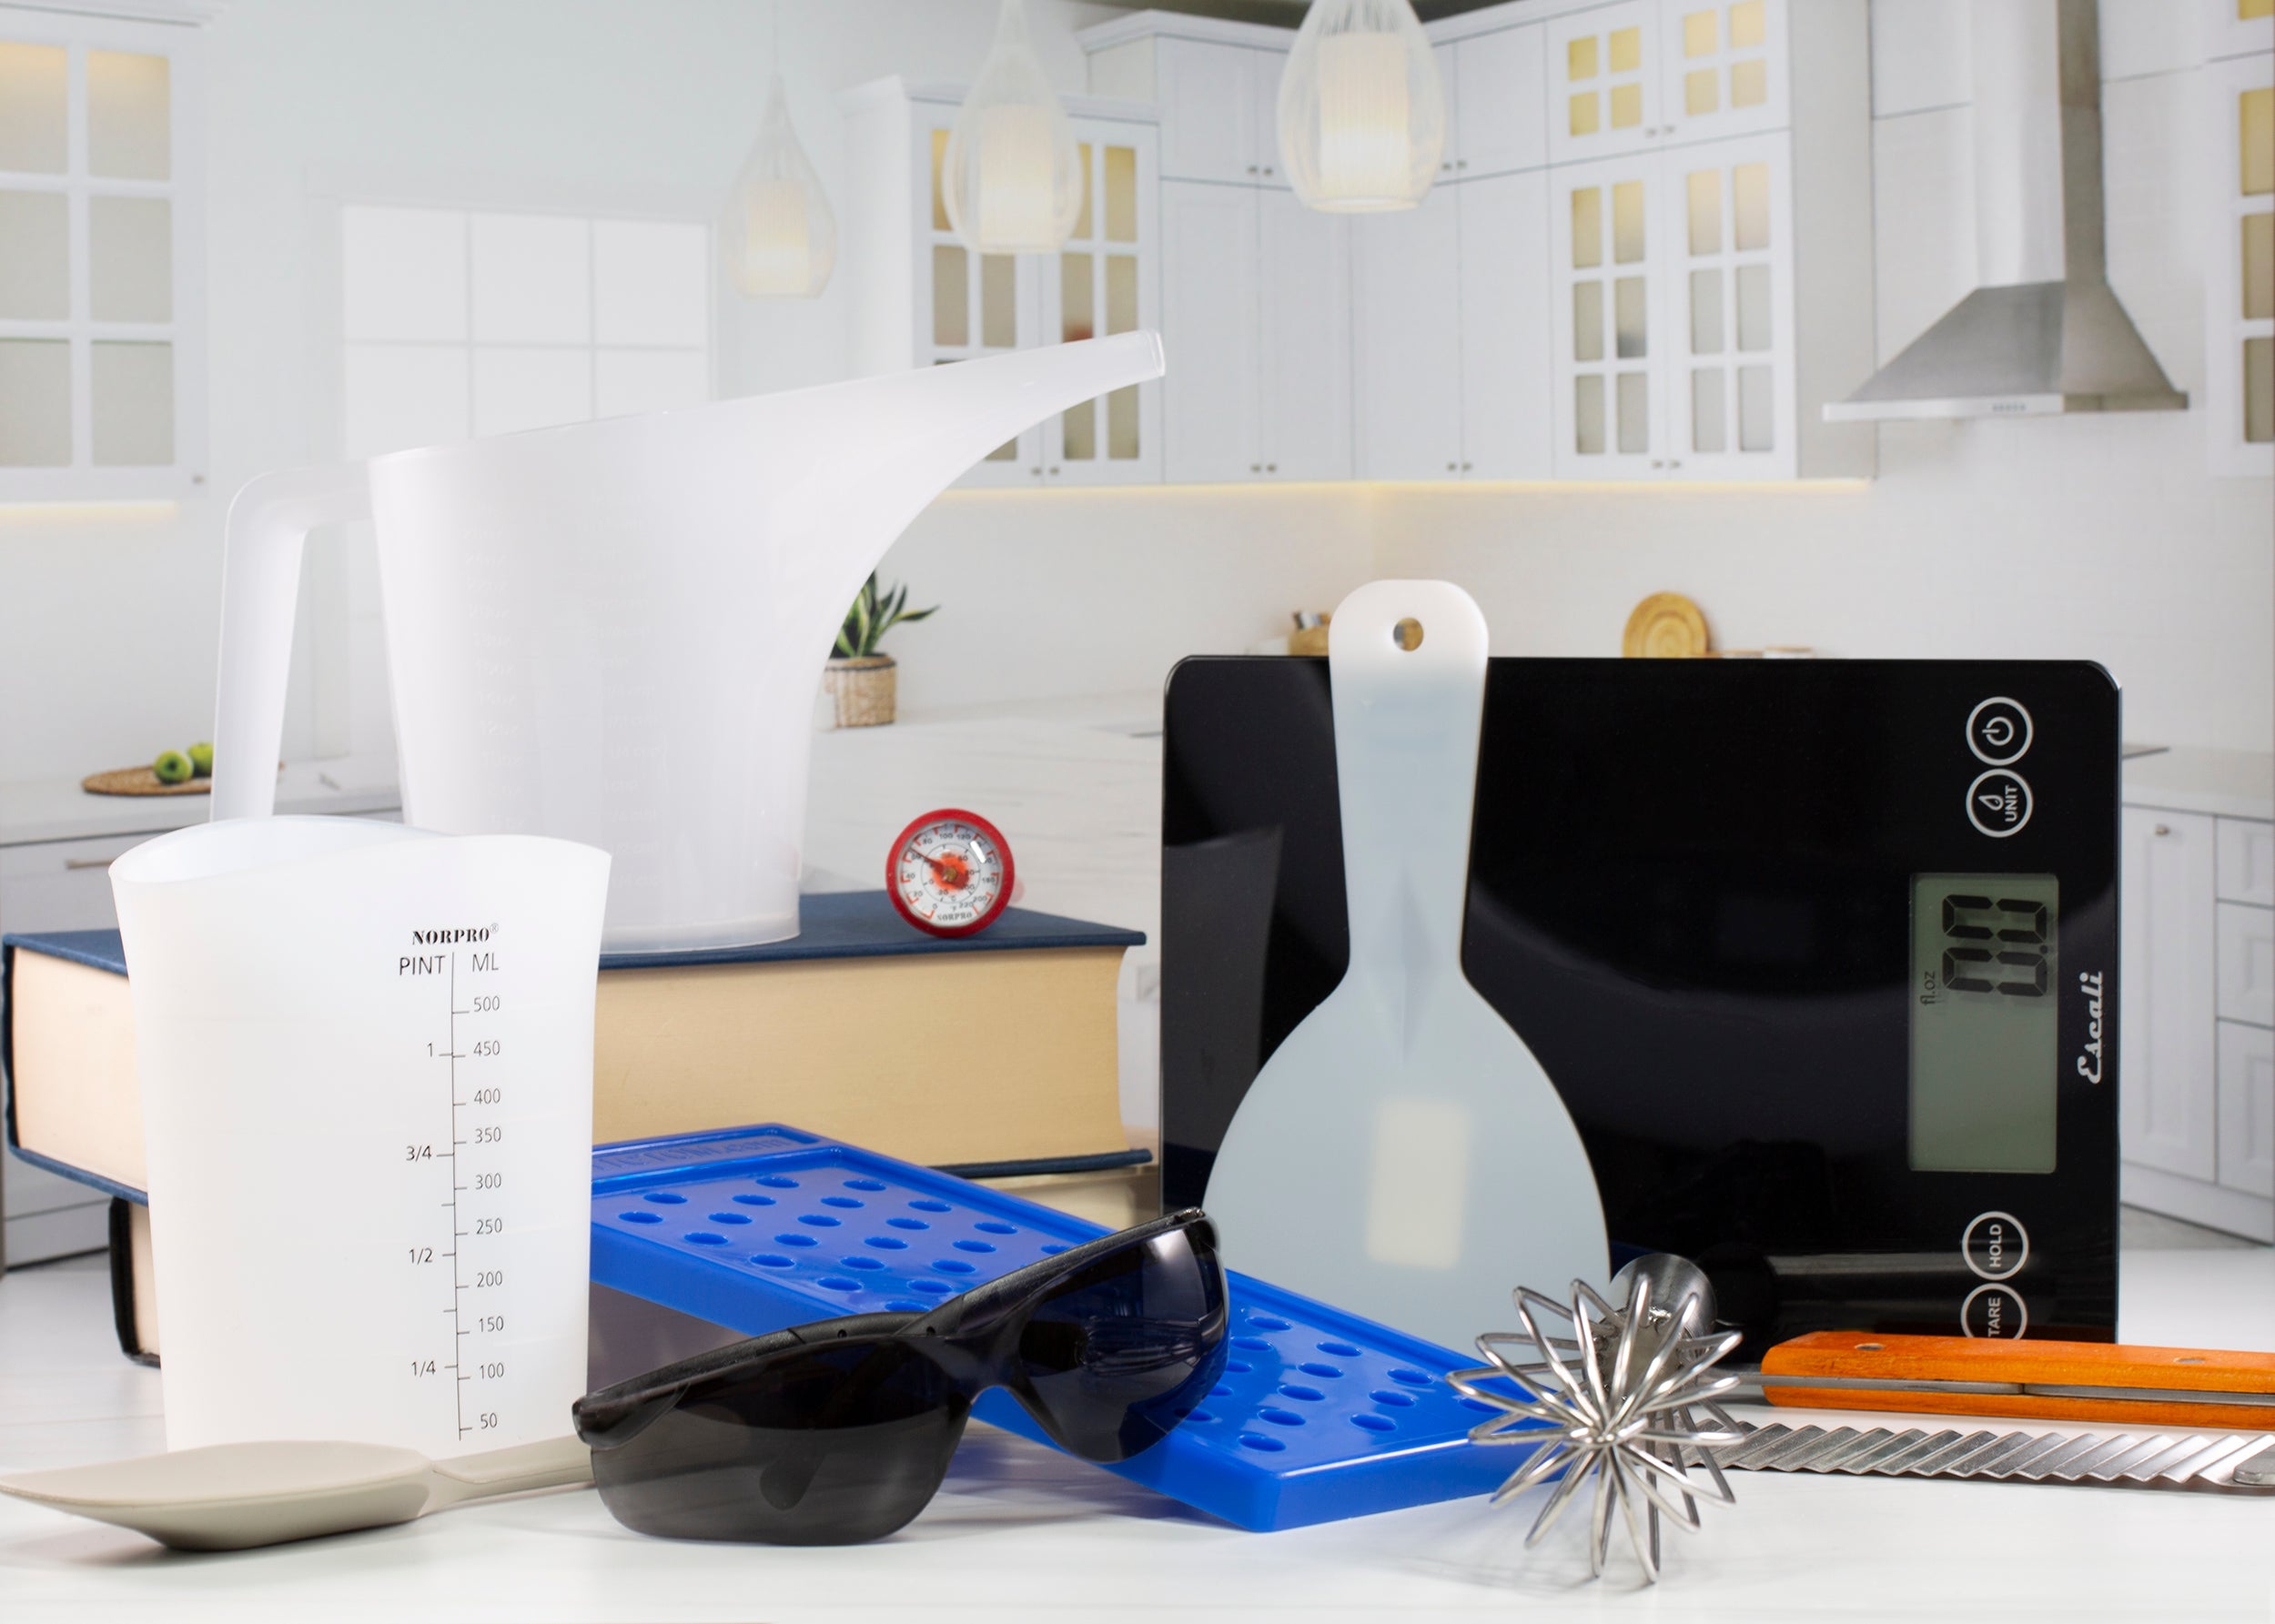
Before starting, set up your work area with all the equipment, ingredients, and molds you'll need.
Prepare your molds.
Check out our section on Using Soap Molds for more detailed information.
Mixing the key soap ingredients:
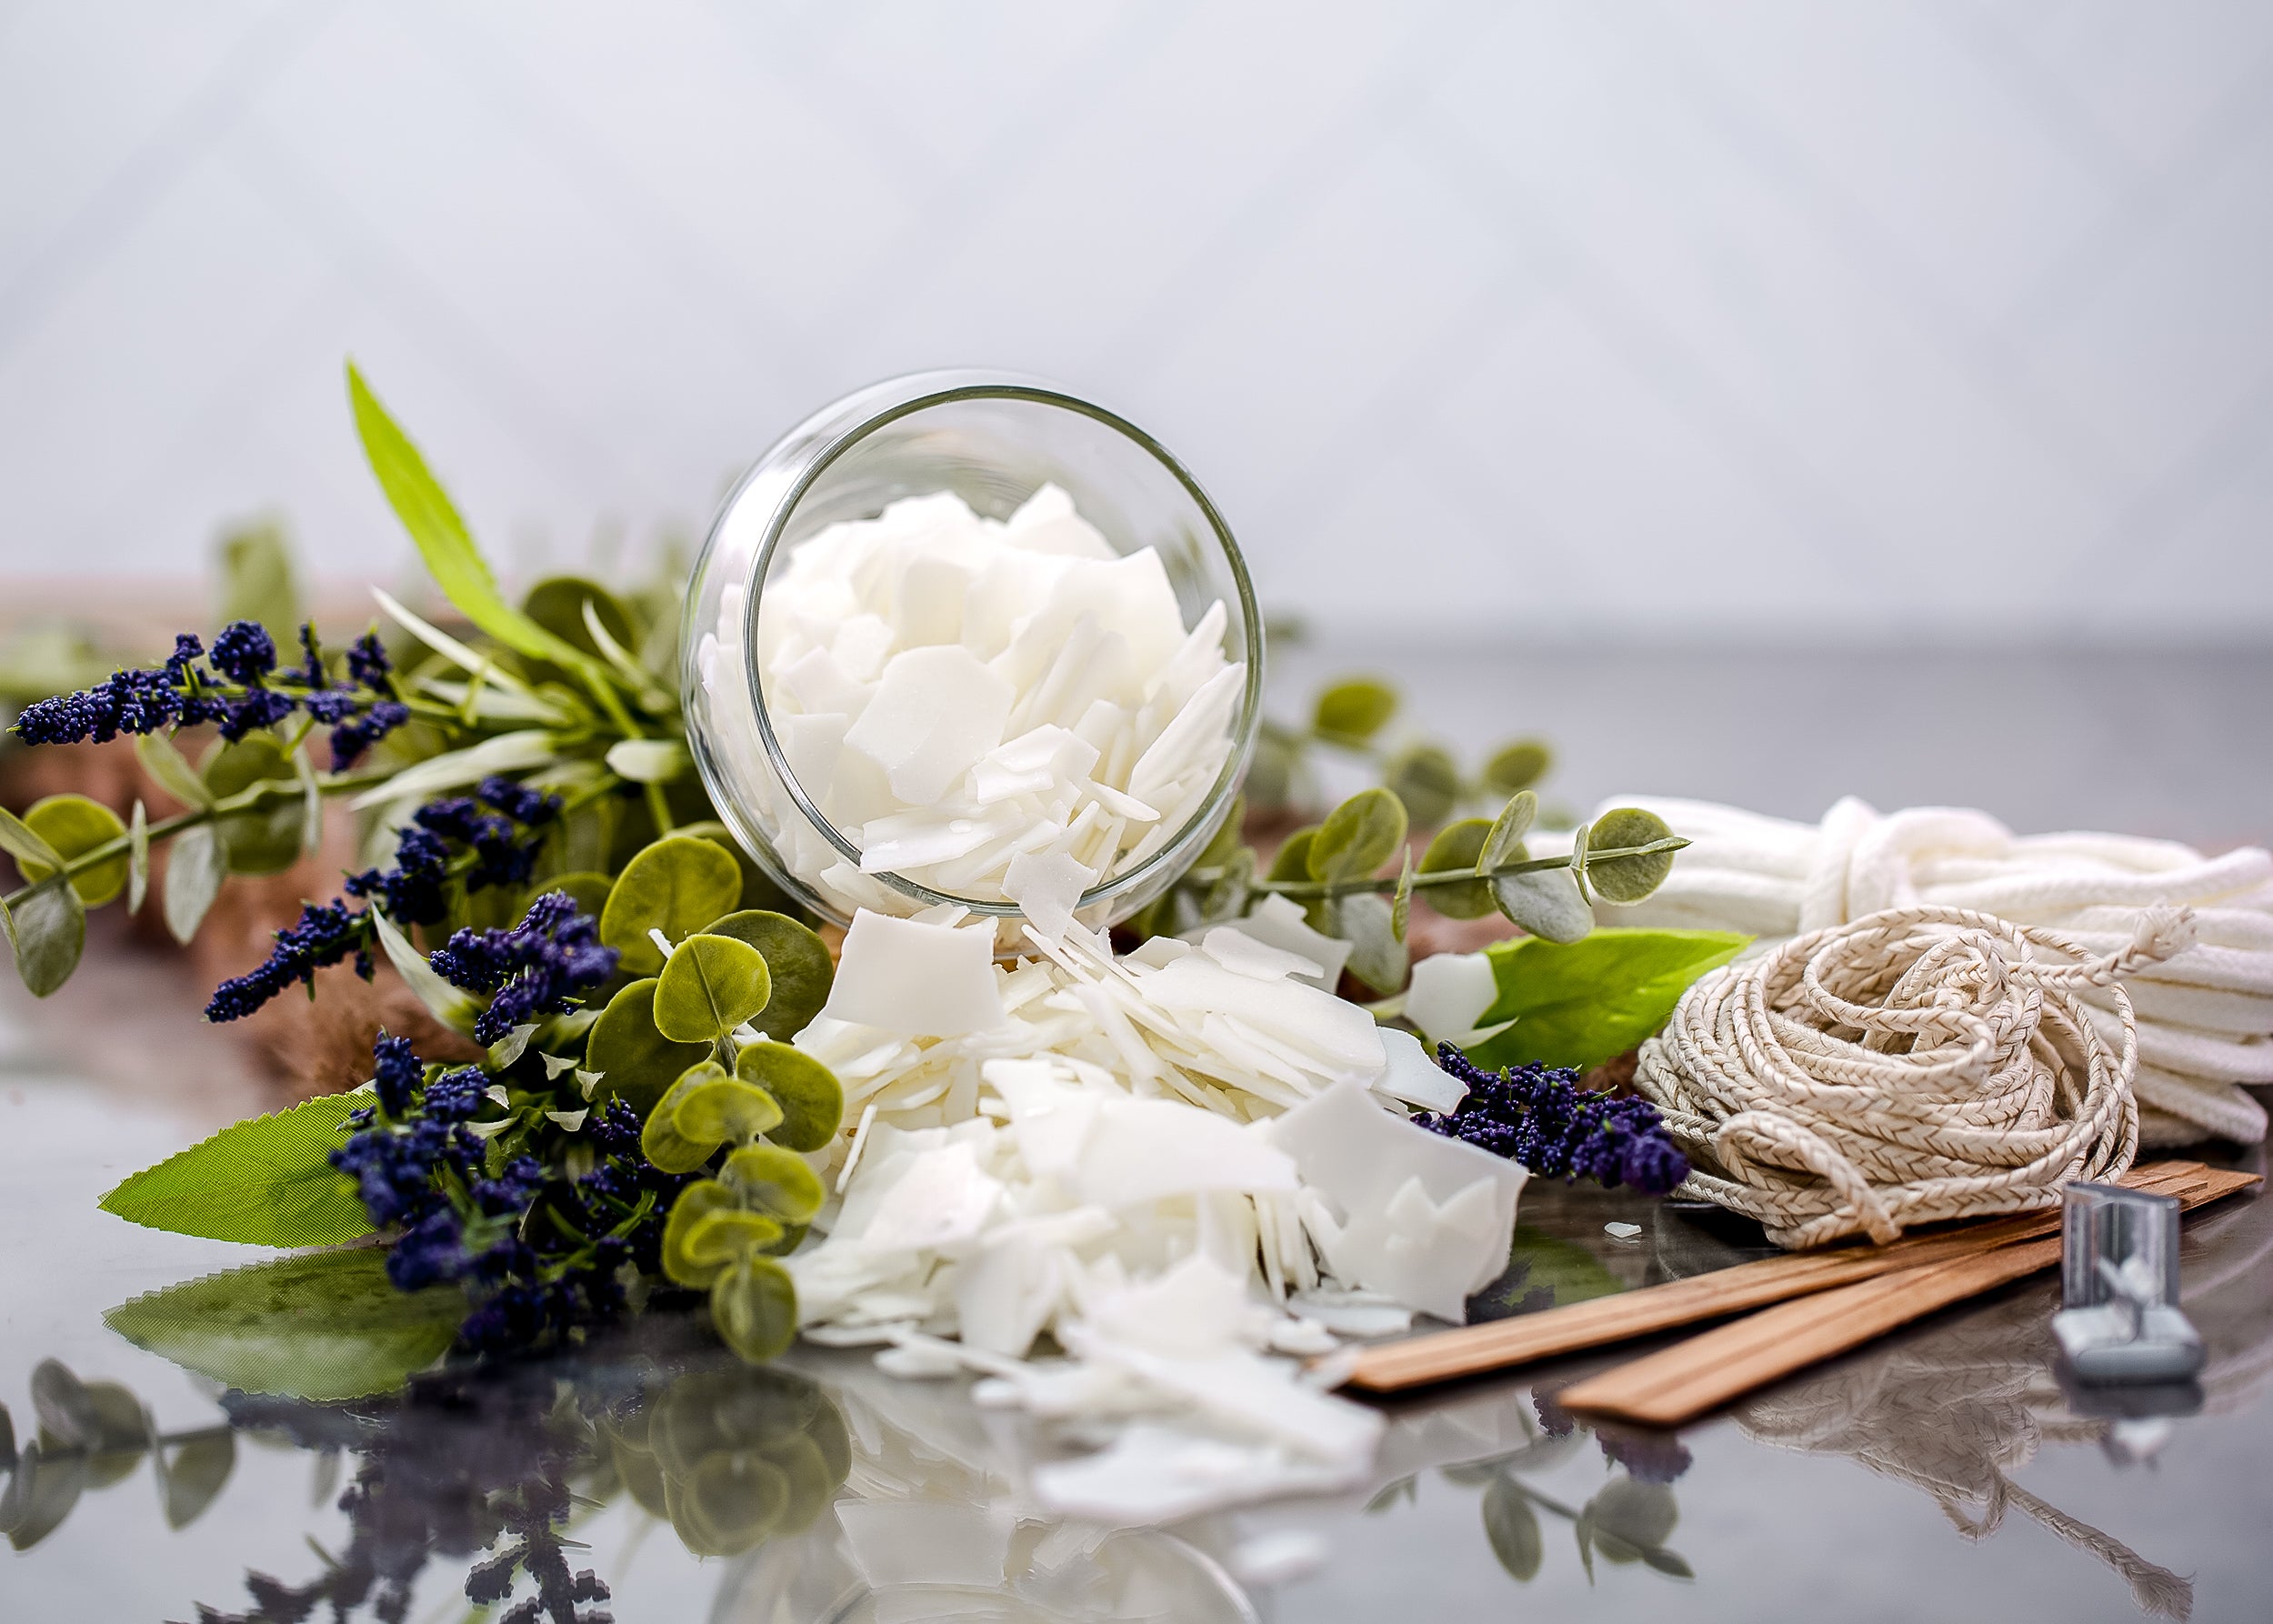
Measure out the oils that you will use and set them aside. If you're using a Voyageur soap kit, your oils are already pre-measured and ready to be heated later.
Put on glasses or goggles and rubber or latex gloves.Weigh the lye and set it aside.
Place measuring cup on scale and weigh out amount of soft or distilled water required.If using a kit, please note that the weight and volume of water are the same.(ie: 500 grams of water is also 500 ml on the measuring cup so no scale is required.)
Slowly add the lye to the water while stirring with a small whisk or fork.The fumes may be quite strong after 10 seconds, so hold your breath.Leave the area for one or two minutes and then return and stir again to be sure the lye is fully dissolved.The lye solution will be heated to approx 180 degrees F, so set the cup aside to cool down to the soap making temperature.
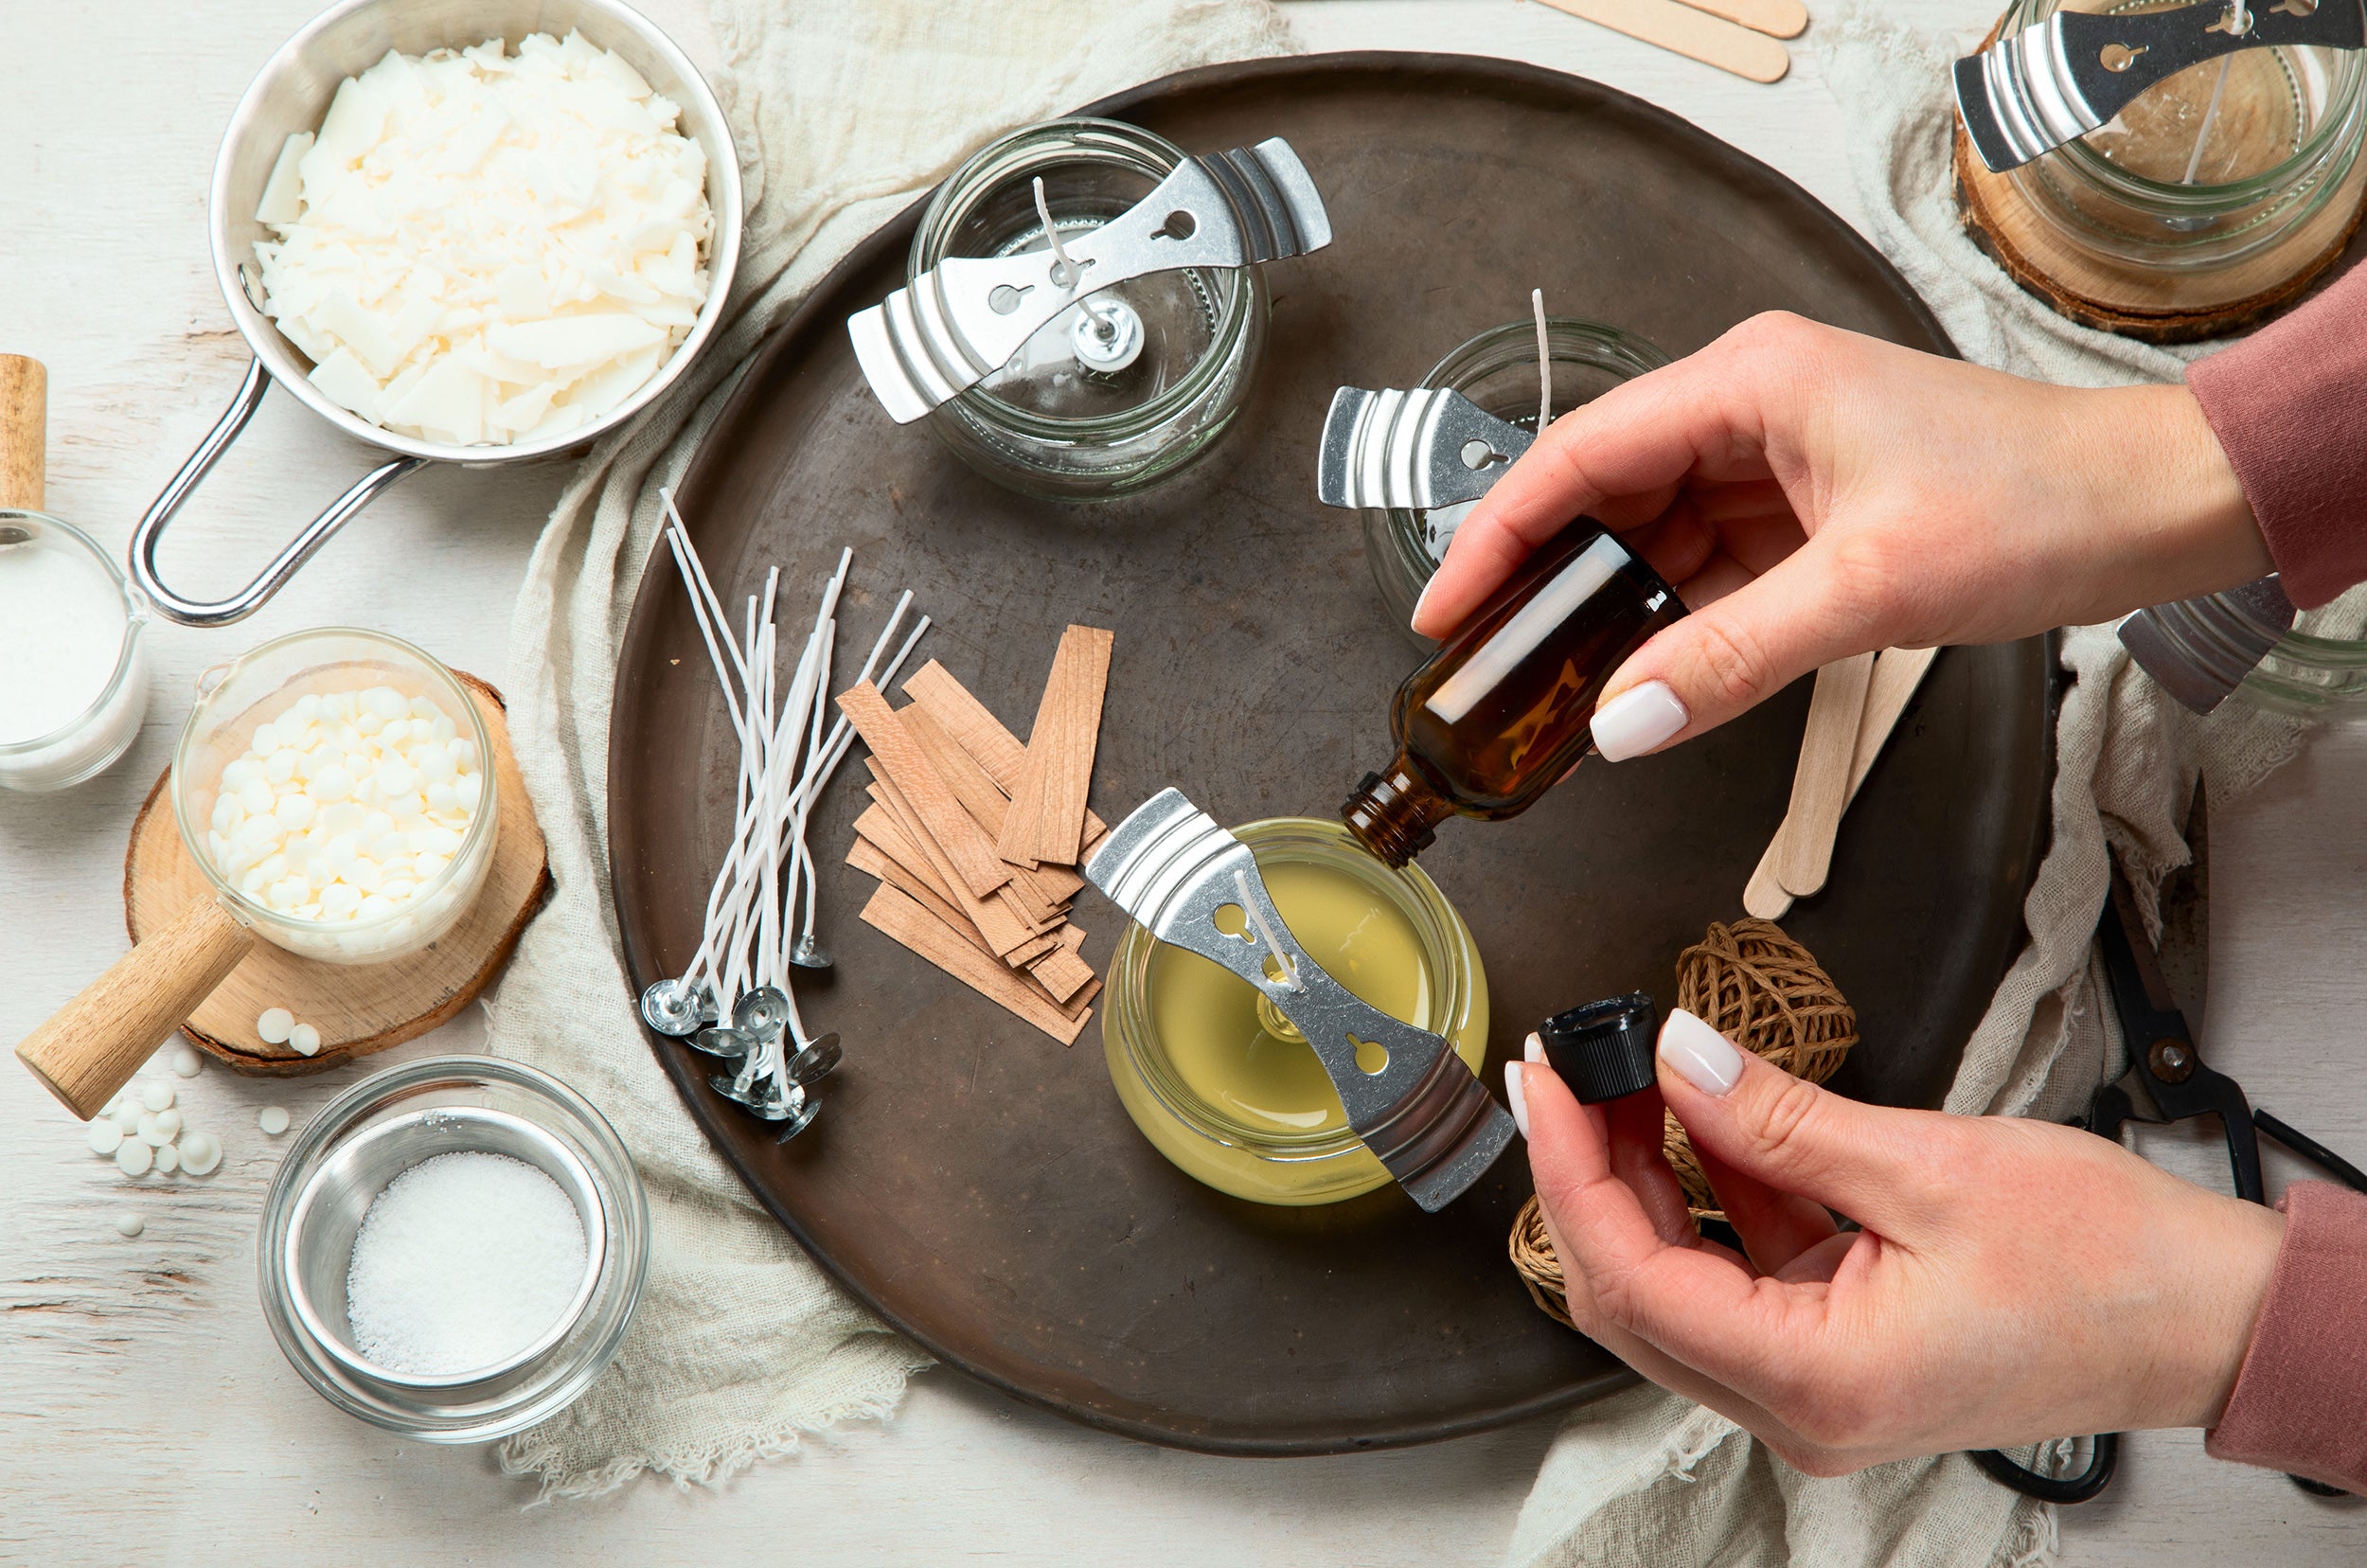
While your lye is cooling, prepare the oils.If you're using pre-measured kit bottles, simply put the bottles in the microwave with the tops off.Heat until the oils have liquefied and are at, or slightly above, the soap making temperature.
Making your soap:
When the lye solution and the oil mixture are both at the soap making temperature, you are ready to make soap.Wearing your gloves, slowly drizzle the lye into the oils, stirring quickly and carefully by hand.Once the lye has been well mixed into the oils, you may use your stick blender, being sure to keep the blender submerged in the mixture to avoid any splashing, and run for only 15-20 seconds at a time.
Alternate between hand whisking and stick blending for equal amounts of time to ensure your soap is getting thoroughly and evenly mixed. Always hand stir just before putting soap into your molds.Using the stick blender only and not alternating with equal amounts of hand stirring may cause your soap to mix unevenly, causing flaking and cracking of your soap.
Stirring must be maintained until soap reaches the trace stage.Trace is identified in the soap mixture when it is slightly thickened or when you lift some of the mixture and let it drizzle back into the bowl, and a trace or trailing is left on the surface to slowly blend back in to the mixture.If the trace or trailing stays on the surface you may have over mixed the soap and will have less time to add fragrances and pour into the molds.
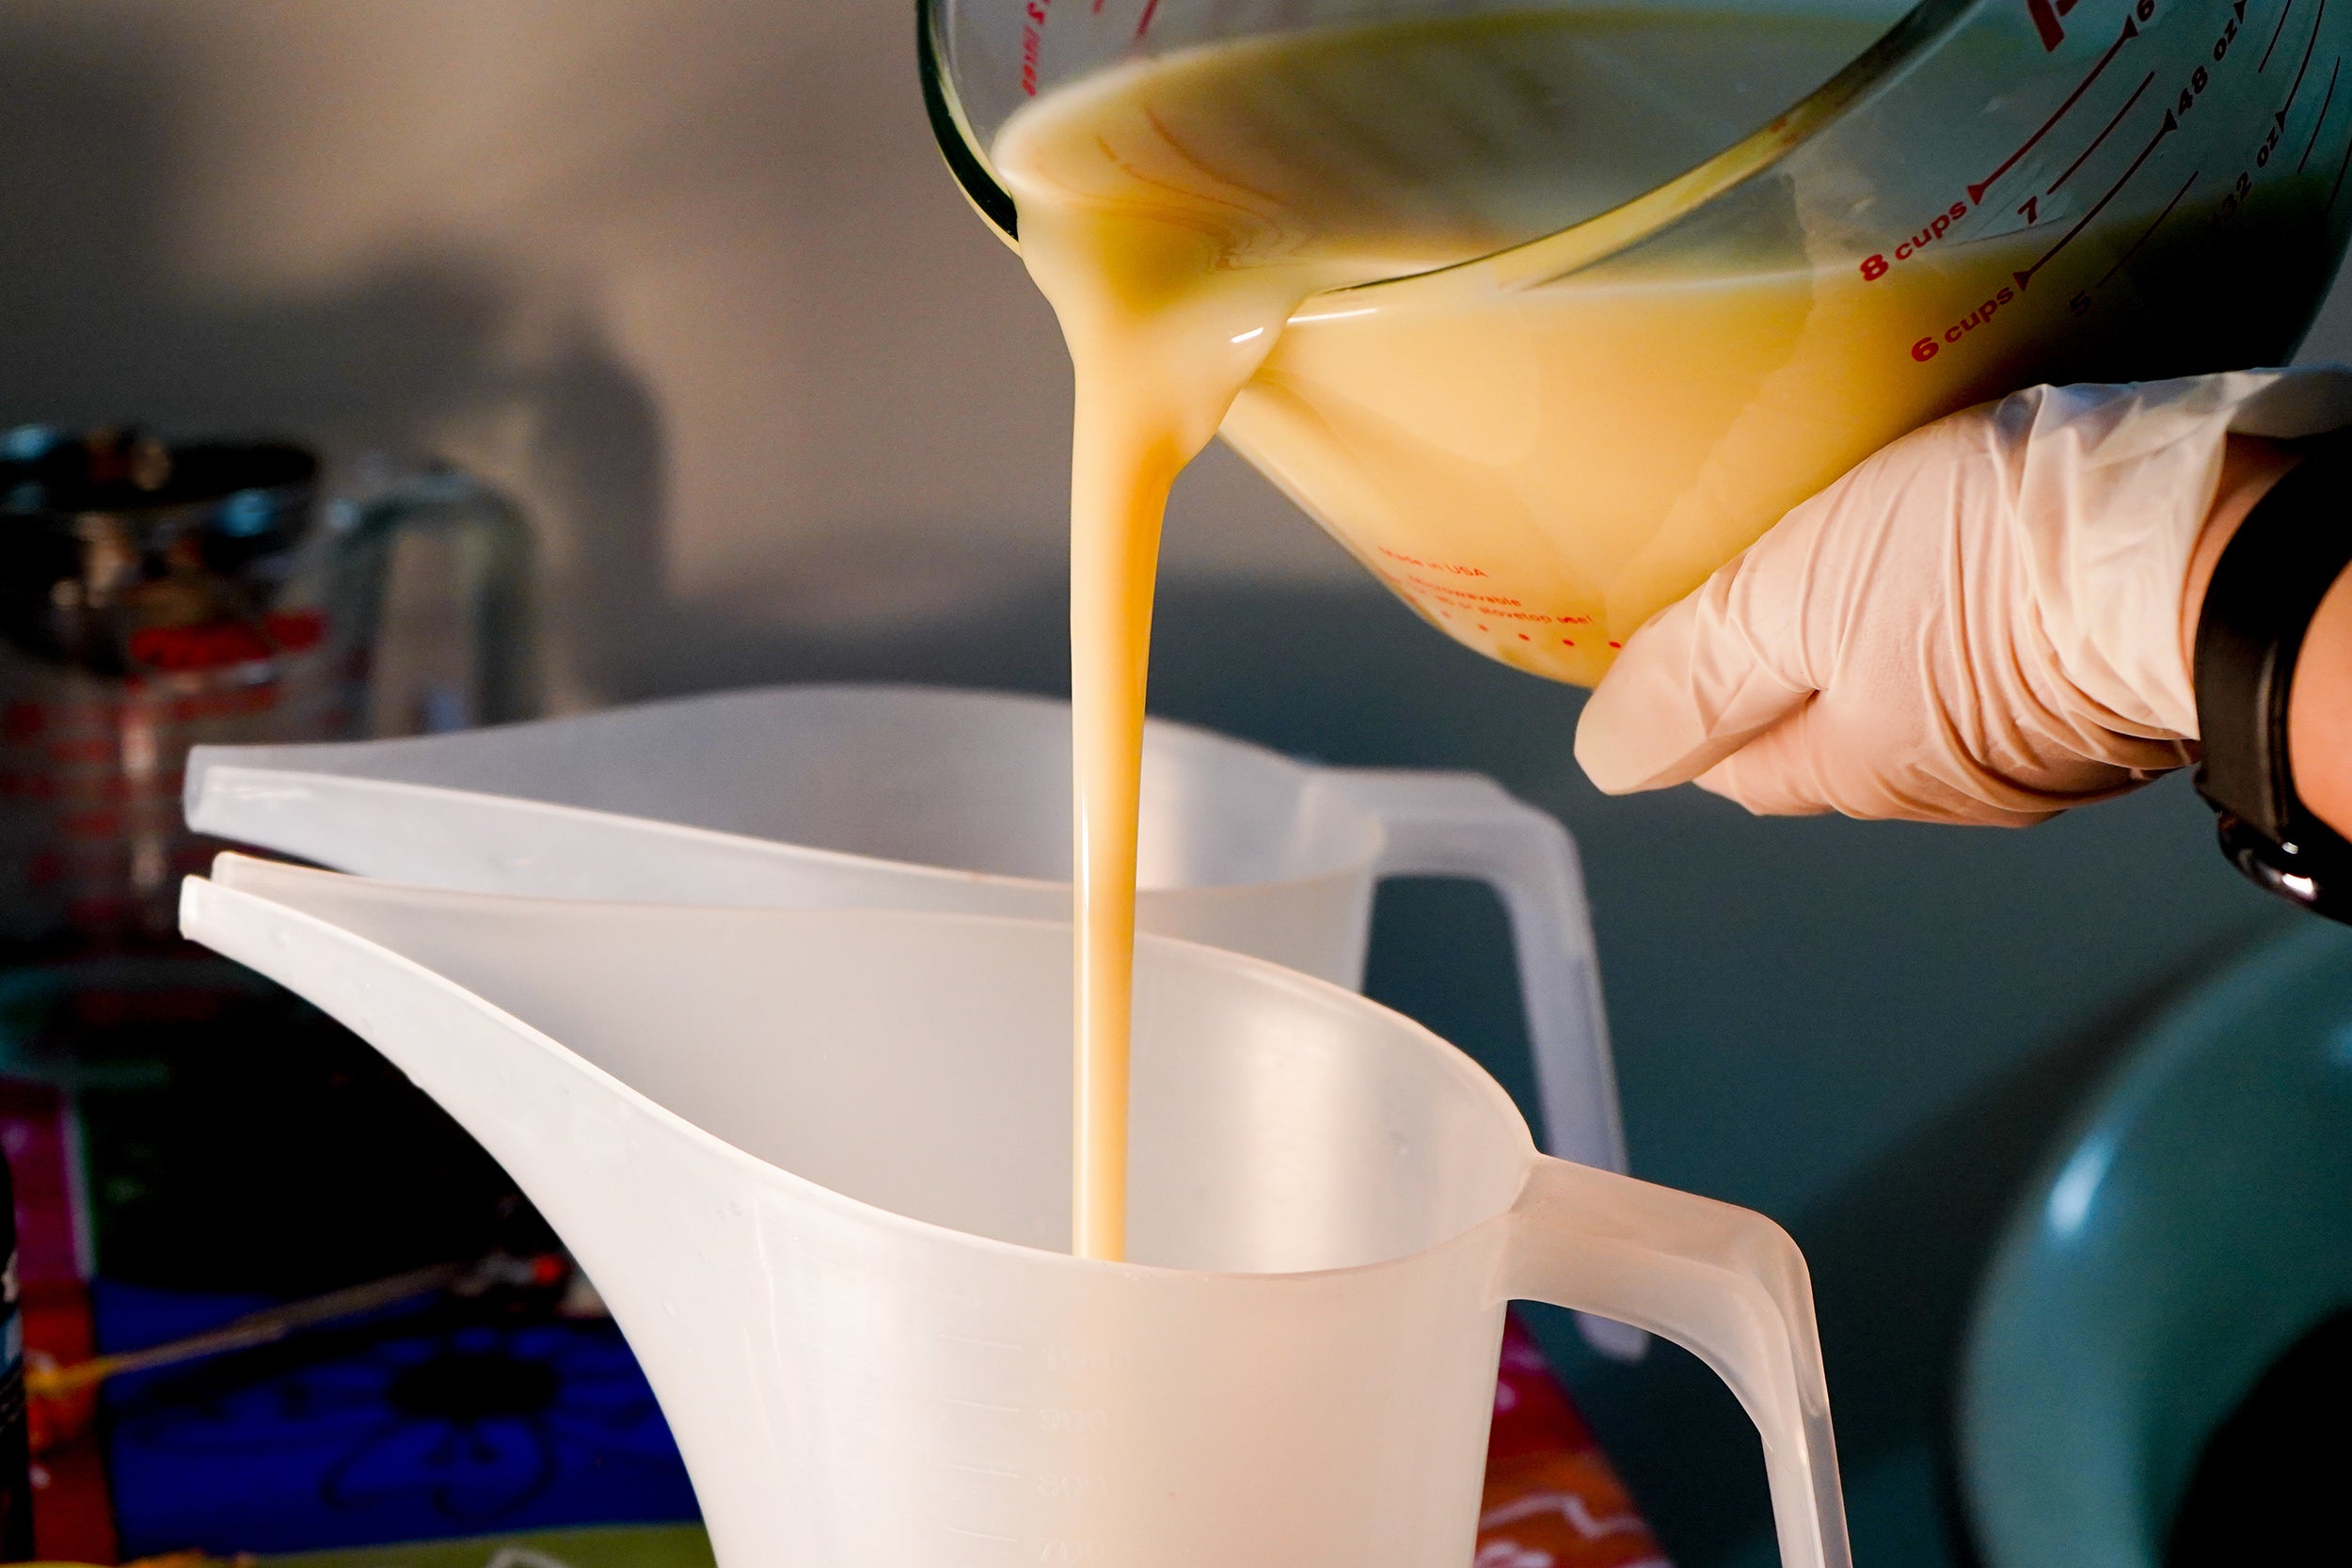
After incorporating final additives such as essential oils, fragrance oils, colour or exfoliates (ie: oatmeal, etc) and stirred to fully incorporate these added items, the soap is ready to pour into the molds.Quickly pour the soap into the molds.The mixture should be smooth, with no lumps or unmixed watery liquids.
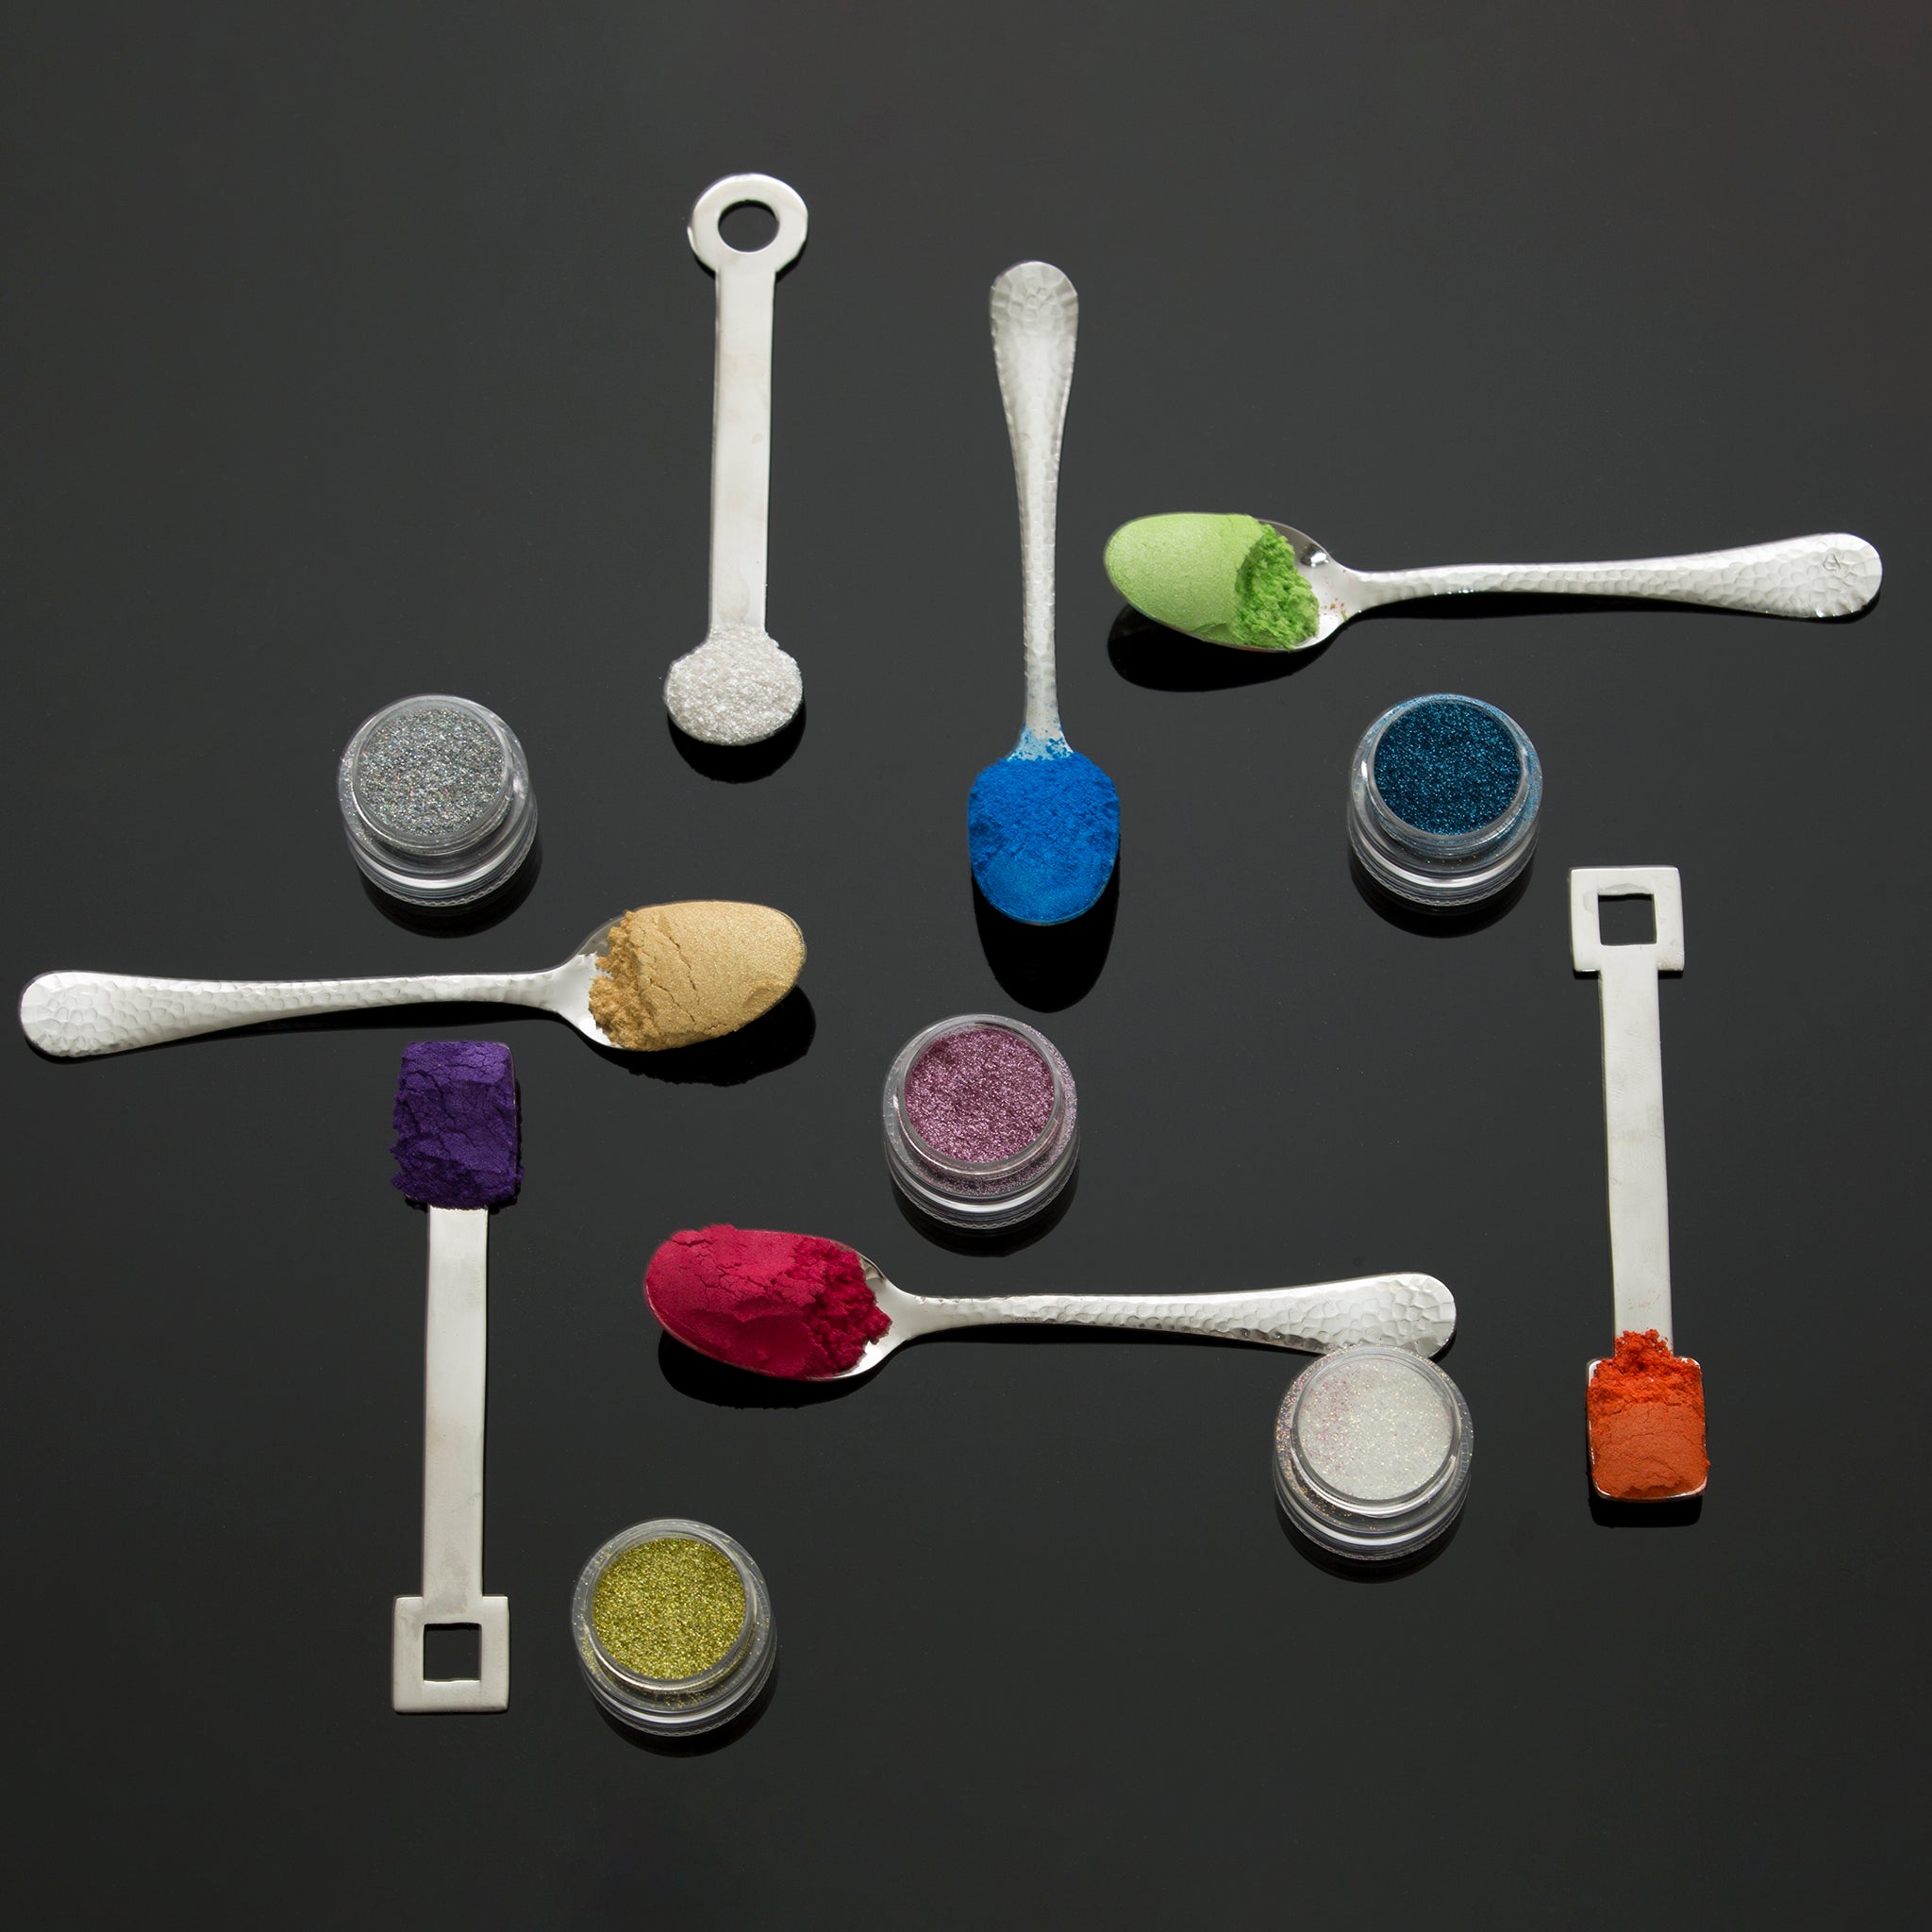
Check out our section on Colouring Soaps and Scenting Soaps for further information.
Cover the filled mold or molds with a piece of cardboard or brown freezer paper, and then cover with a towel or blanket to retain the heat in the soap mixture.Leave undisturbed for 24 to 48 hours.During this period, saponification (the process of becoming soap), is completed. With a balanced formula such as in our kits, all of the soap oils and all of the lye have been fully converted into soap and glycerin at this stage.
Remove soap from molds after the saponification period.If using a lined larger mold, turn out onto a piece of brown paper or cardboard.If using smaller plastic molds, it helps to place the molds in the freezer for 15-30 minutes, remove and then leave for 5 minutes before tapping the soap out of the mold.This prevents crumbling of edges, etc.
Place soap on storage shelf for 2-3 days to begin drying (curing).After 2-3 days, your soap loaves are ready to cut into bar-sized pieces.
Place the soap bars back on storage shelf to continue curing for three to six weeks (depending on type of soap), and turn the soaps once a week to expose all sides to the air.After curing, your soap is ready to use.
Enjoy!
Keys to success:
Blend lye solution into oil mixture at equal temperatures.Alternately mix batch with manual whisk and electric blender to fully incorporate ingredients.Do not over mix.
Bring mixture to a light-medium trace before adding essential oil, colour, or other additives.
- If using fragrance oils, please note that some oils can “seize” soap, causing a premature setting up of the soap mixture.To avoid or minimize this problem when using a new and untested fragrance oil, try dropping your soap making temperature to 100 degrees F, and slowly add the fragrance oil to your soap mixture during the last half of the mixing process.


