


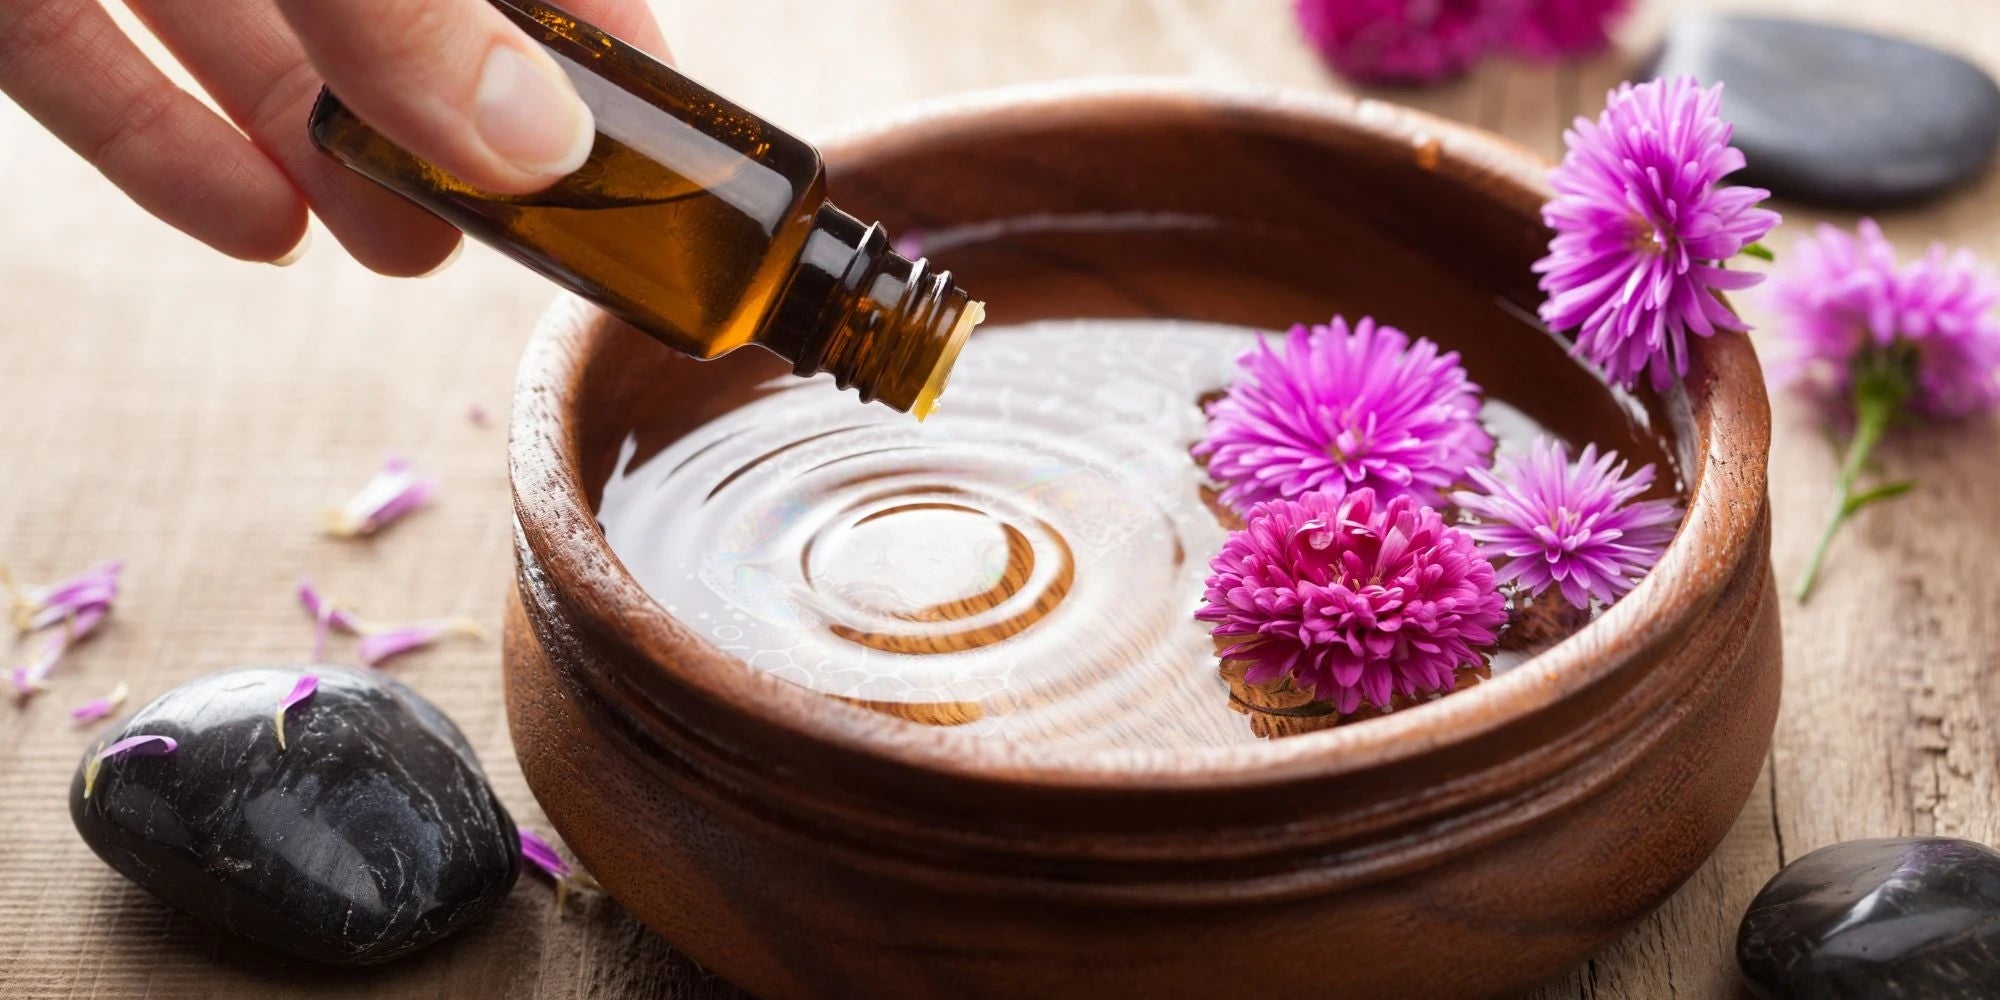


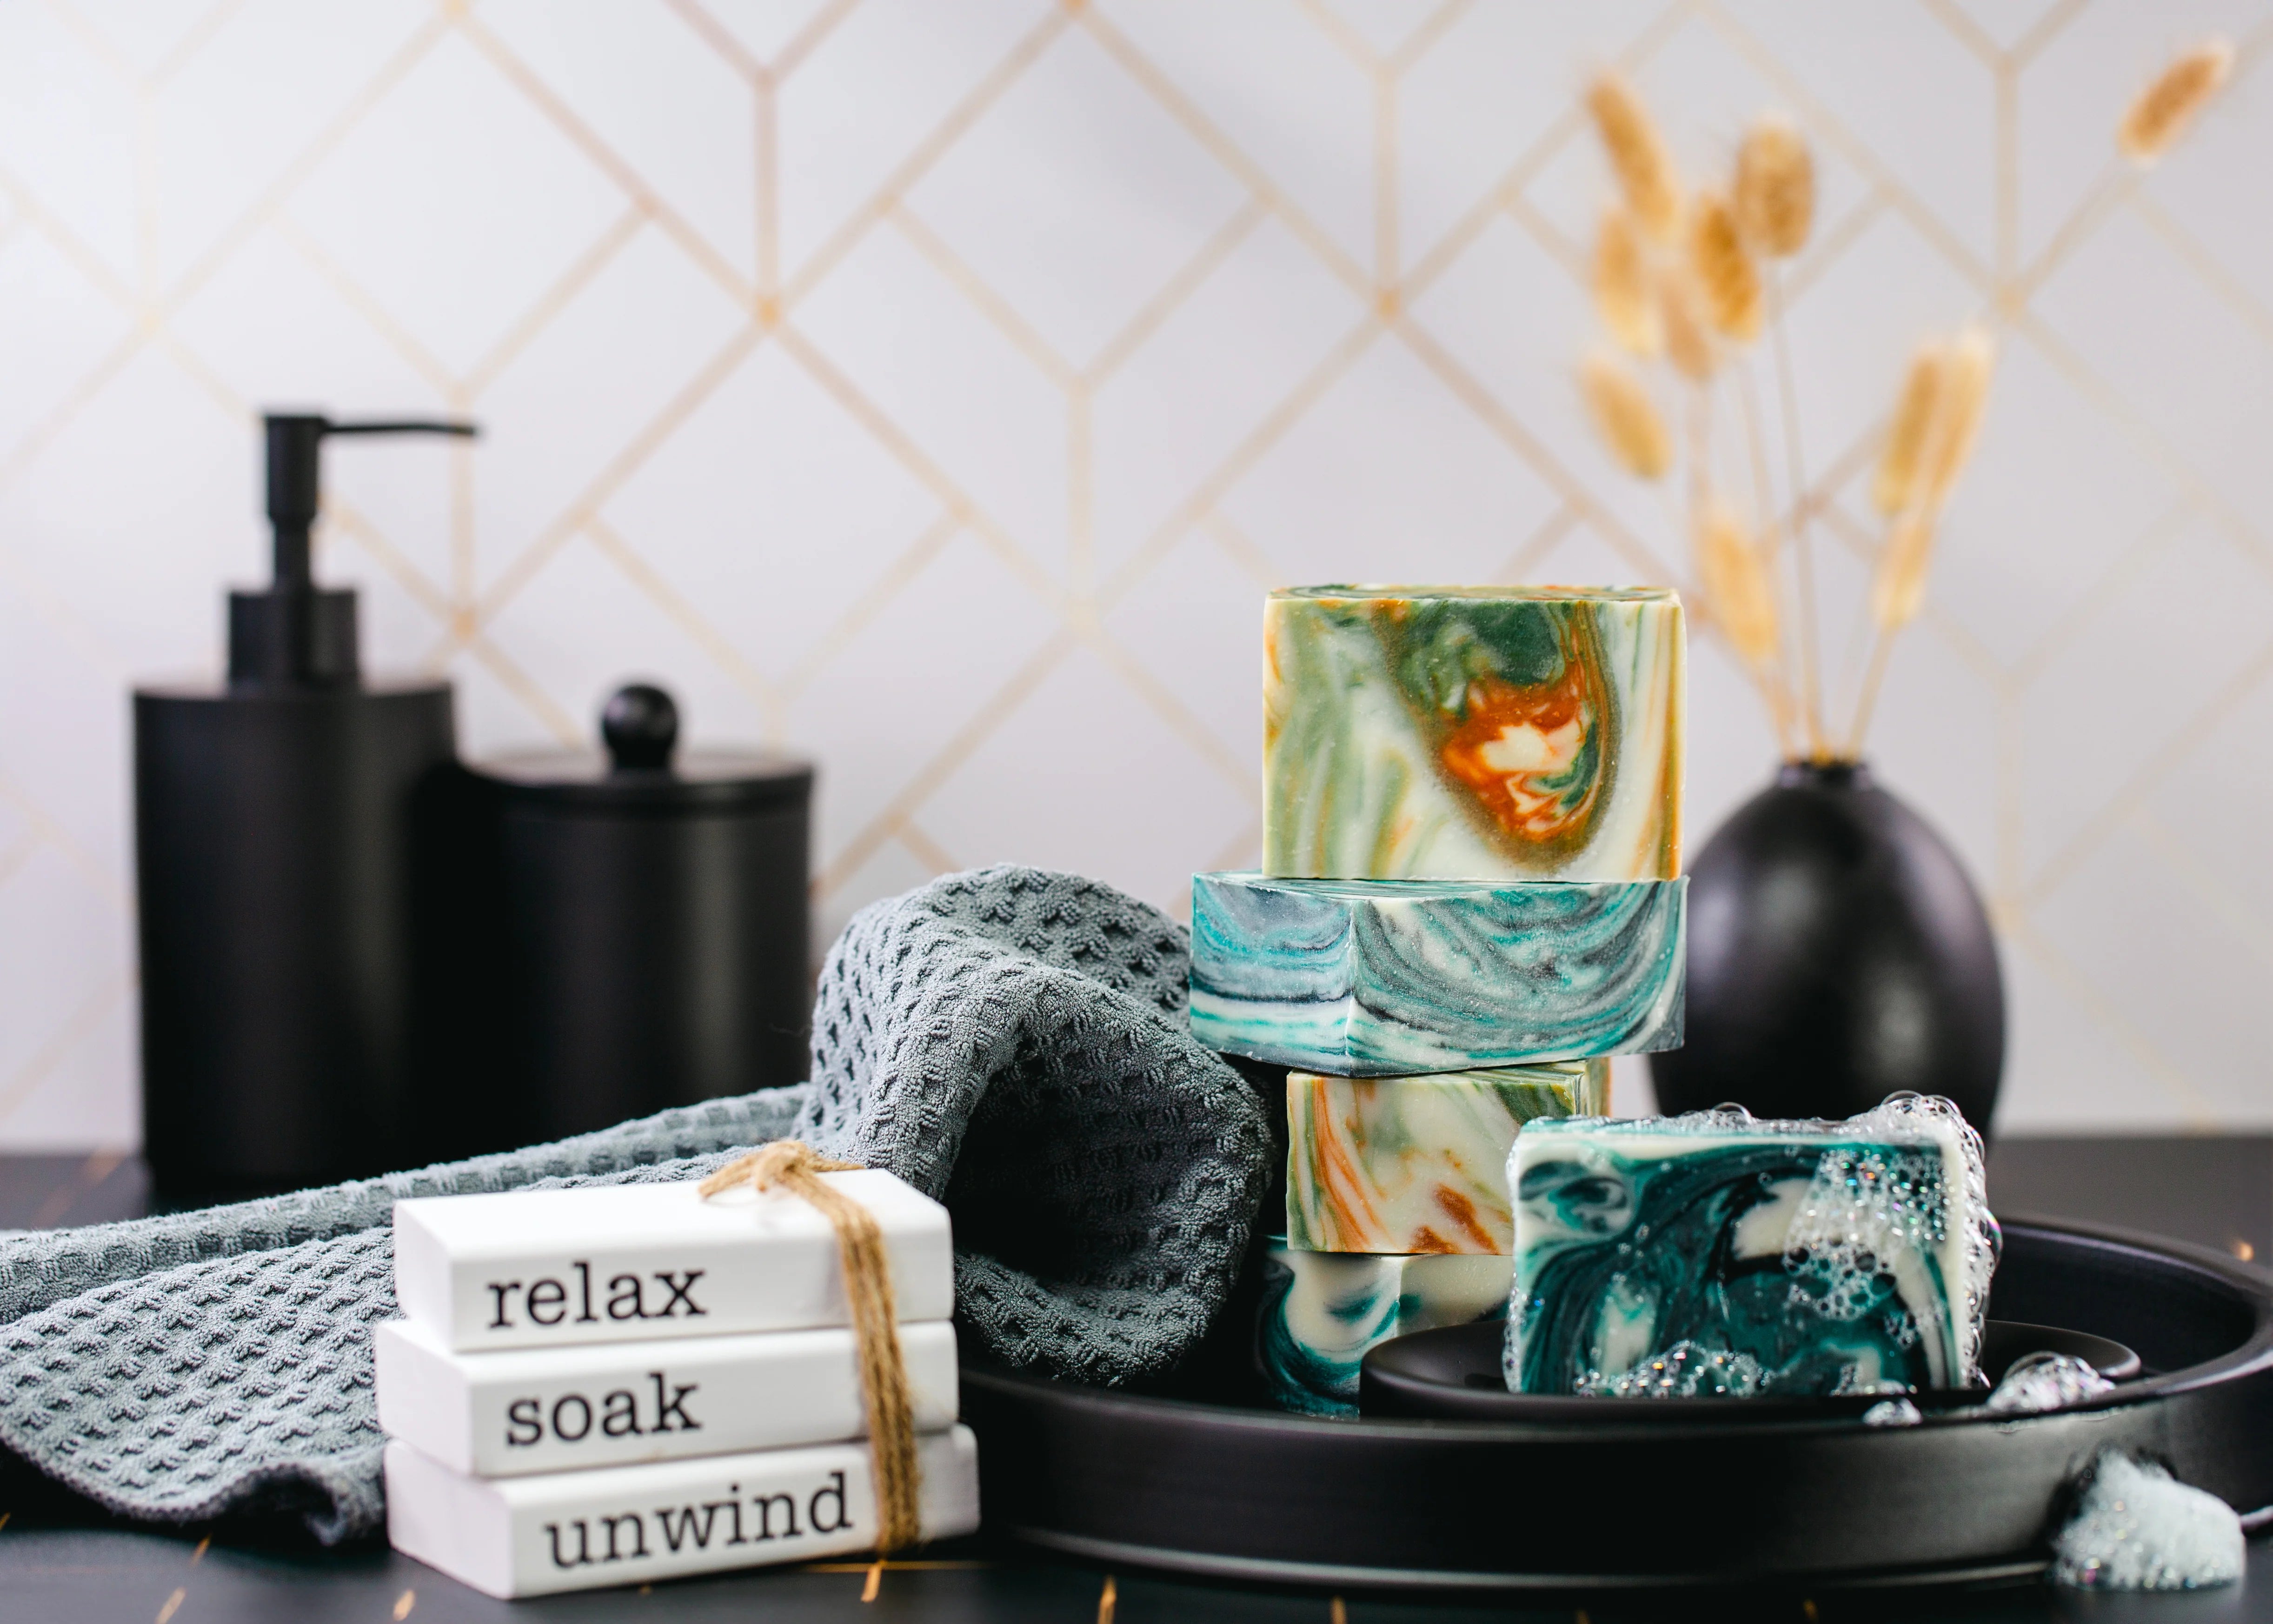

Unlock the secret to crafting a Soap that embodies tranquility, utilizing SFIC Oatmeal Melt and Pour Base, Spirulina Powder, Indigo Powder, and our newly released Indigo Bloom Fragrance. Elevate your soap-making skills in just a few simple steps!
Click Here To Follow Our Step-By-Step PDF Guide
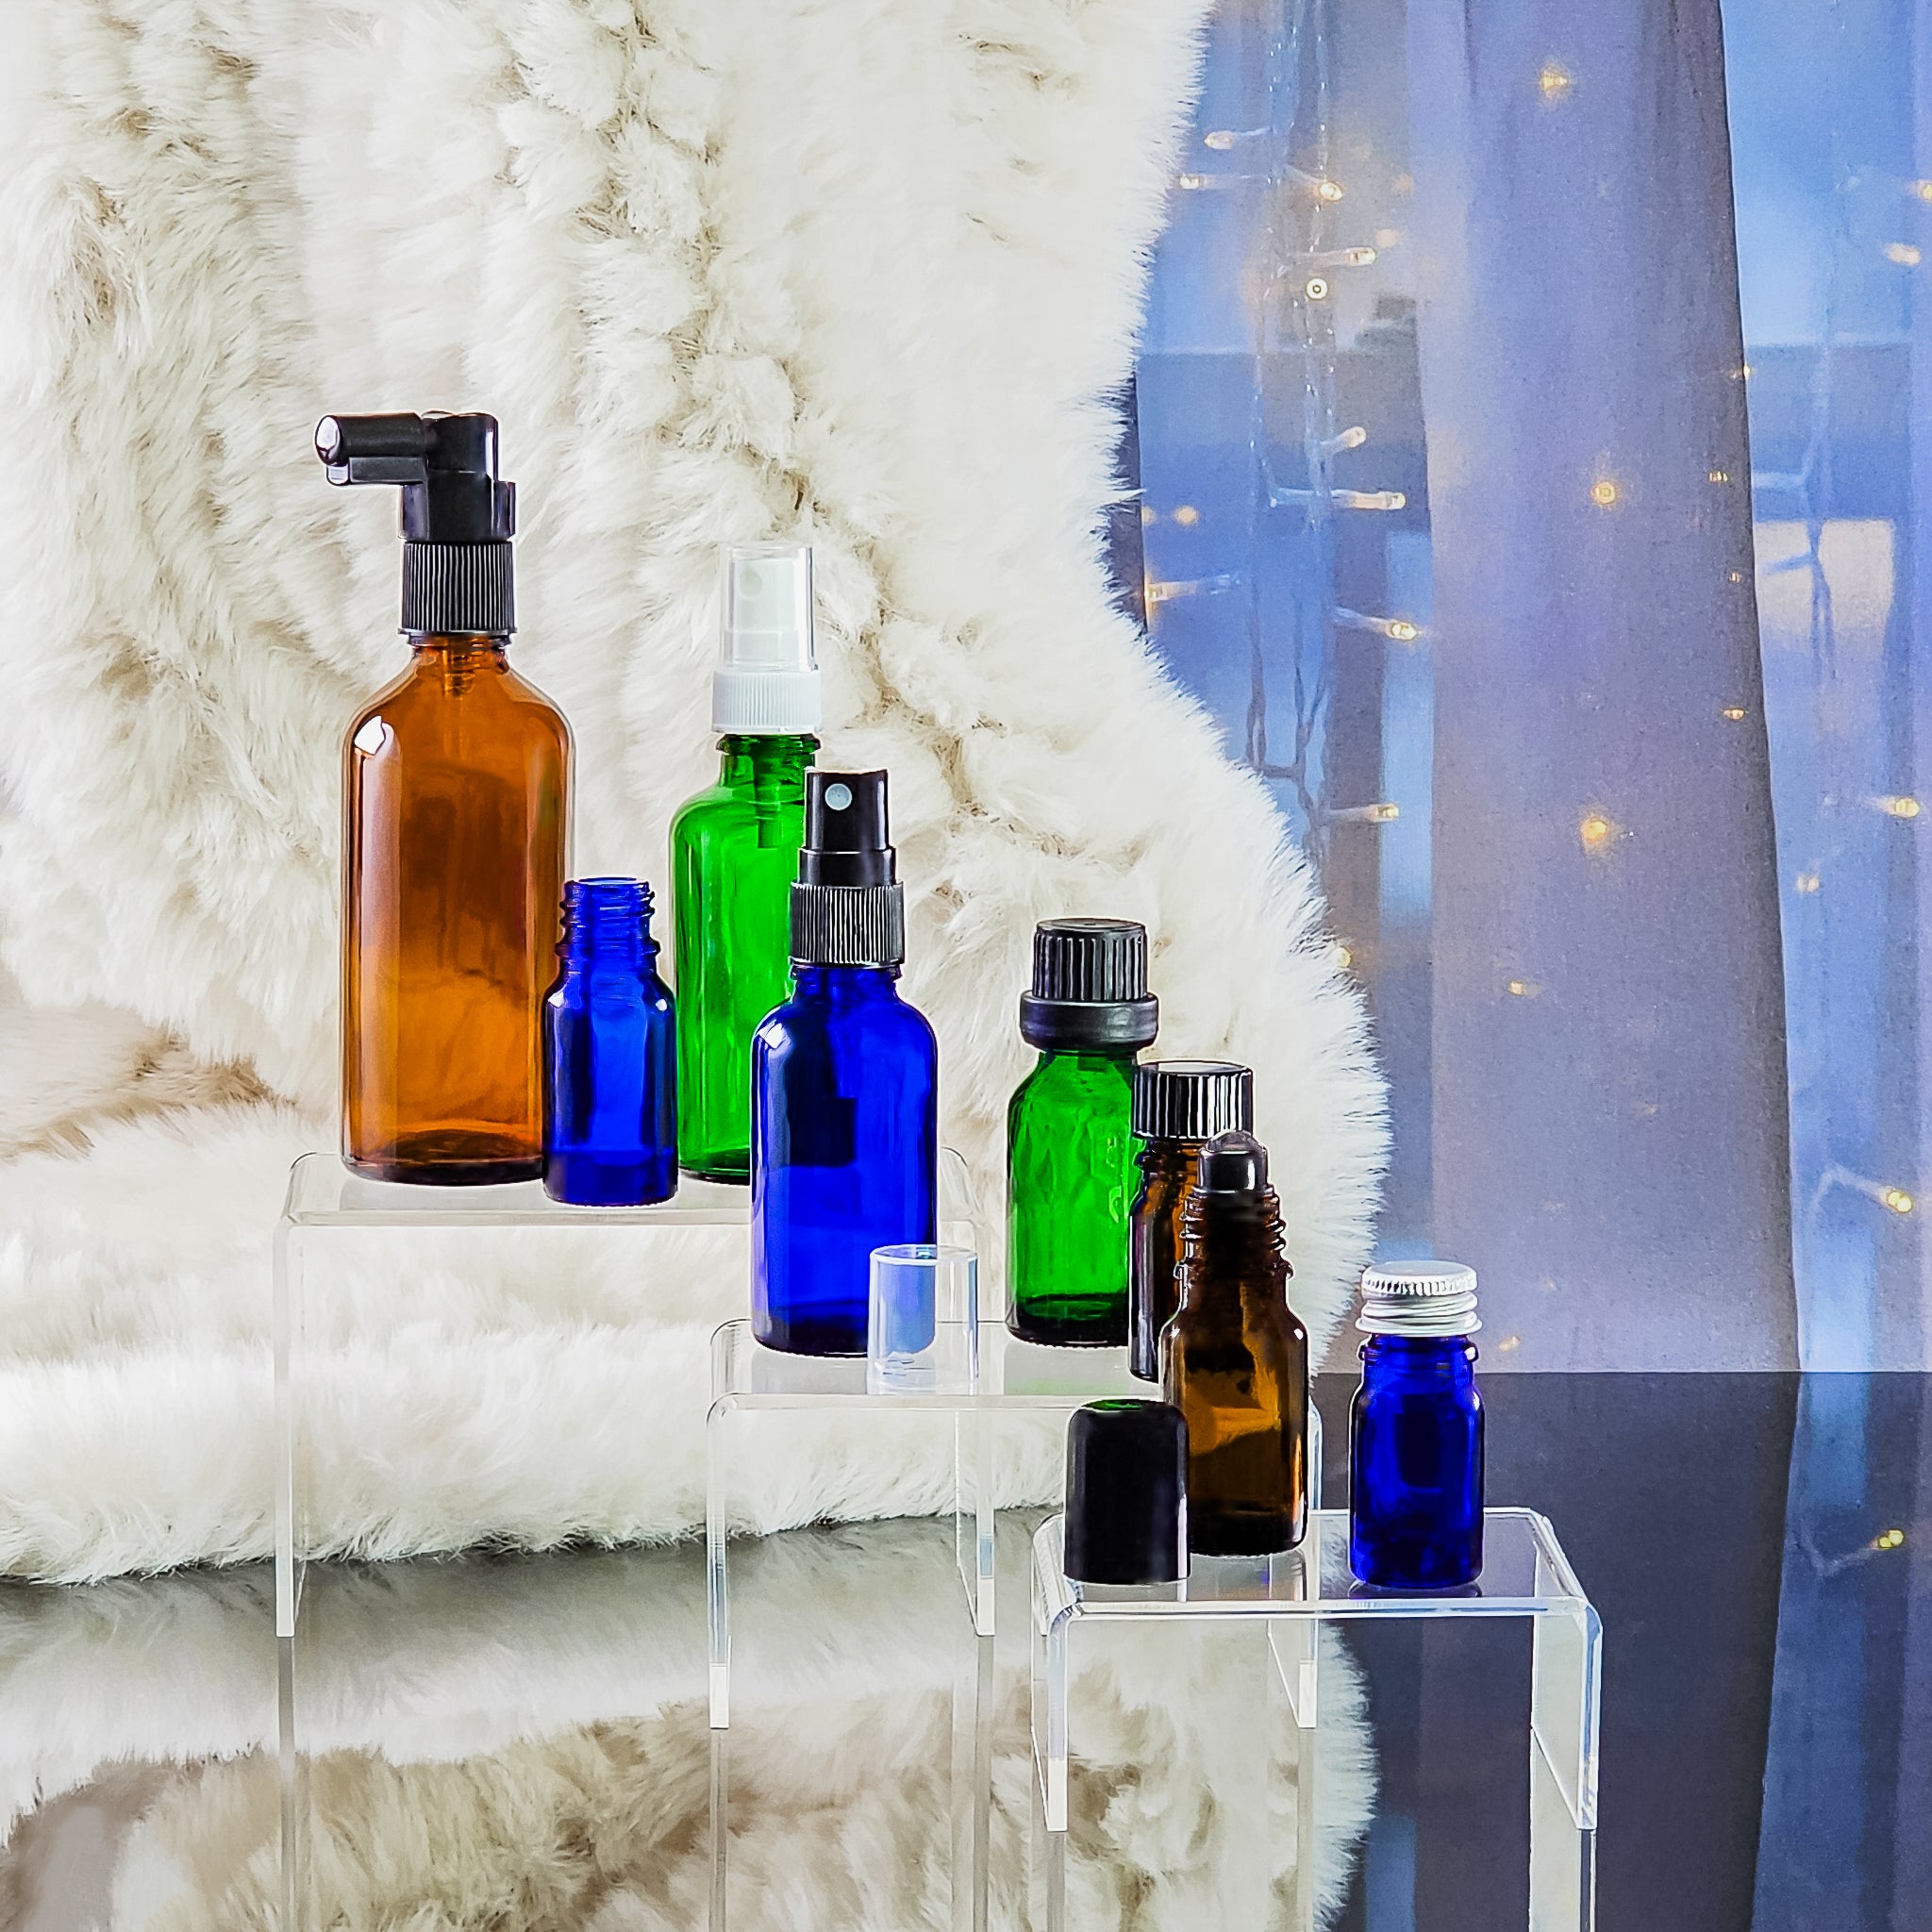
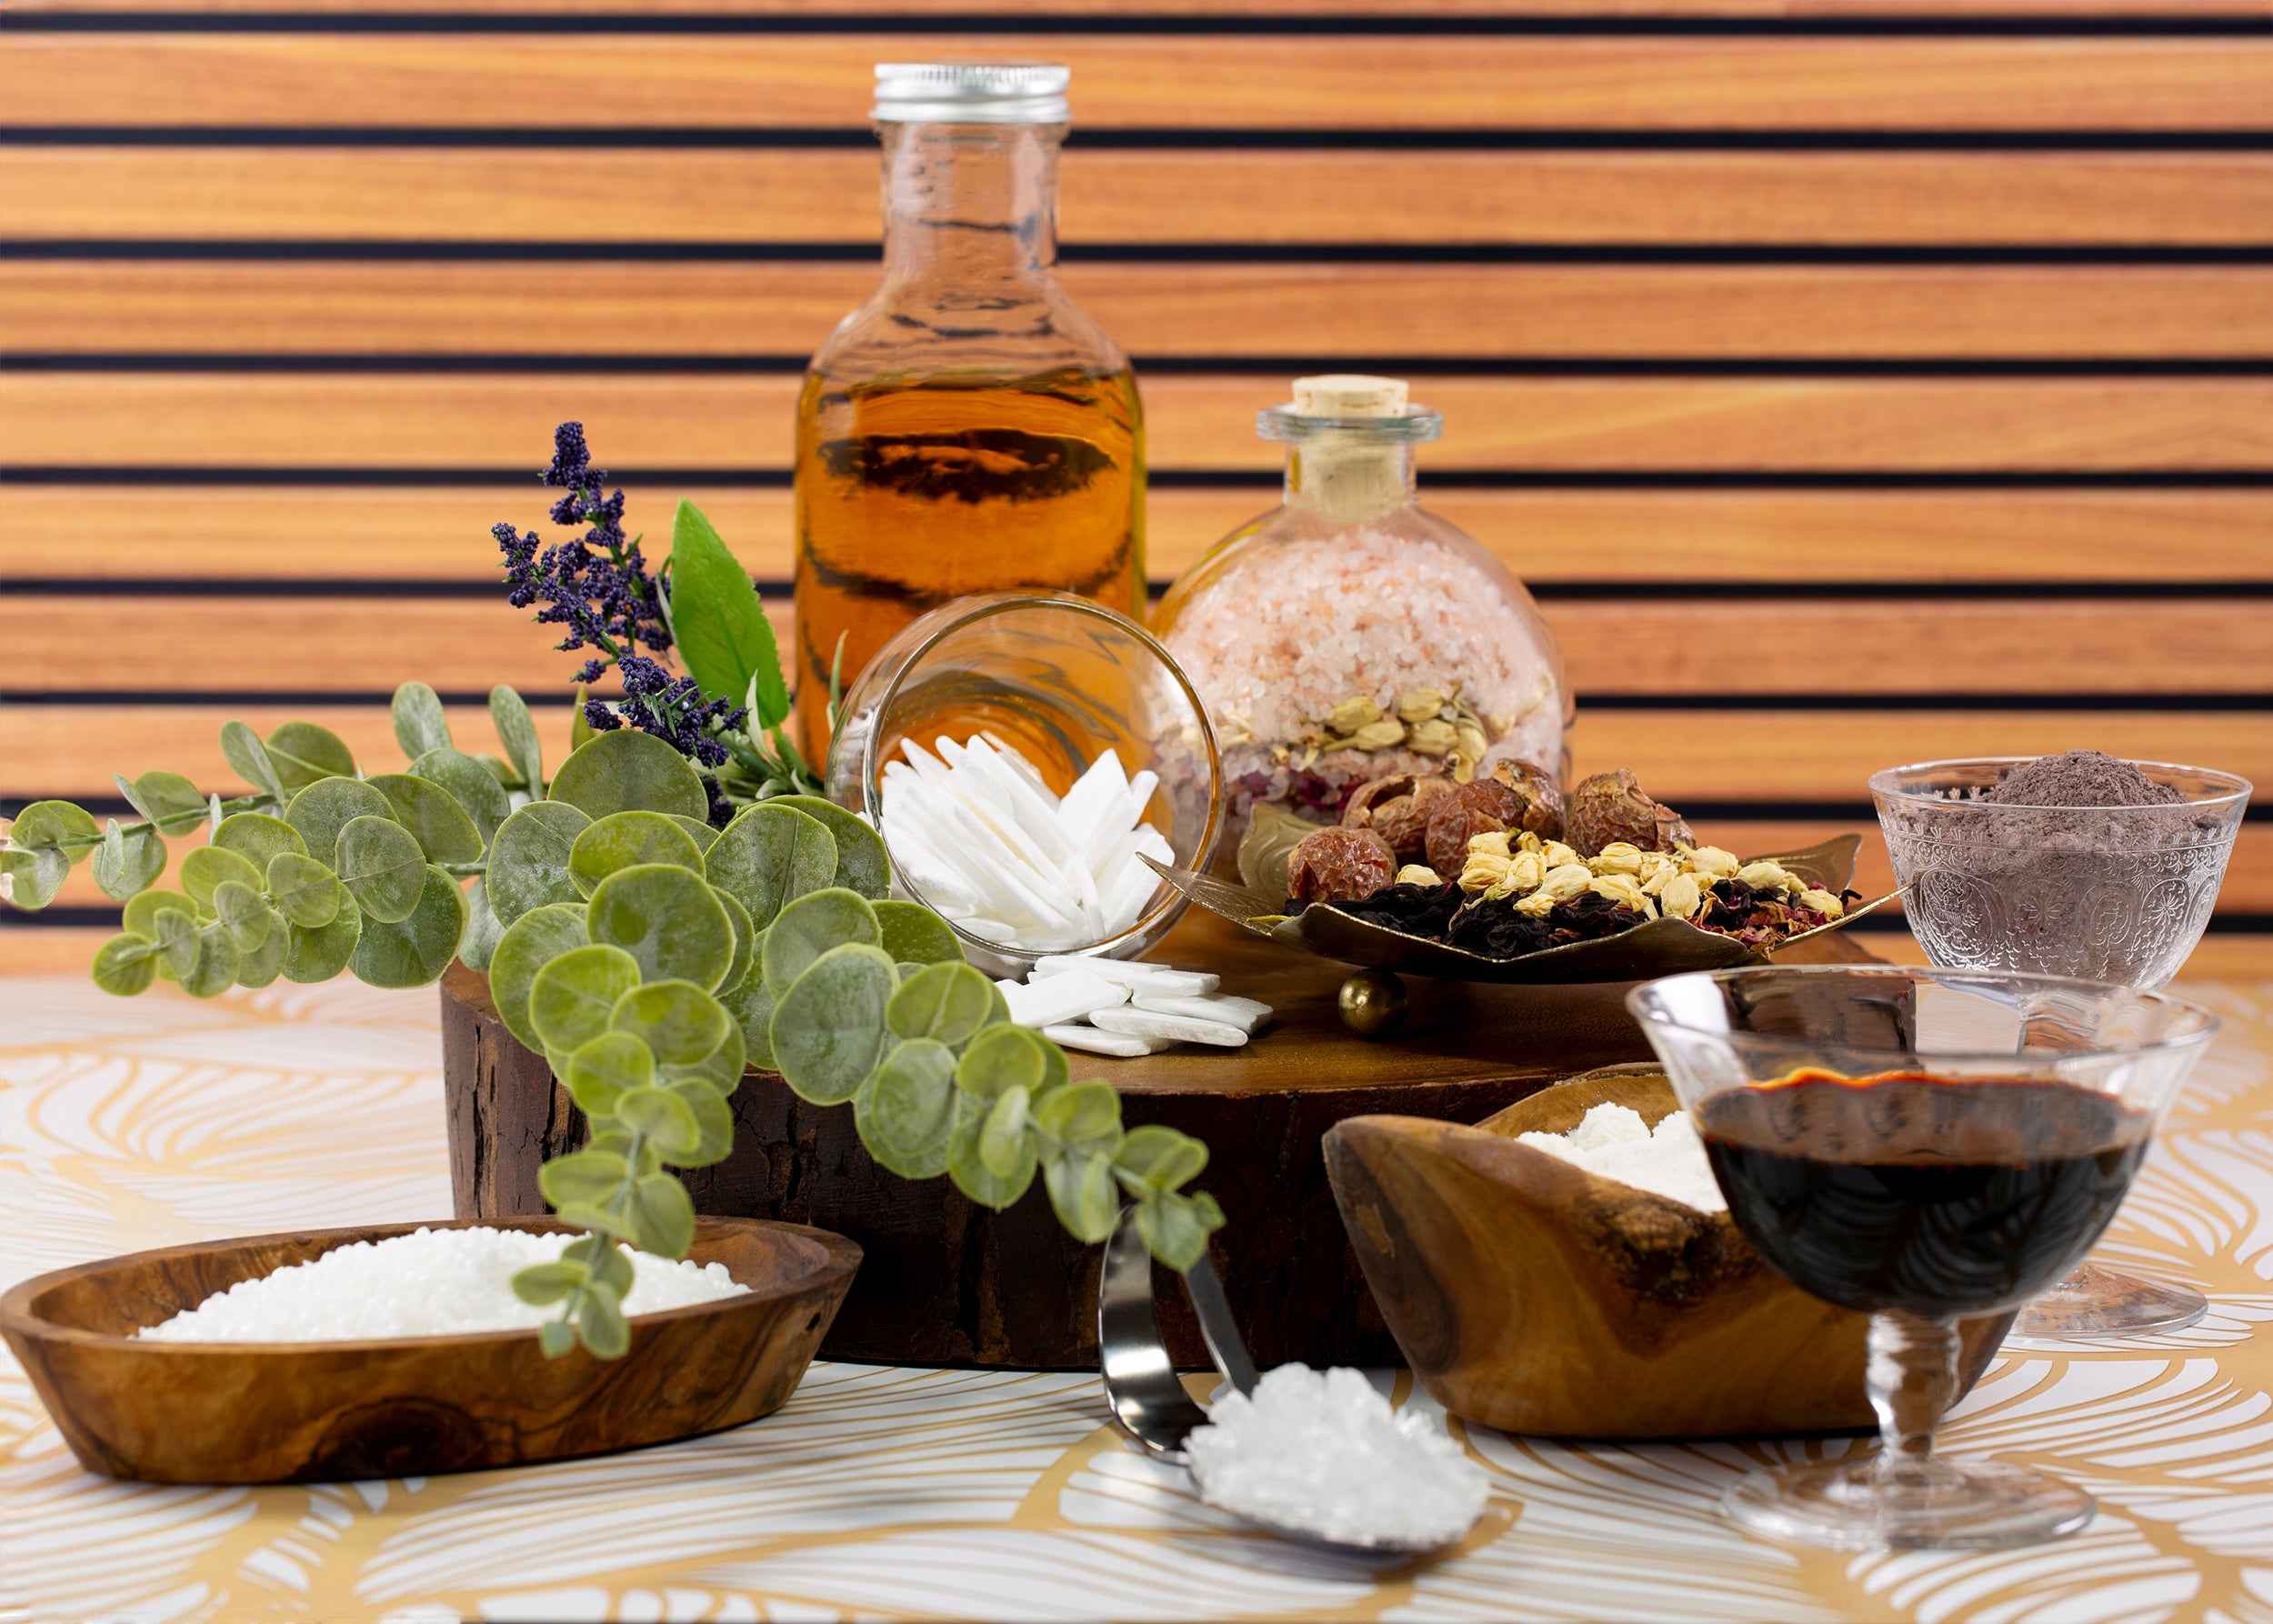
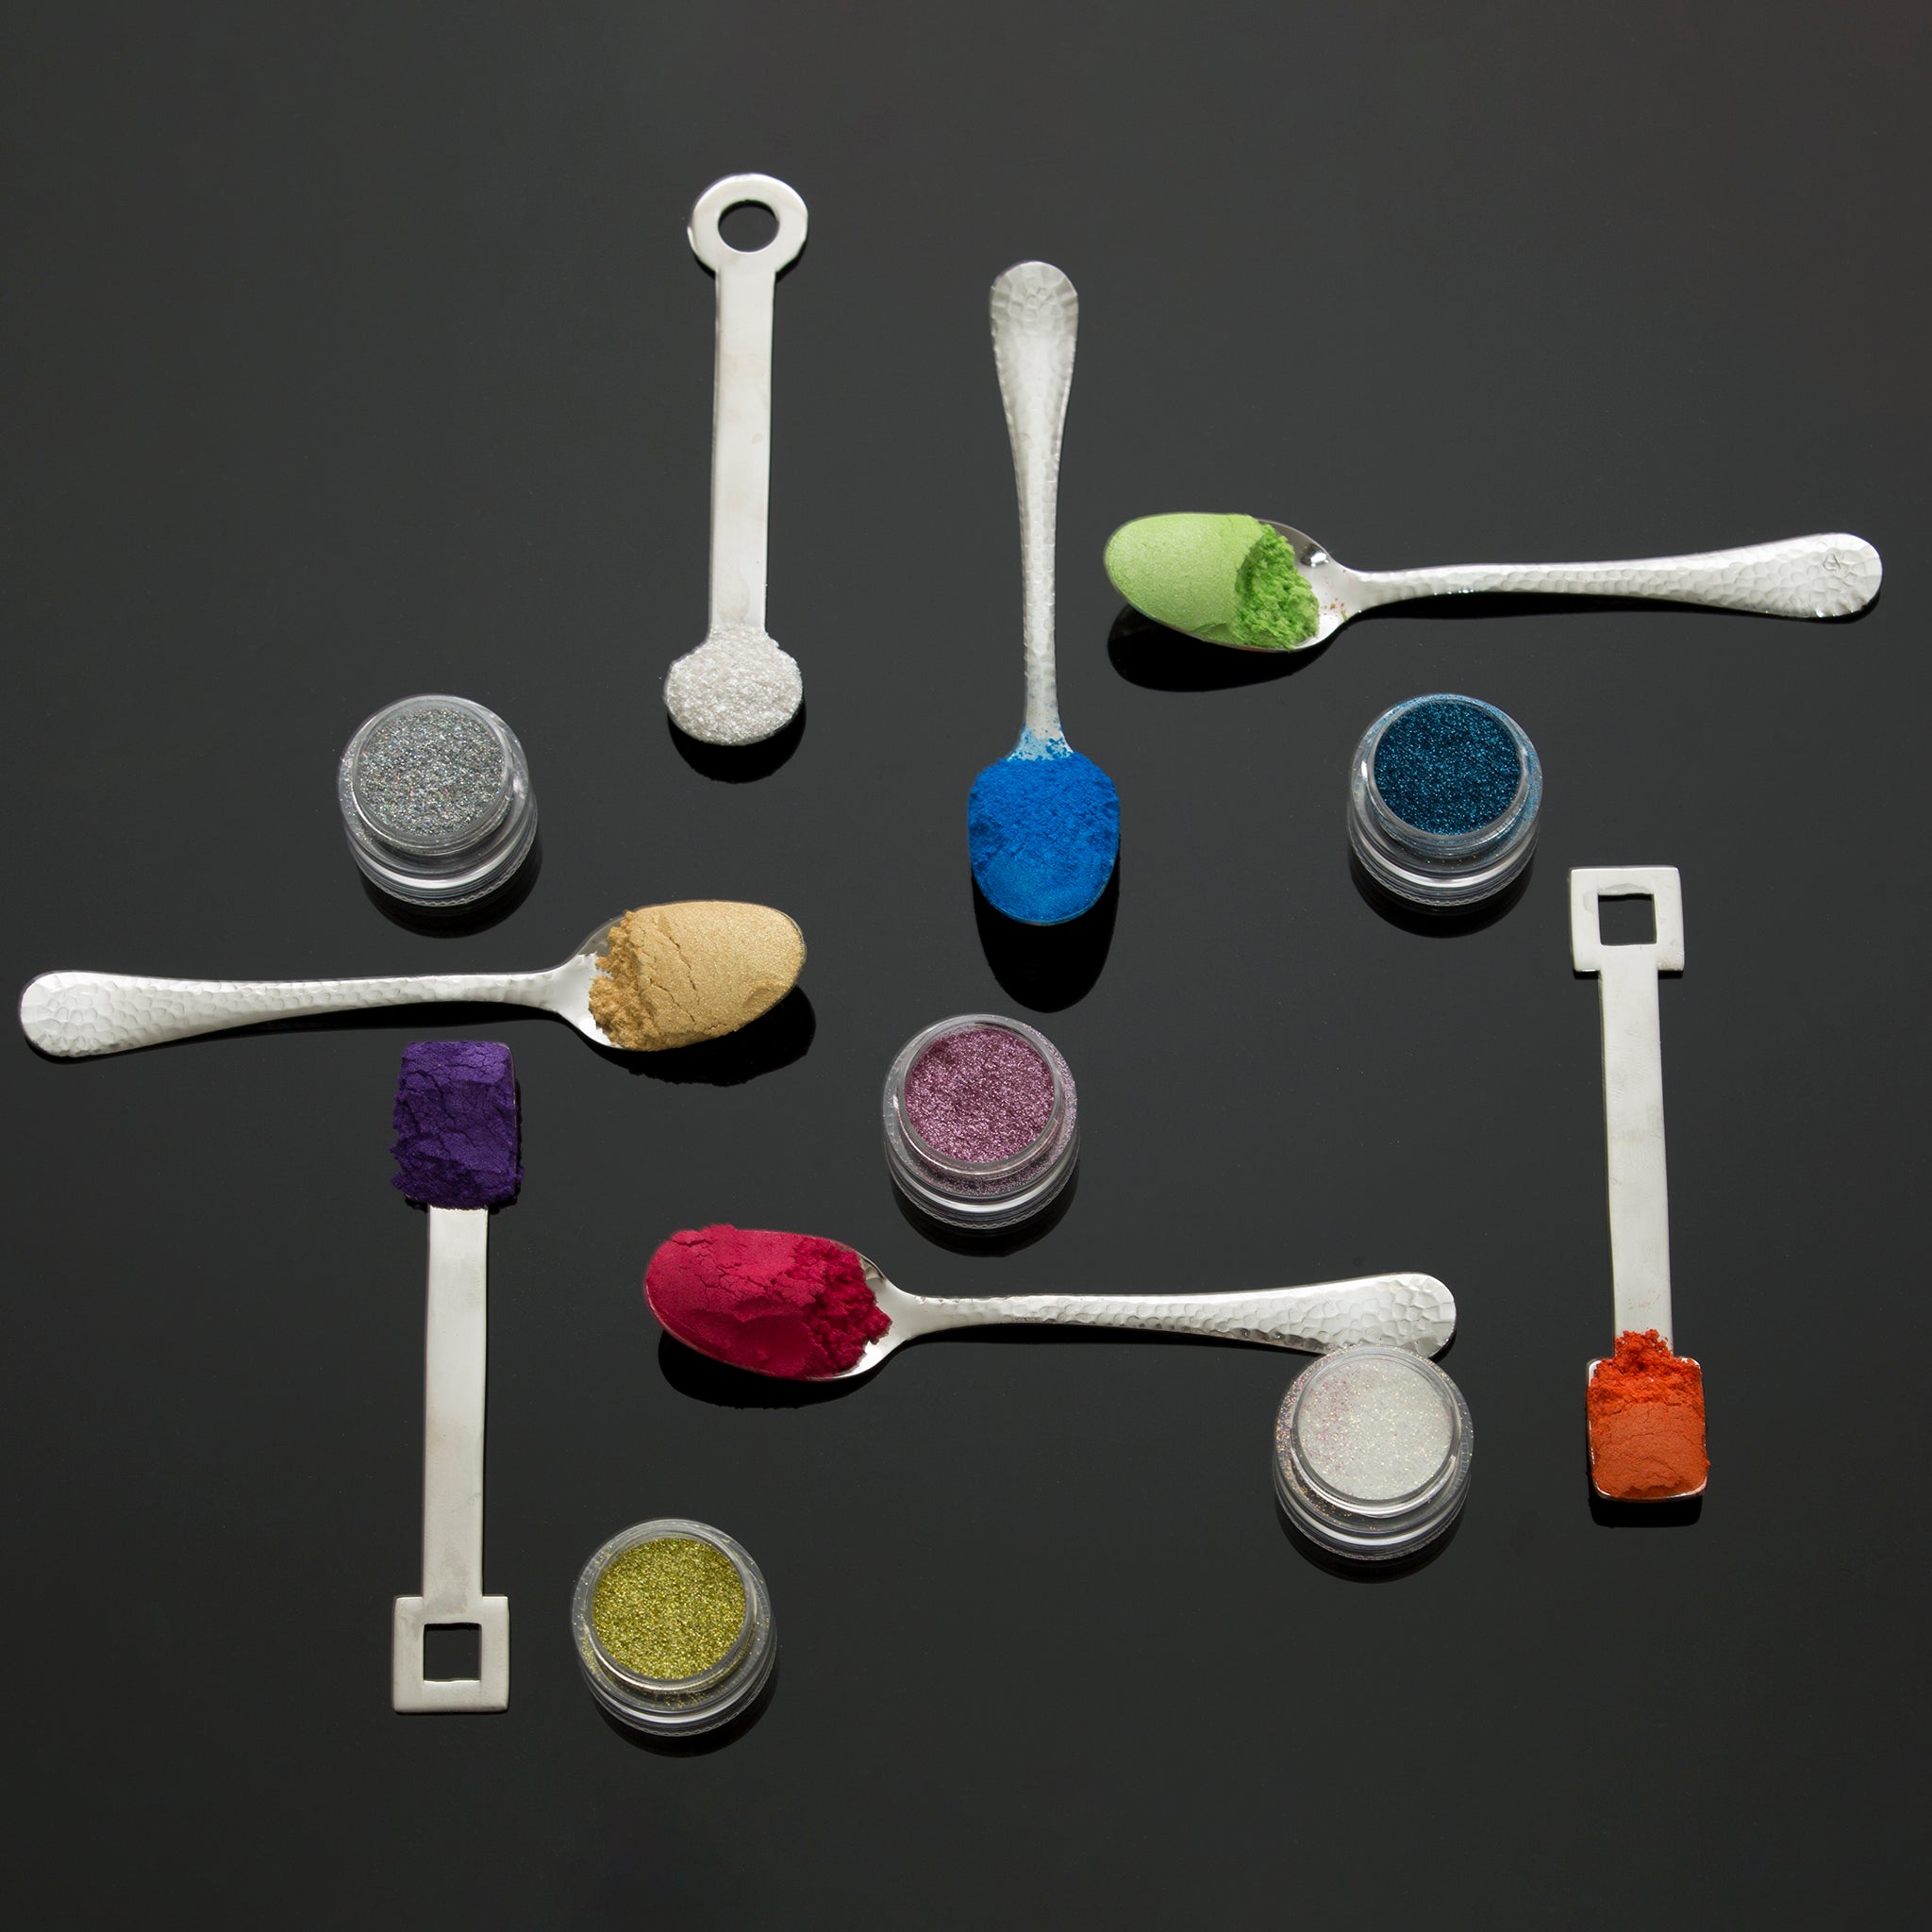
Recommended Ingredients:
Recipe (makes 2) :
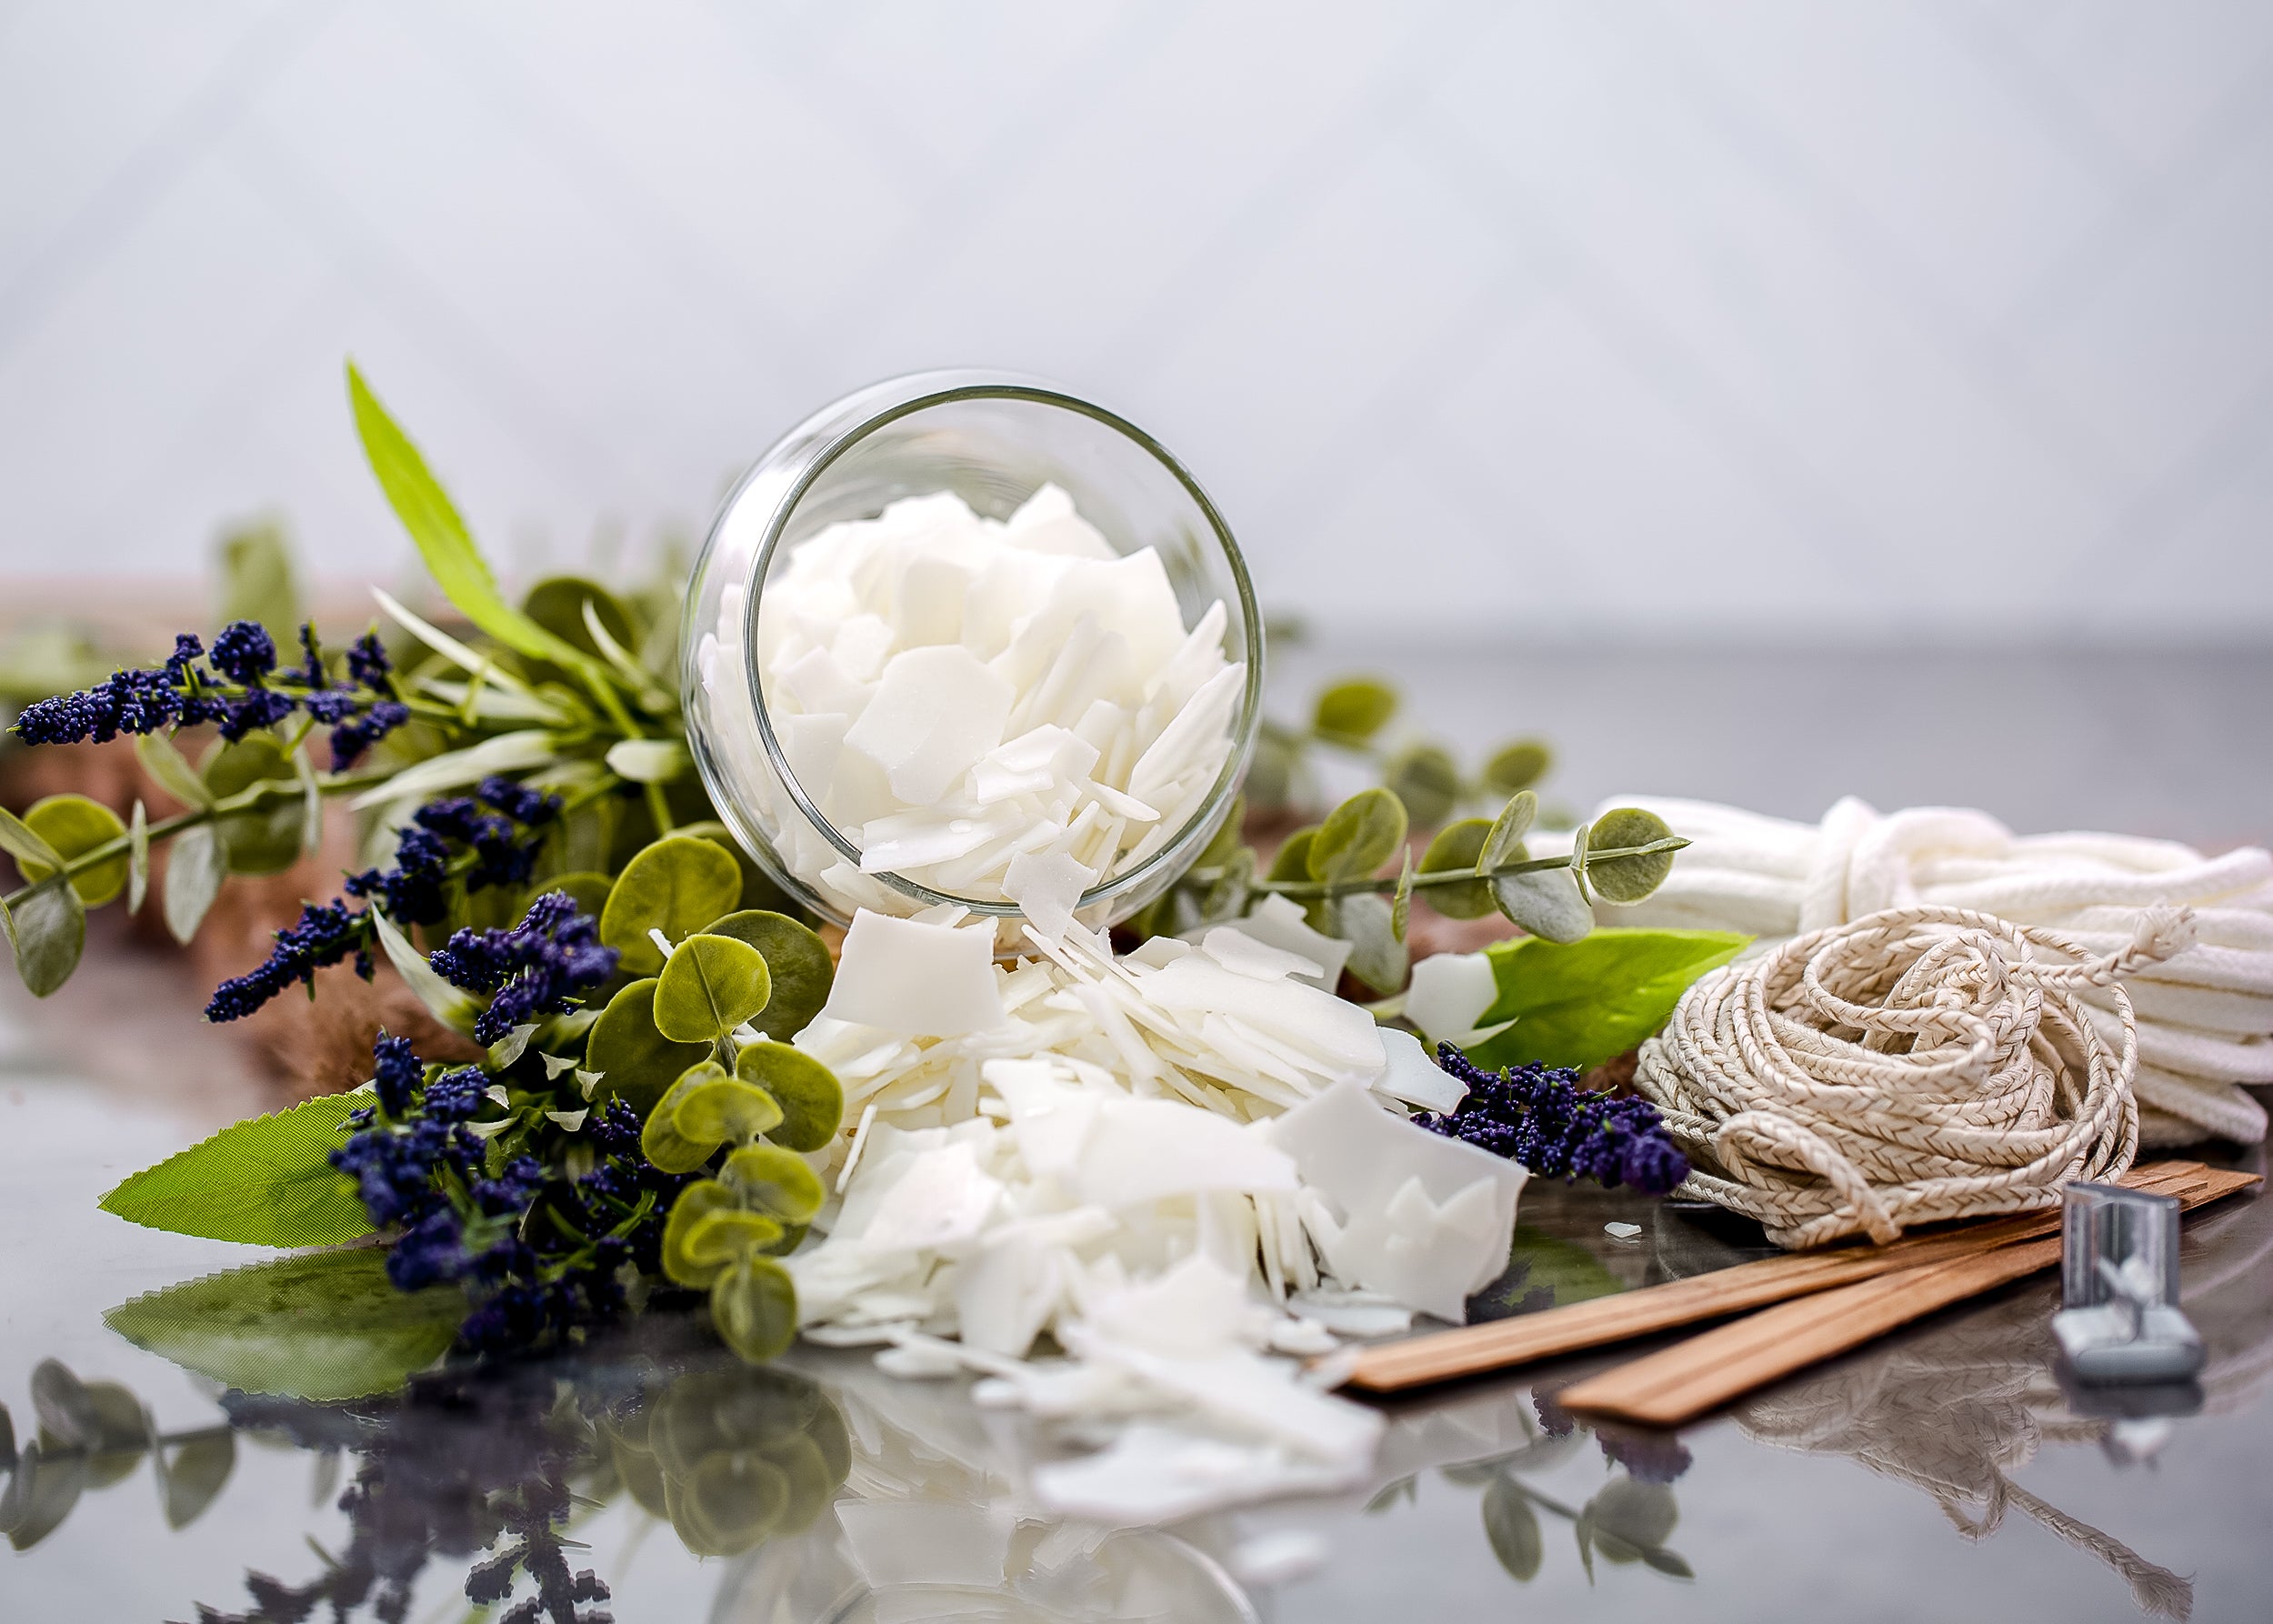
- 227g SFIC Oatmeal Melt and Pour Base
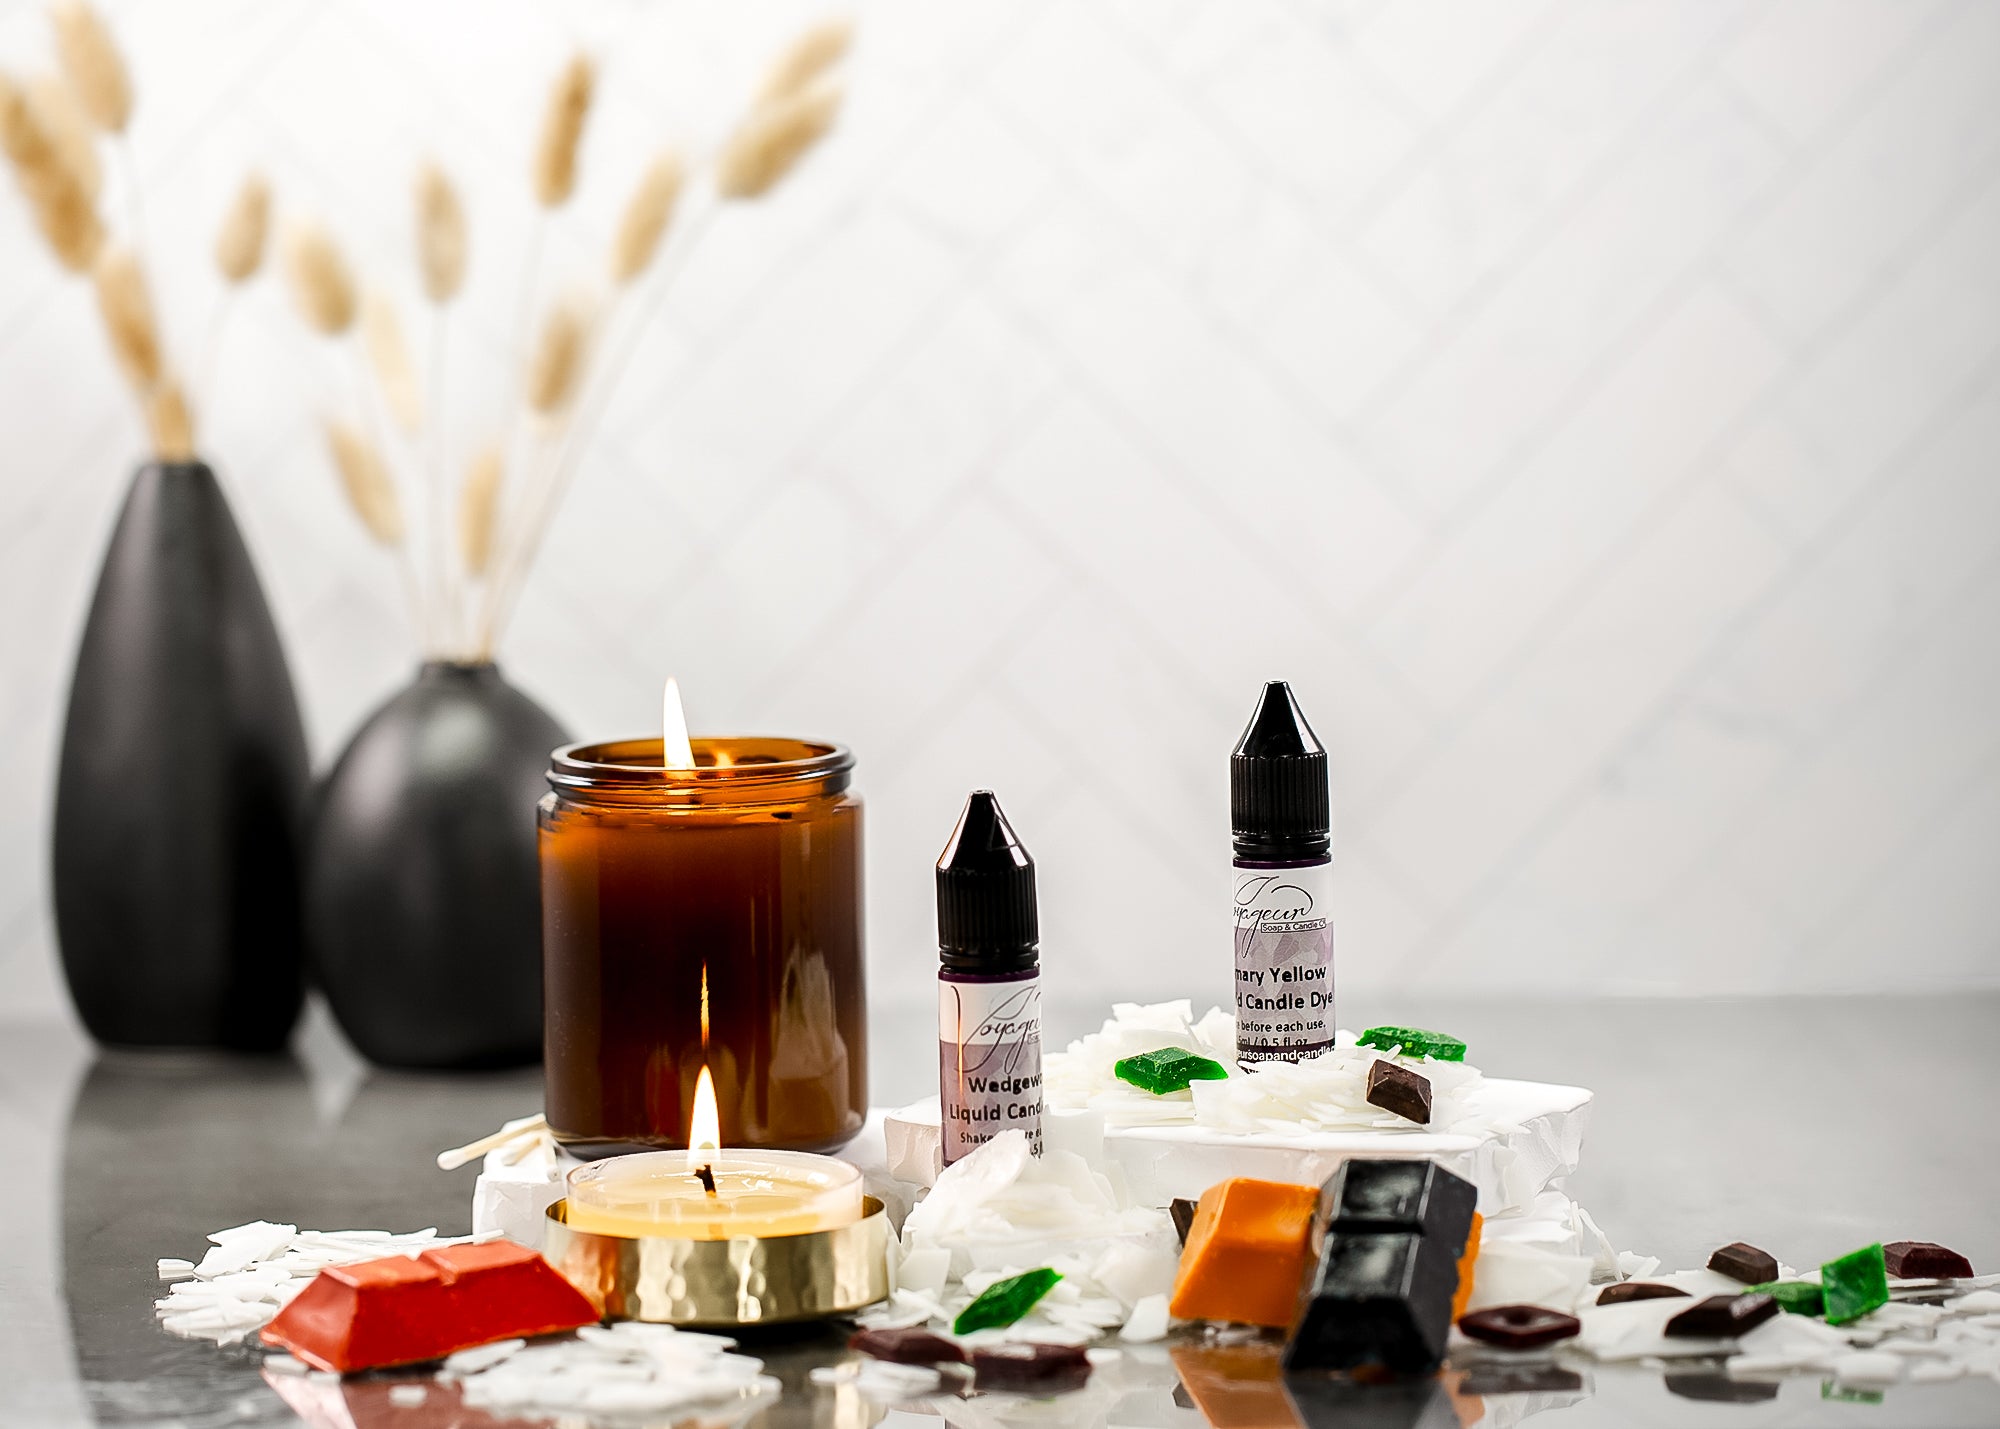
- 6g Indigo Bloom Fragrance Oil
- 250ml Isopropyl Alcohol in a Spray bottle
- 1g of Spirulina Powder
- 1g of Indigo Powder
- 1x 0.15cc scoop of Super Sparkle Light Gold
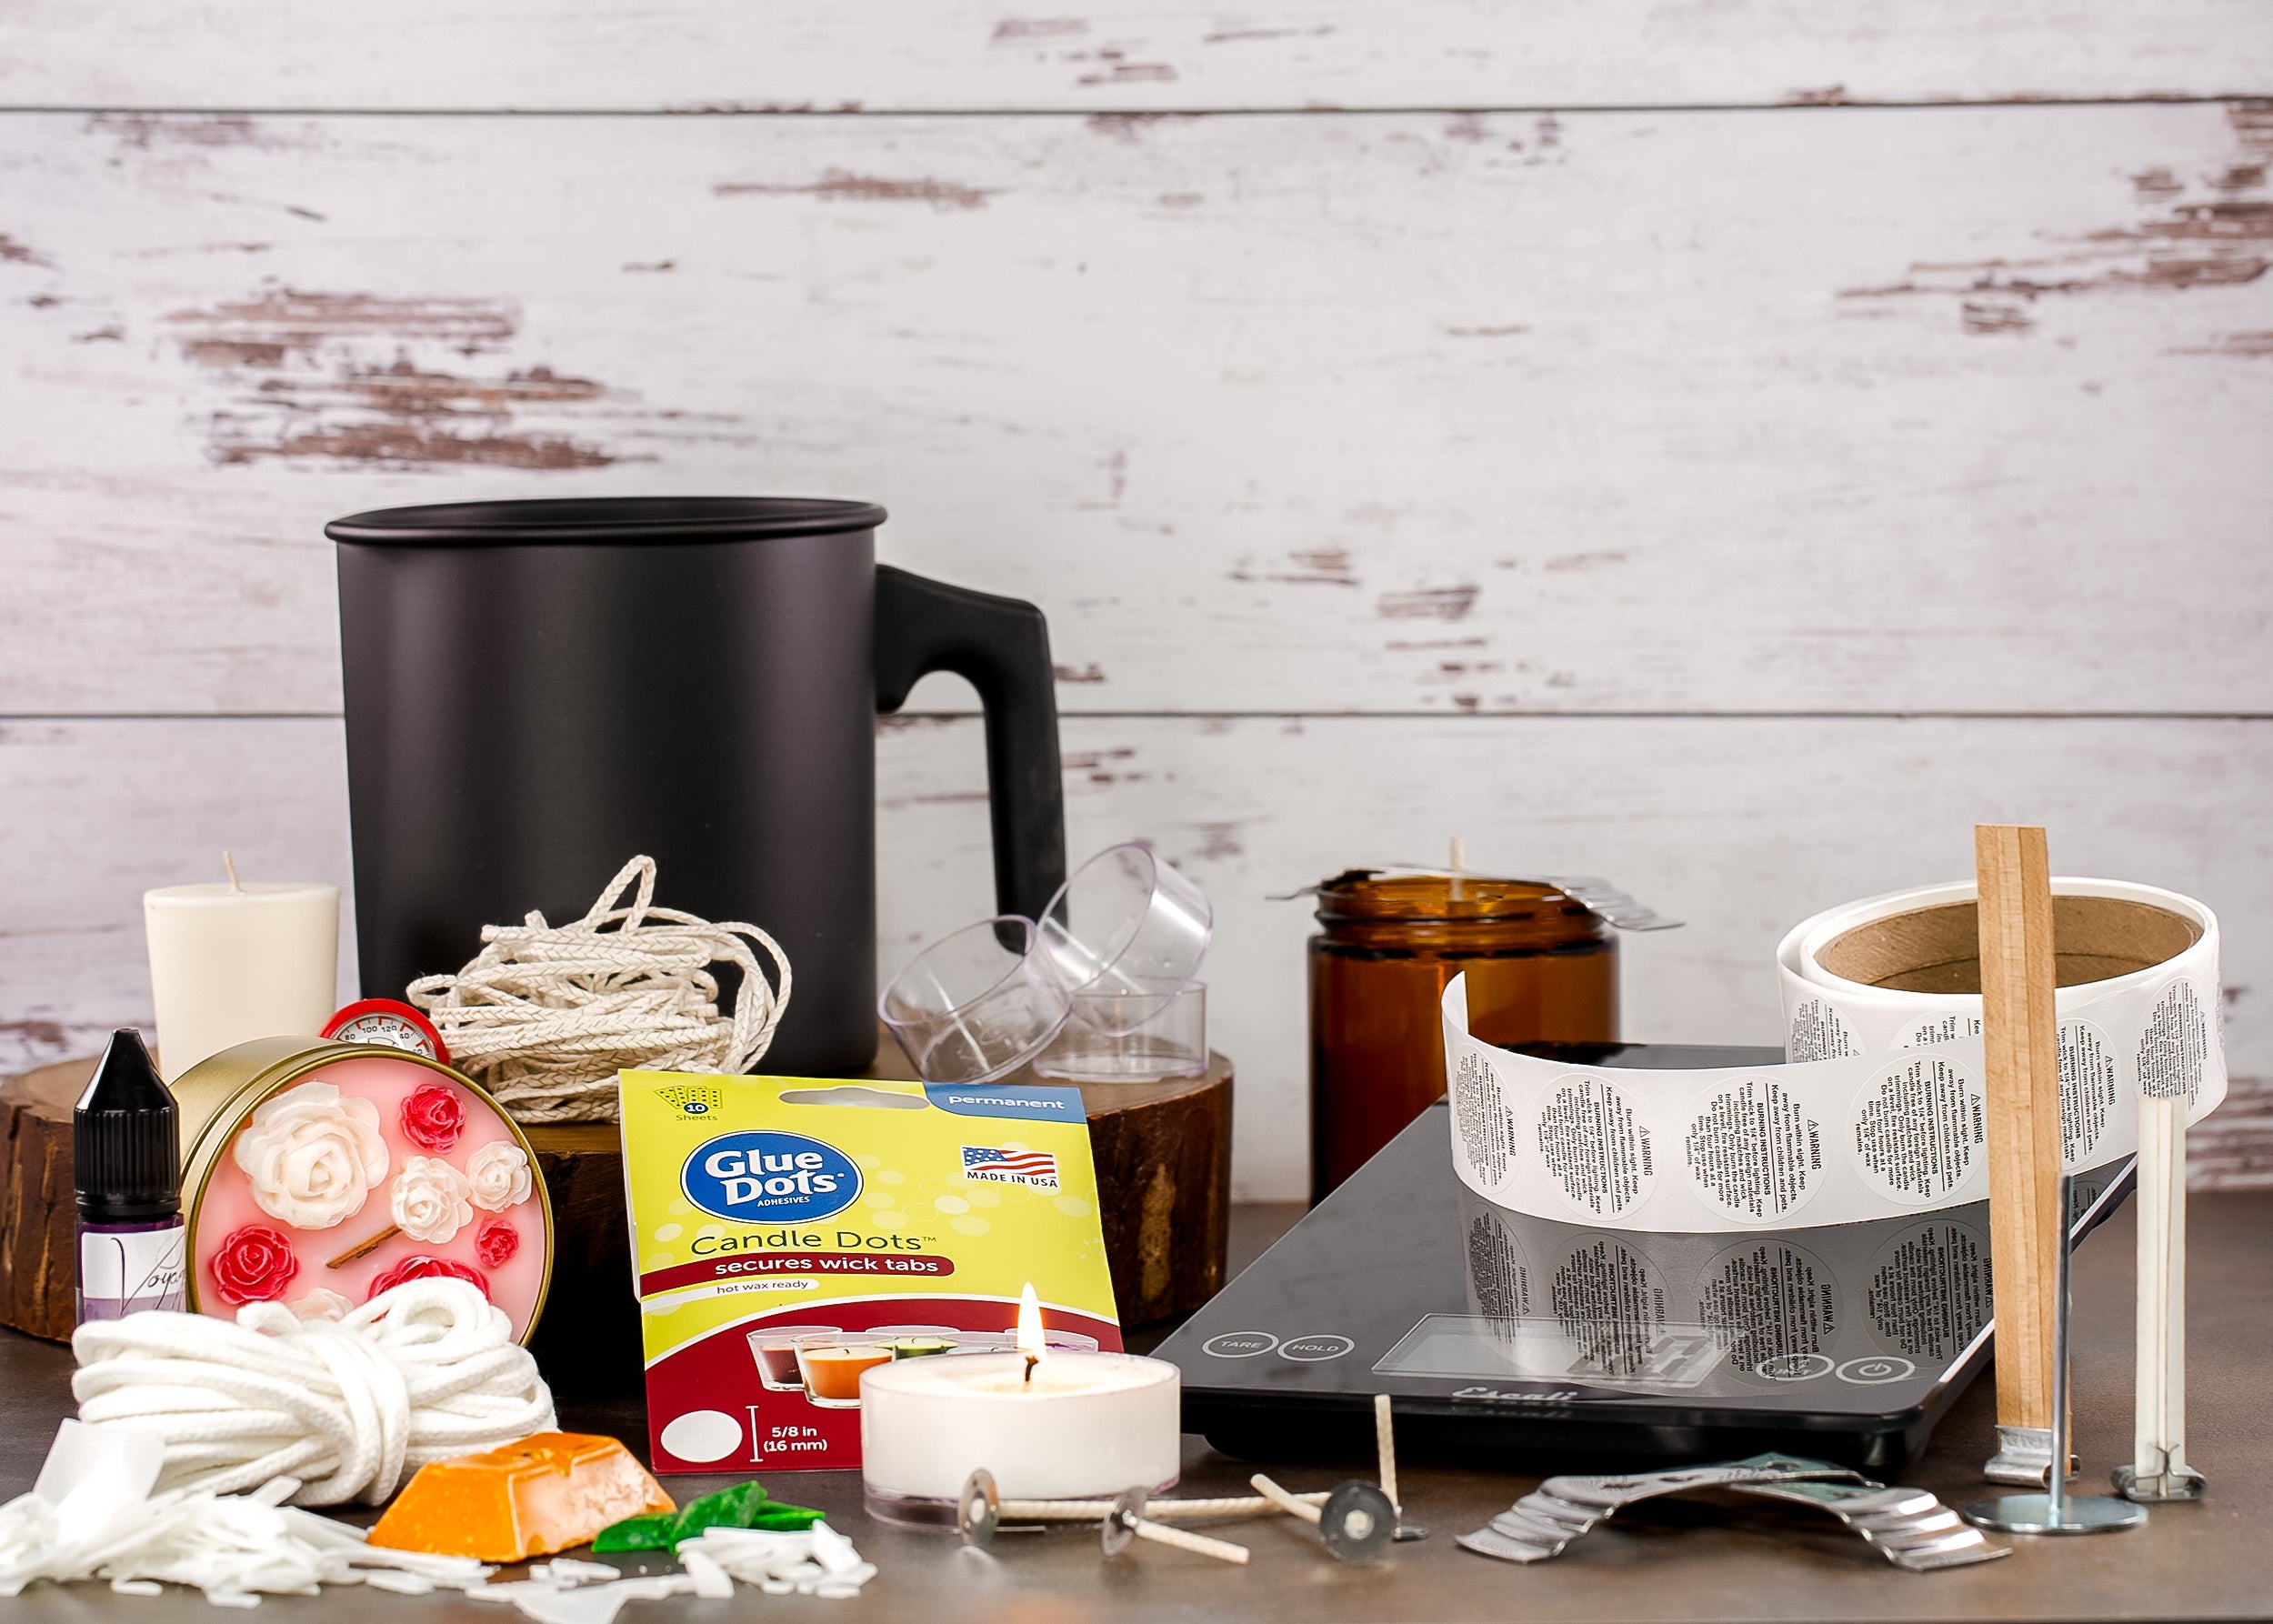
Recommended Utensils
- 1x Blossoms Milky Way Soap Mold
- 2x Easy Pour Measuring Cup
- 1x 0.15 cc Plastic Scoop
- 2x small mixing cups
- Stainless Steel Heavy Gauge Soap Cutter
- Fine Paint Brush
- Scale
- Sticks to stir
- Gloves
Directions:
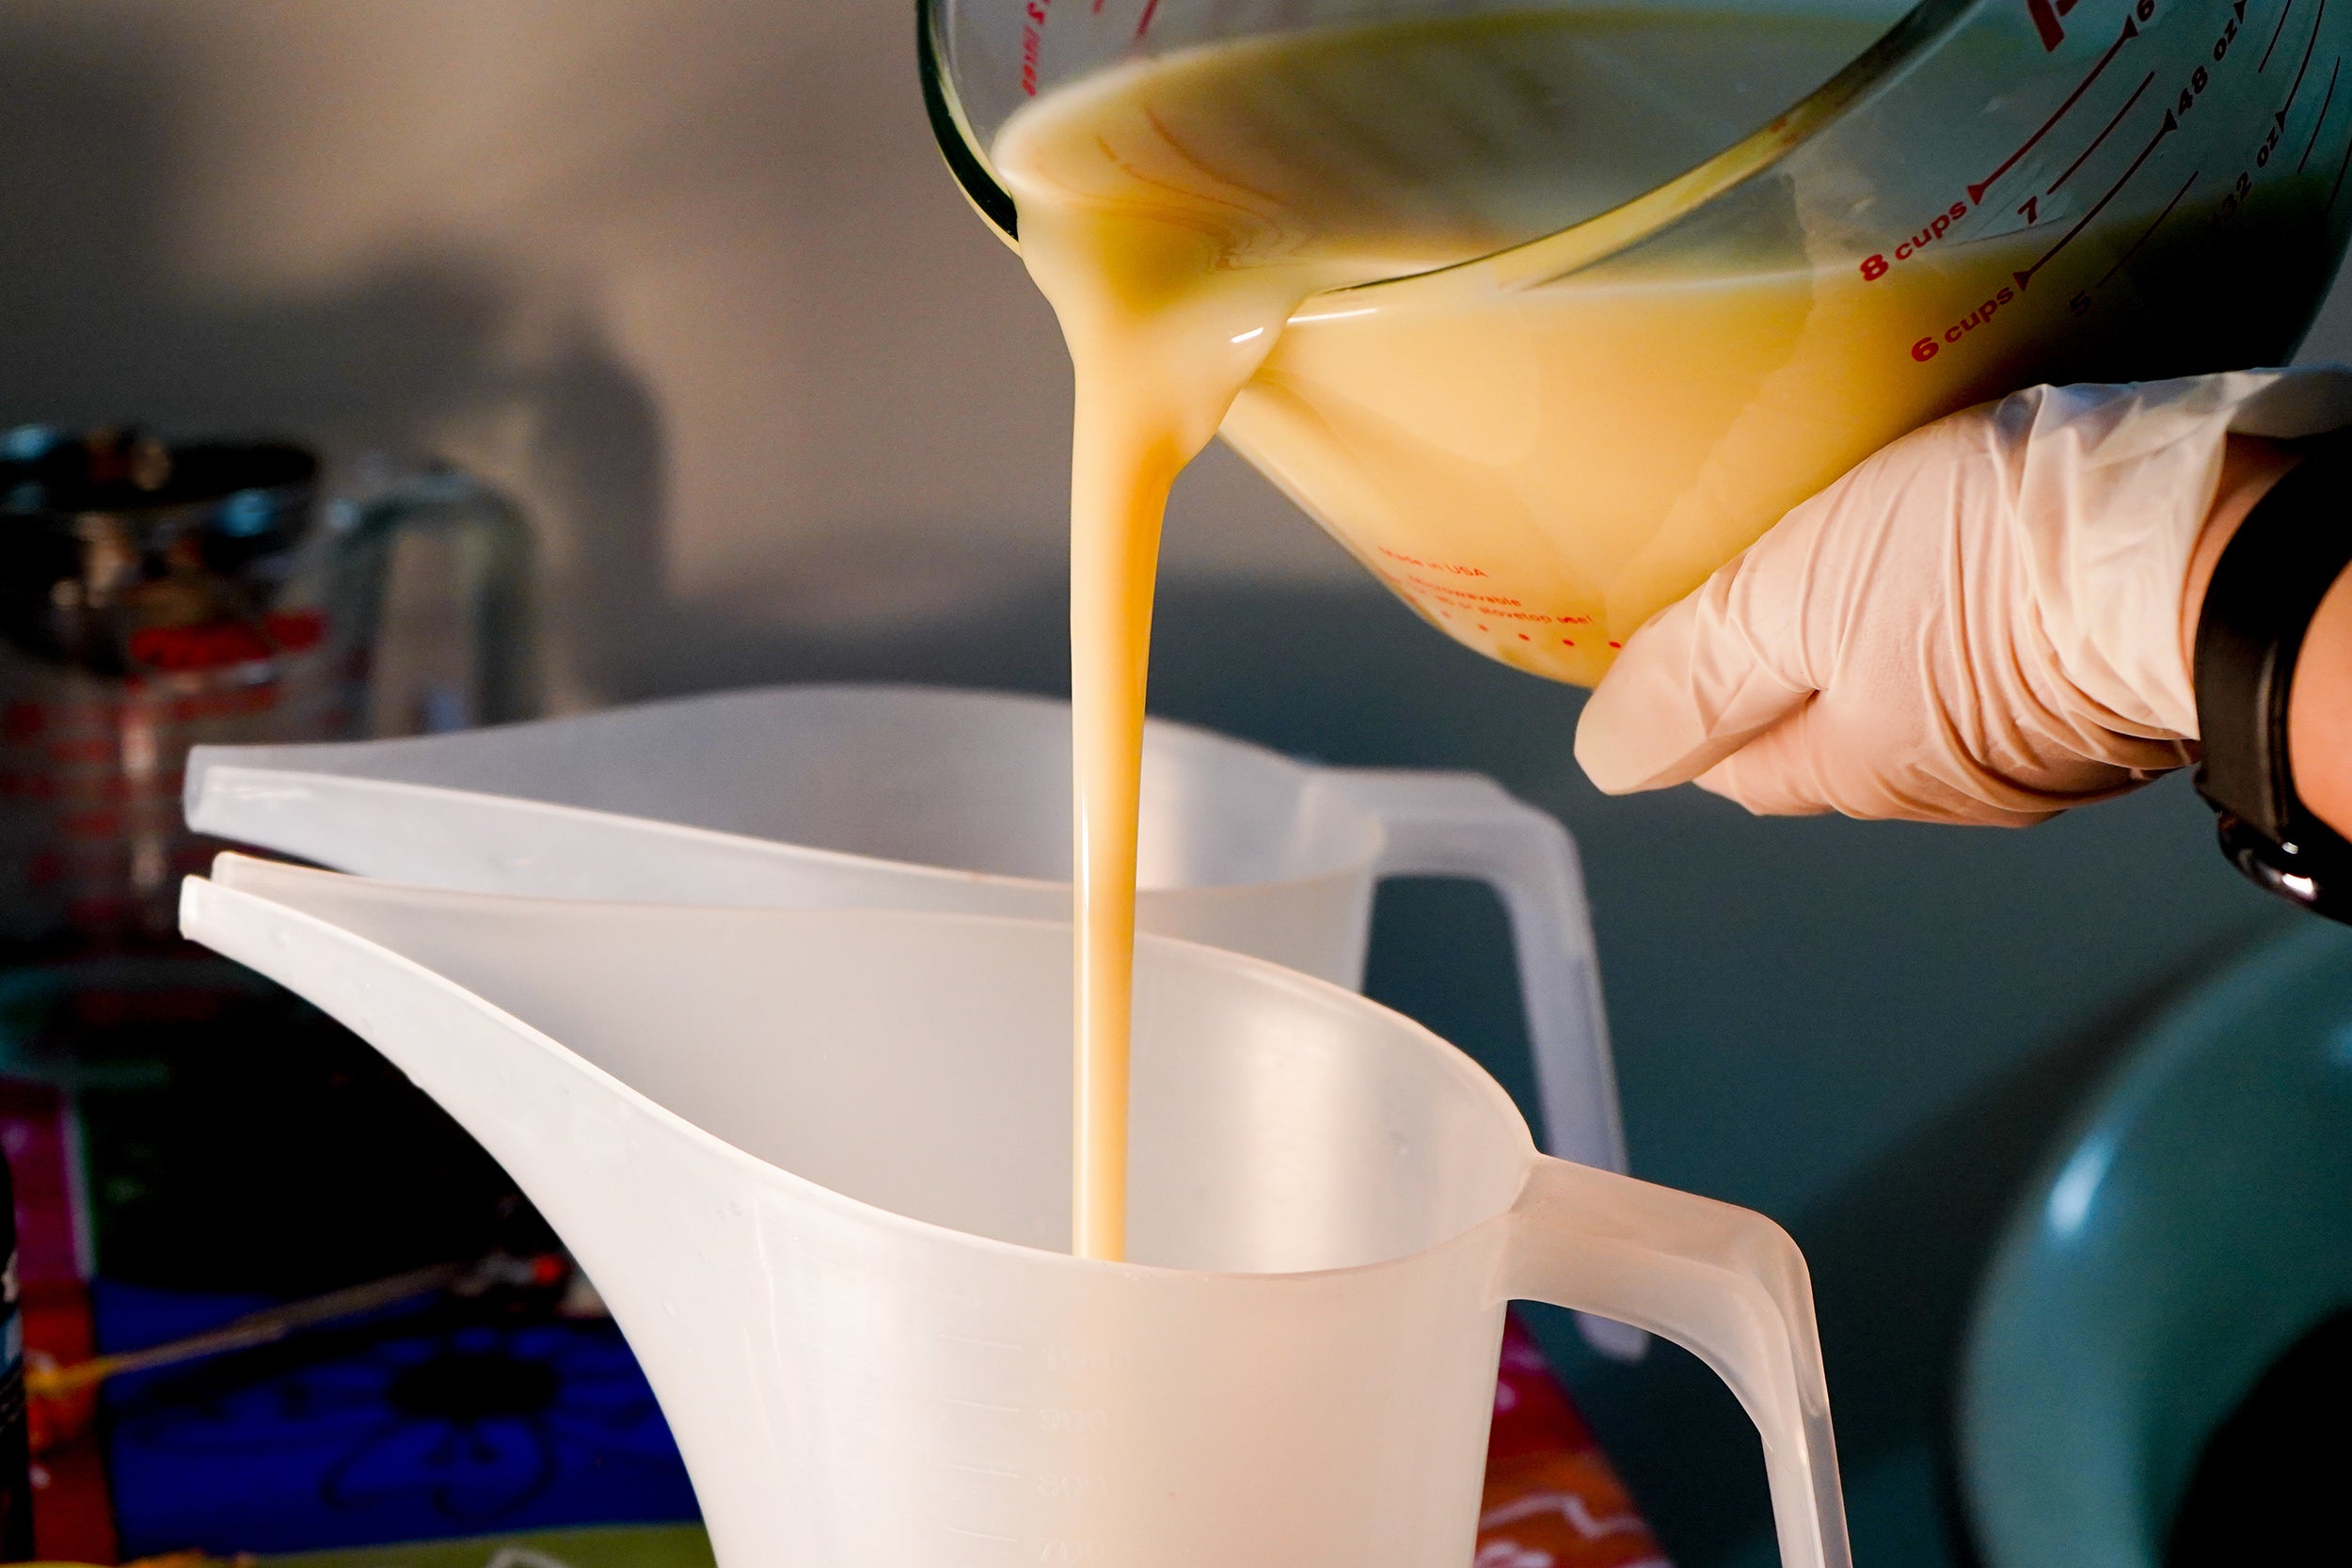
- Step 1: Weigh out and cut the Oatmeal Melt and Pour Soap Base and place in an easy pour cup.
- Step 2: Carefully heat the Easy Pour Cup in a microwave. To prevent overheating, it's best to heat the Melt and Pour Soap in 10-second intervals. Once melted, add 6g of the Indigo Bloom Fragrance Oil. Mix well.
- Step 3: Split the Soap Base into 2 equal parts. Add a mix of Indigo Powder and Isopropyl Alcohol to one cup and a mix of Spirulina Powder and Isopropyl Alcohol to the second cup. Stir each cup to ensure the colorants are evenly mixed.
- Step 4: Pour slowly from 2 sides of both cups into the mold to meet in the middle. The Spirulina colored Soap Base from the side where the leaves are and the Indigo colored base from the side where the Blossom is. Repeat this with the rest of the base. Spritz some Isopropyl Alcohol to remove any bubbles. Then let the soap set for about 1 to 2 hours.
- Step 5: Once fully hardened, unmold the Soap by turning the Soap mold around and pushing firmly against the Mold containing the Soap. You will see how the suction breaks slowly as it releases.
- Step 6: Now use a mix of Isopropyl Alcohol and Super Sparkle Light Gold Mica and lightly paint on the edges of the Blossom. Let it dry for 30 min.
- Step 7: Your Indigo Bloom Soaps are now ready to use or package! Melt and Pour Soaps do not need to cure and can be used right away.
Common Issues:
Discoloration:
Fragrance Oils are most of the time the Culprit when a soap discolors. Some fragrance oils already have a dark color straight out of the bottle. Also you will want to check each fragrance for its Vanillin content. If the Fragrance contains Vanillin, your soap will over time turn to a tan color. Some Fragrances can even turn them to a very dark brown. Keep that in mind when wanting to make a bright or white colored soap.
Ripples:
Ripples can happen when the Soap is not fully hardened and the mold is being moved or a fan or air draft is blowing across the cooling soap.
Bubbles:
Bubbles happen when mixing fragrance and colorants into the soap, however they burst easily by being sprayed with Isopropyl Alcohol
Sweating:
If your Soap starts sweating after a few days of making it , it could be due to the humidity . It's best to package Melt and Pour Soap right away into shrink wrap or plastic wrap. Sweating does not mean that your soap is bad, it merely does not look appealing. However, sweating can also be caused by overheating the base. So be sure to not have it boil in your microwave . Even if the base starts steaming as you remove it from the microwave it's very likely burned.
If you have a lot of issues with your melt and pour sweating, try our SFIC Low Sweat White and SFIC Low Sweat Clear bases.
Botanicals:
While dried Botanicals look amazing in Soaps, they are not compatible with Melt and Pour Soap. Due to Melt and Pour Soap being Glycerin based it will rehydrate dried Botanicals and cause them to eventually mold . Lavender buds will turn the soap brown and moldy so its best to refrain from adding them into your soap. Besides, they will just fall off into your sink and clog up your drain.
Layers separating:
When adding a 2nd layer to a soap you may notice it separating from the first layer, if this happens you likely poured the 2nd layer too long after pouring the first. The bottom layer has to solidify but cannot be too cold. The top layer cannot be too hot nor too cold. You can also score the first layer and be sure to spritz some Isopropyl Alcohol as it helps the layers to adhere to each other.
Low lather:
Adding too much of an additive will reduce lather. This is often seen when adding powders or additional oils.
Powders such as clays or even activated charcoal in excess will increase the volume of the soap, with more of the powder there will be less soap hence your lather will be affected.
Adding oils will also cause this low lather affect. While adding oils will increase moisture it will decrease the ability to lather, as oil by itself does not lather.
To prevent a loss in lather use small amounts of additives to your soap, just enough to give the desired affect but not too much to disrupt the ratio of soap to additive.