


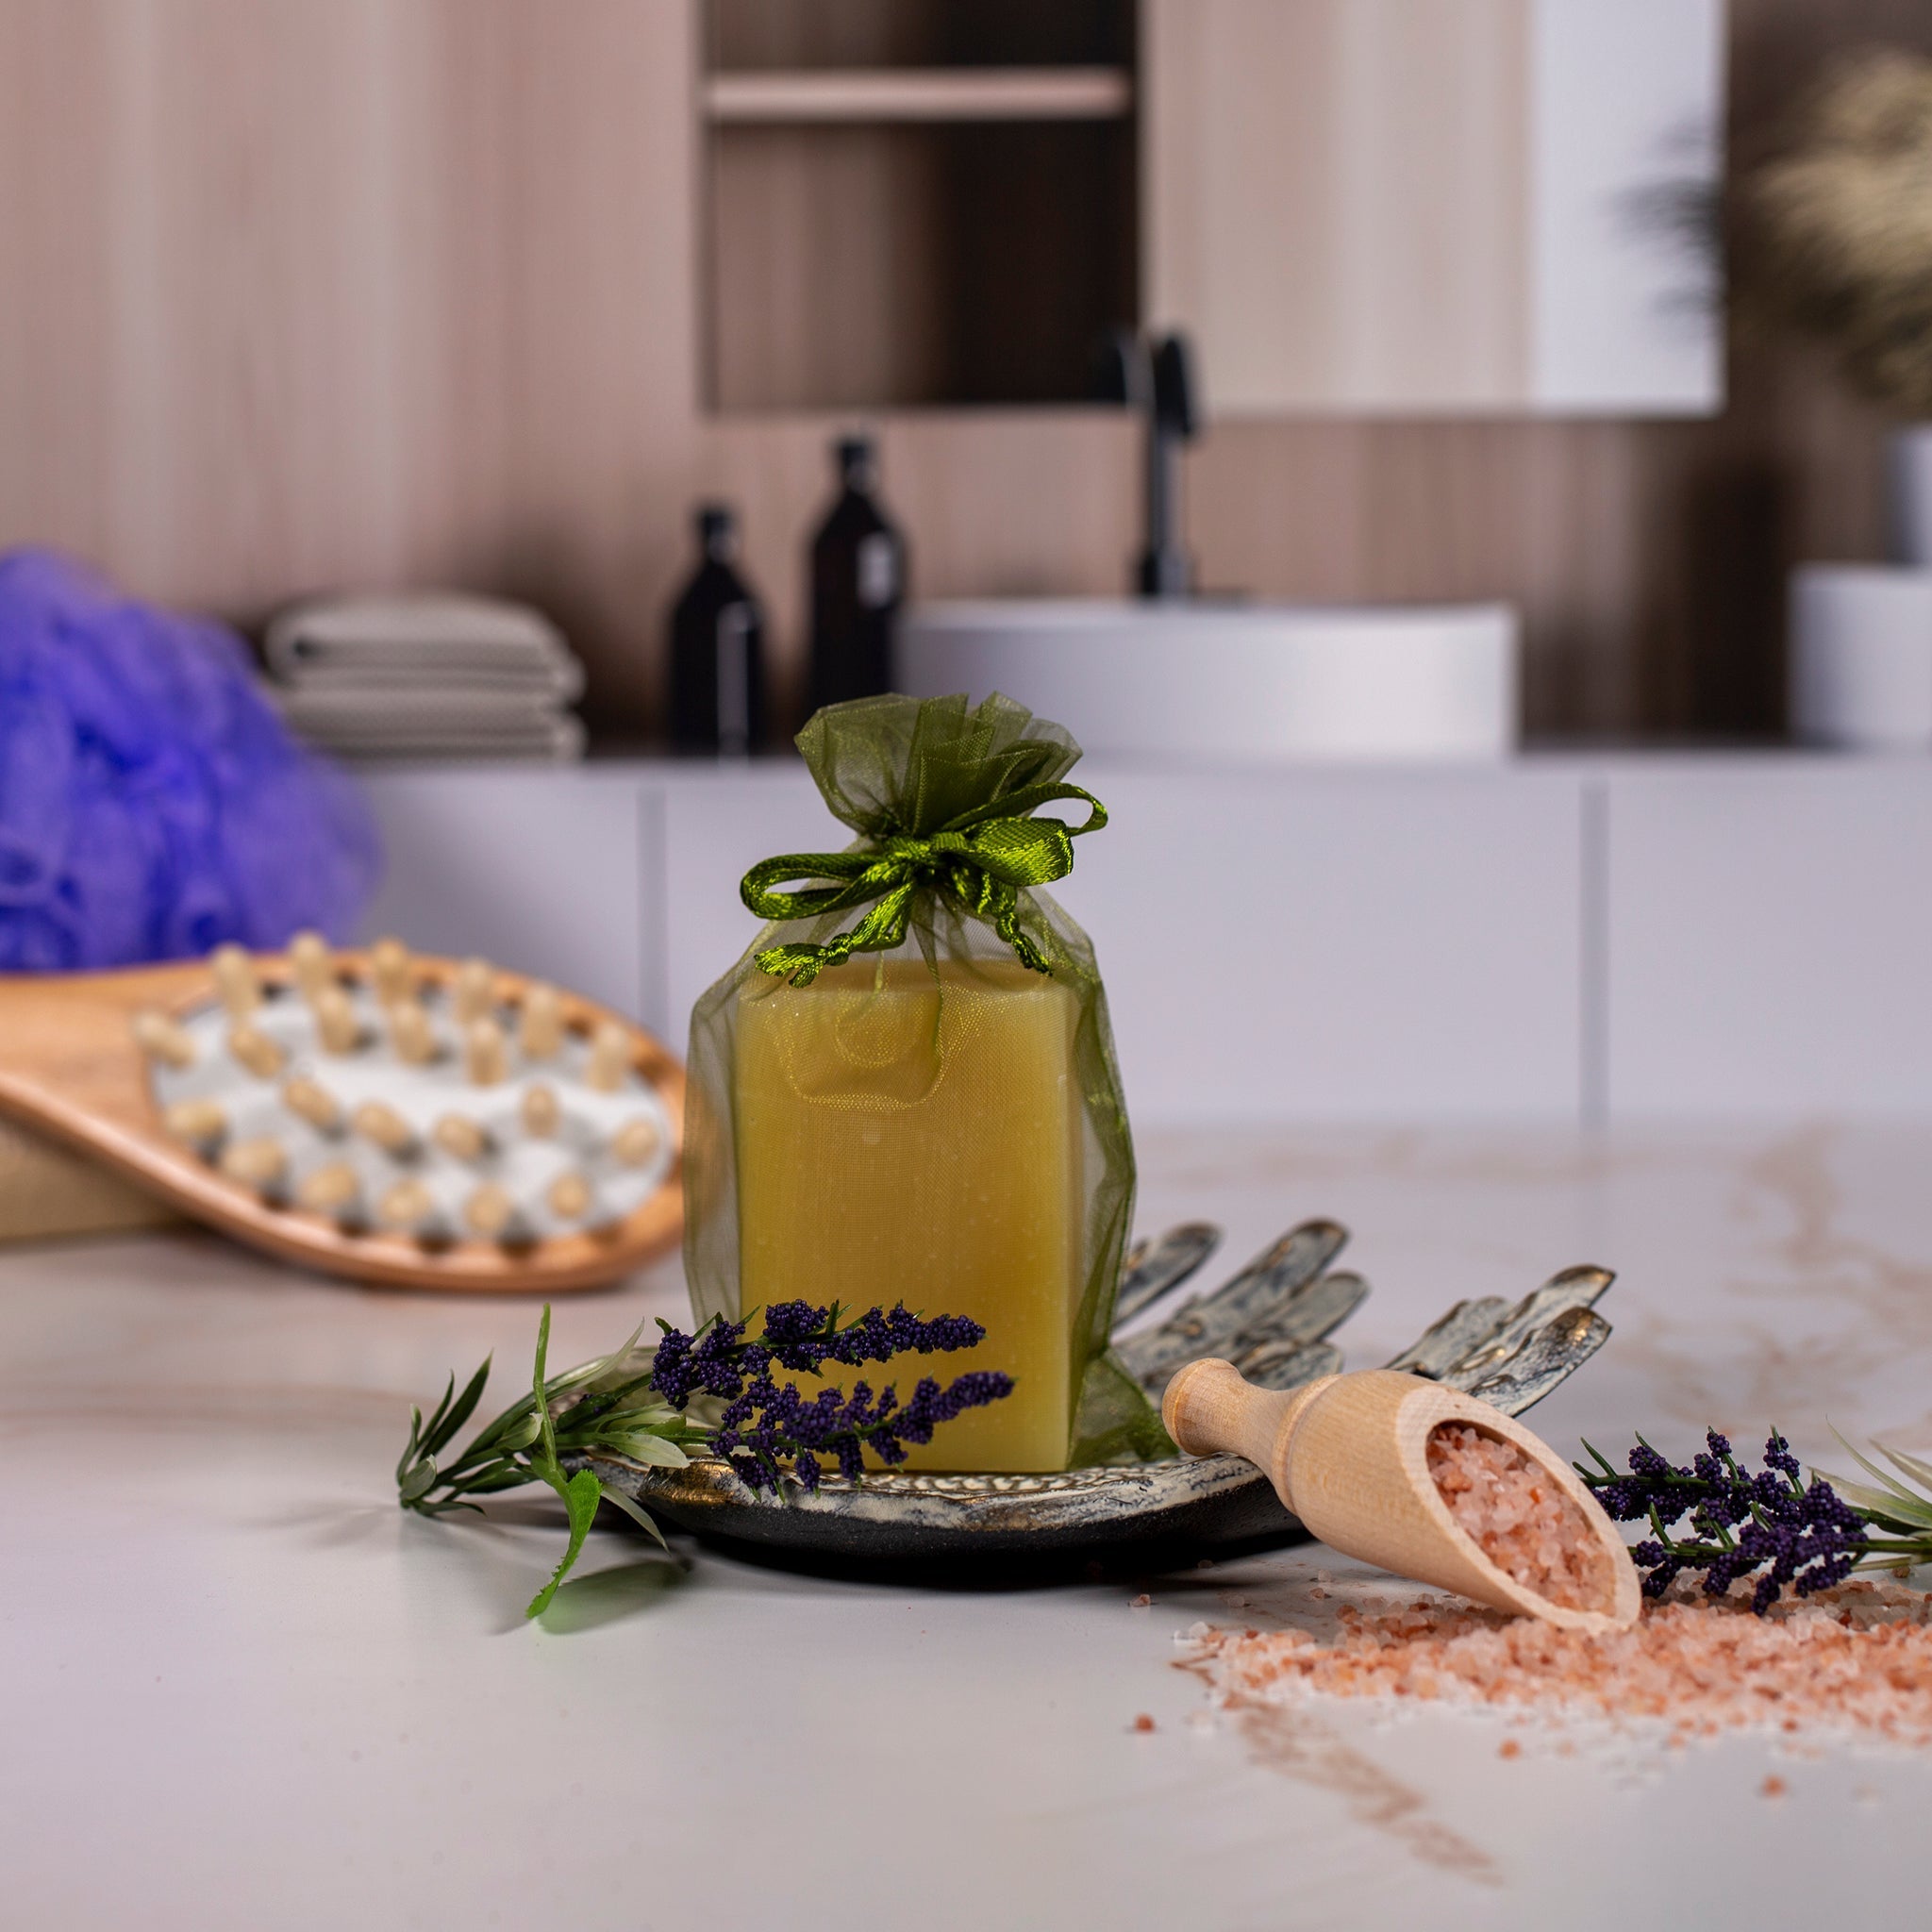
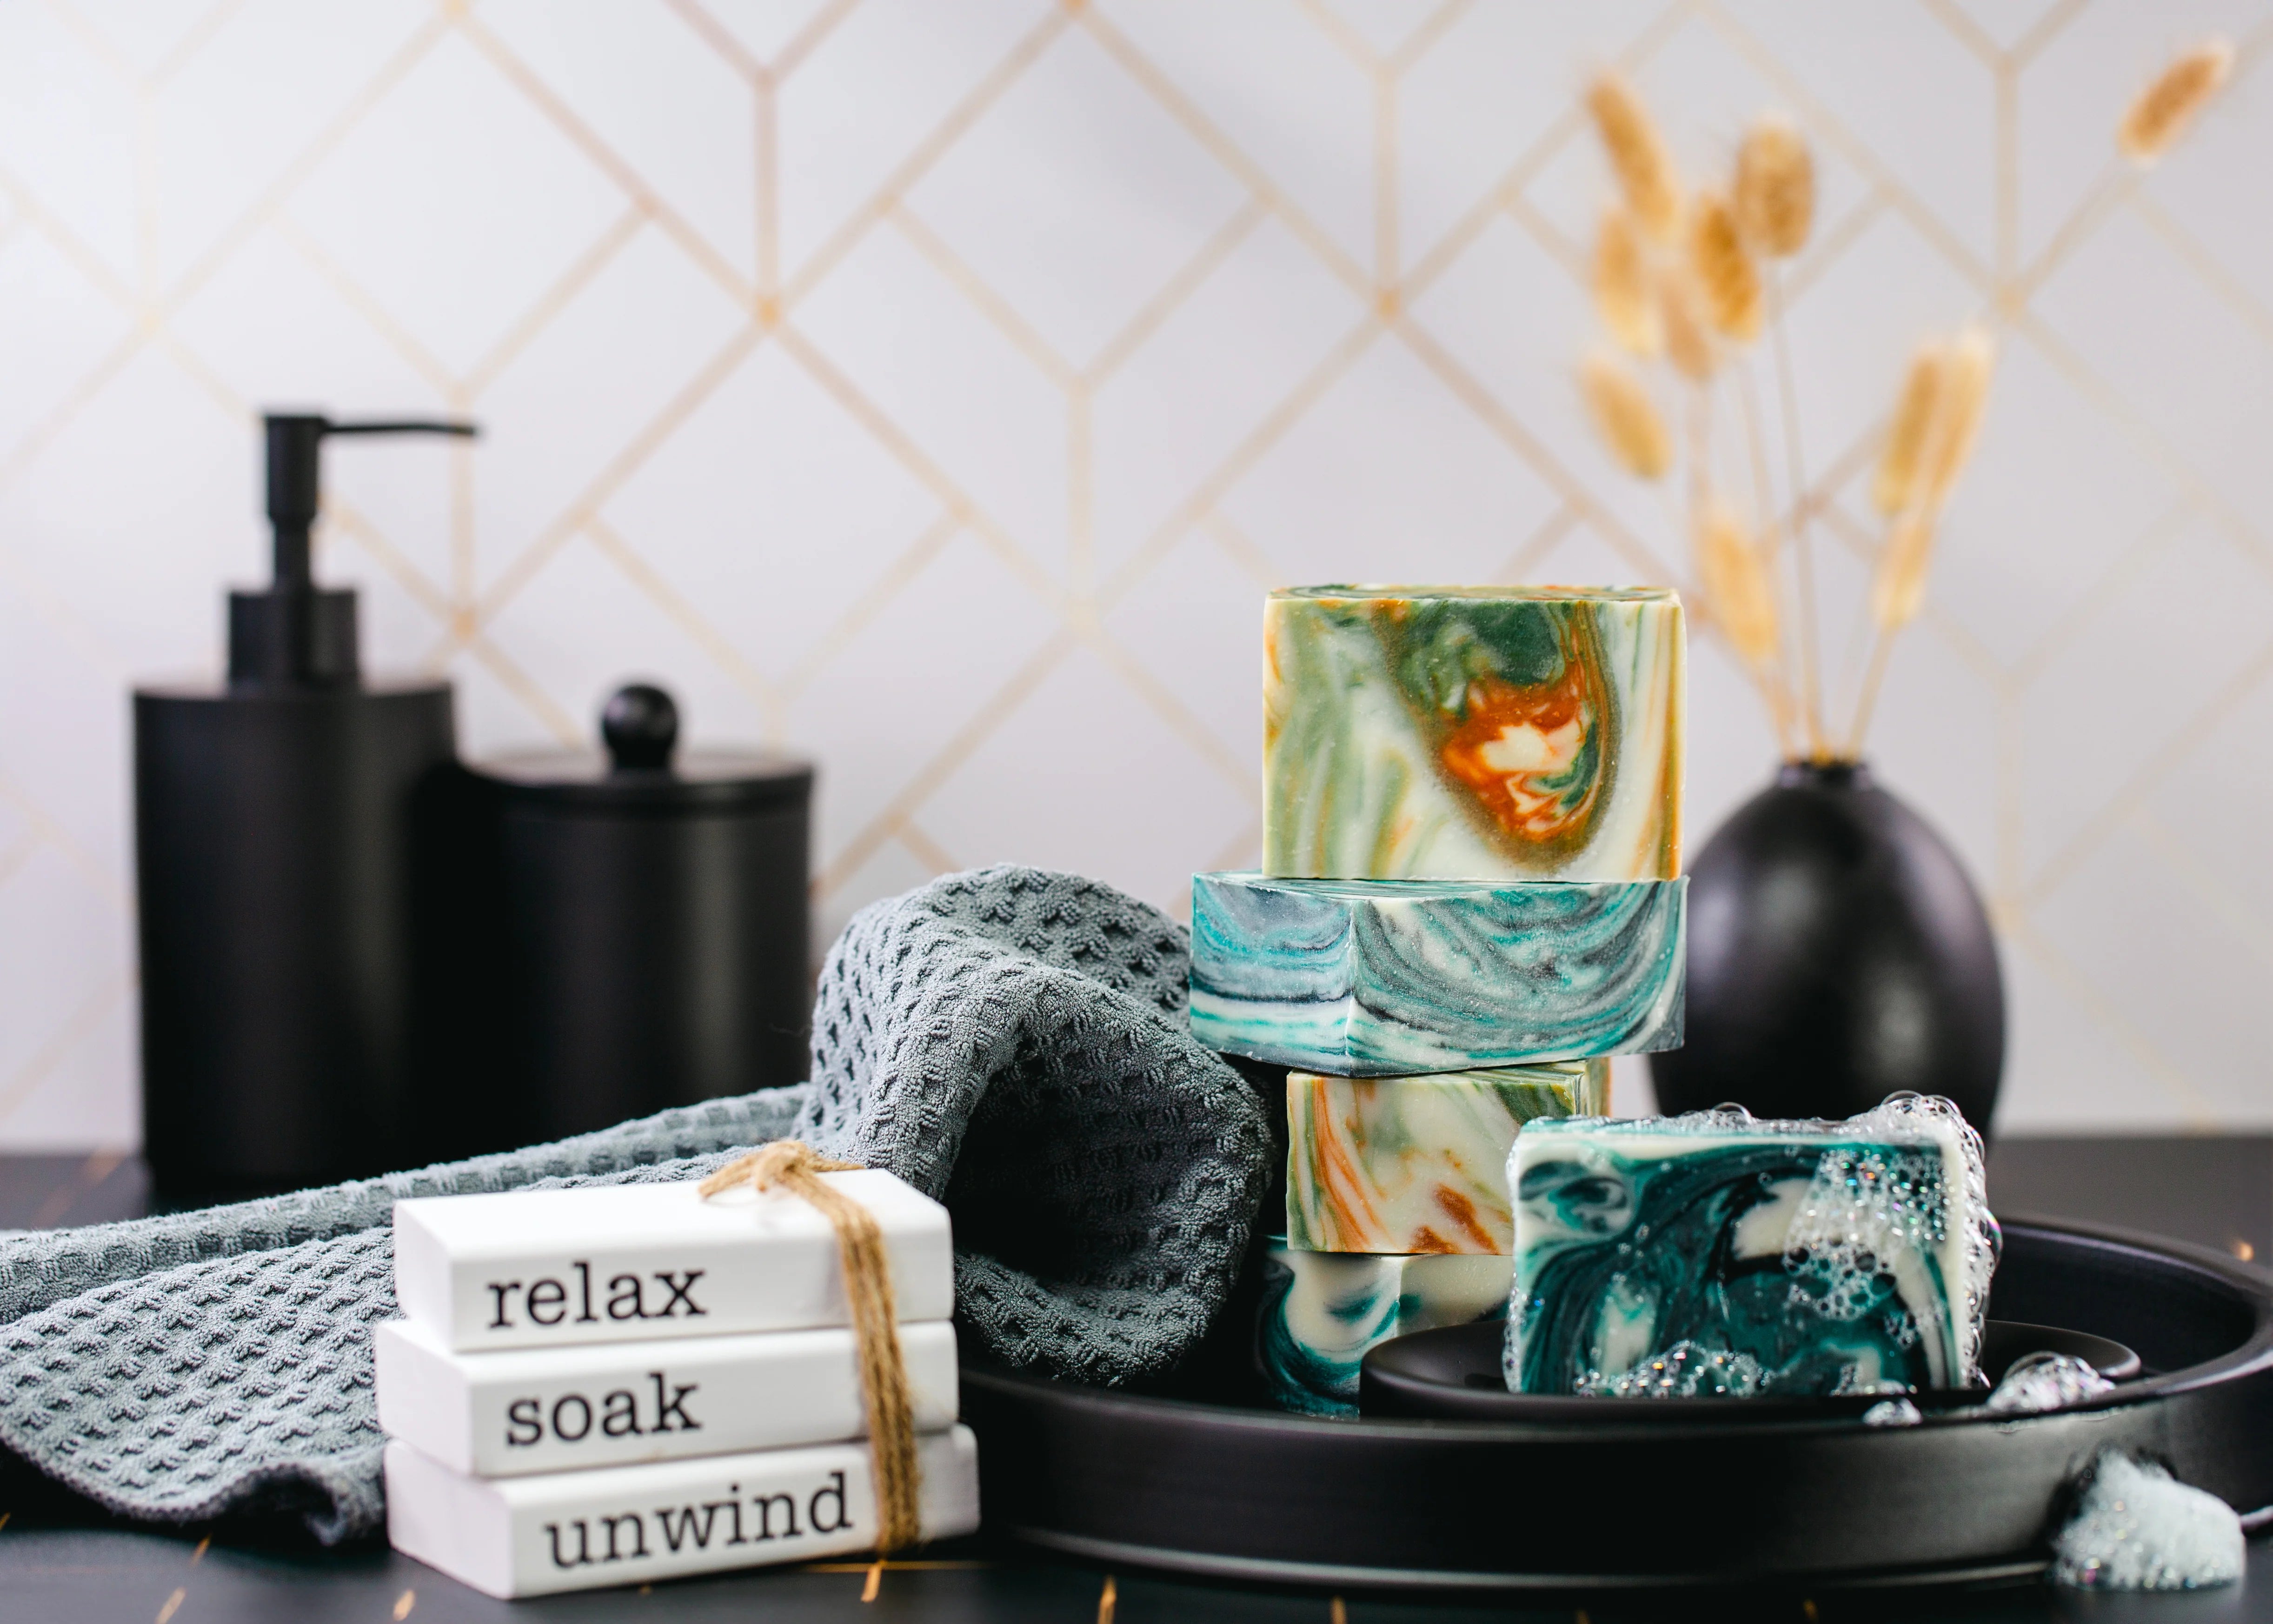

Embrace the essence of fall with our beeswax soap kit and essential oils, and create your own Harvest Harmony Cold Process Soaps at home. Our pdf guide offers a simple and fun way to craft your own natural soaps, perfect for bringing a touch of the outdoors into your home. Get started today and experience the joy of handcrafted soap making!
Click here to view the Step-by-Step Guide
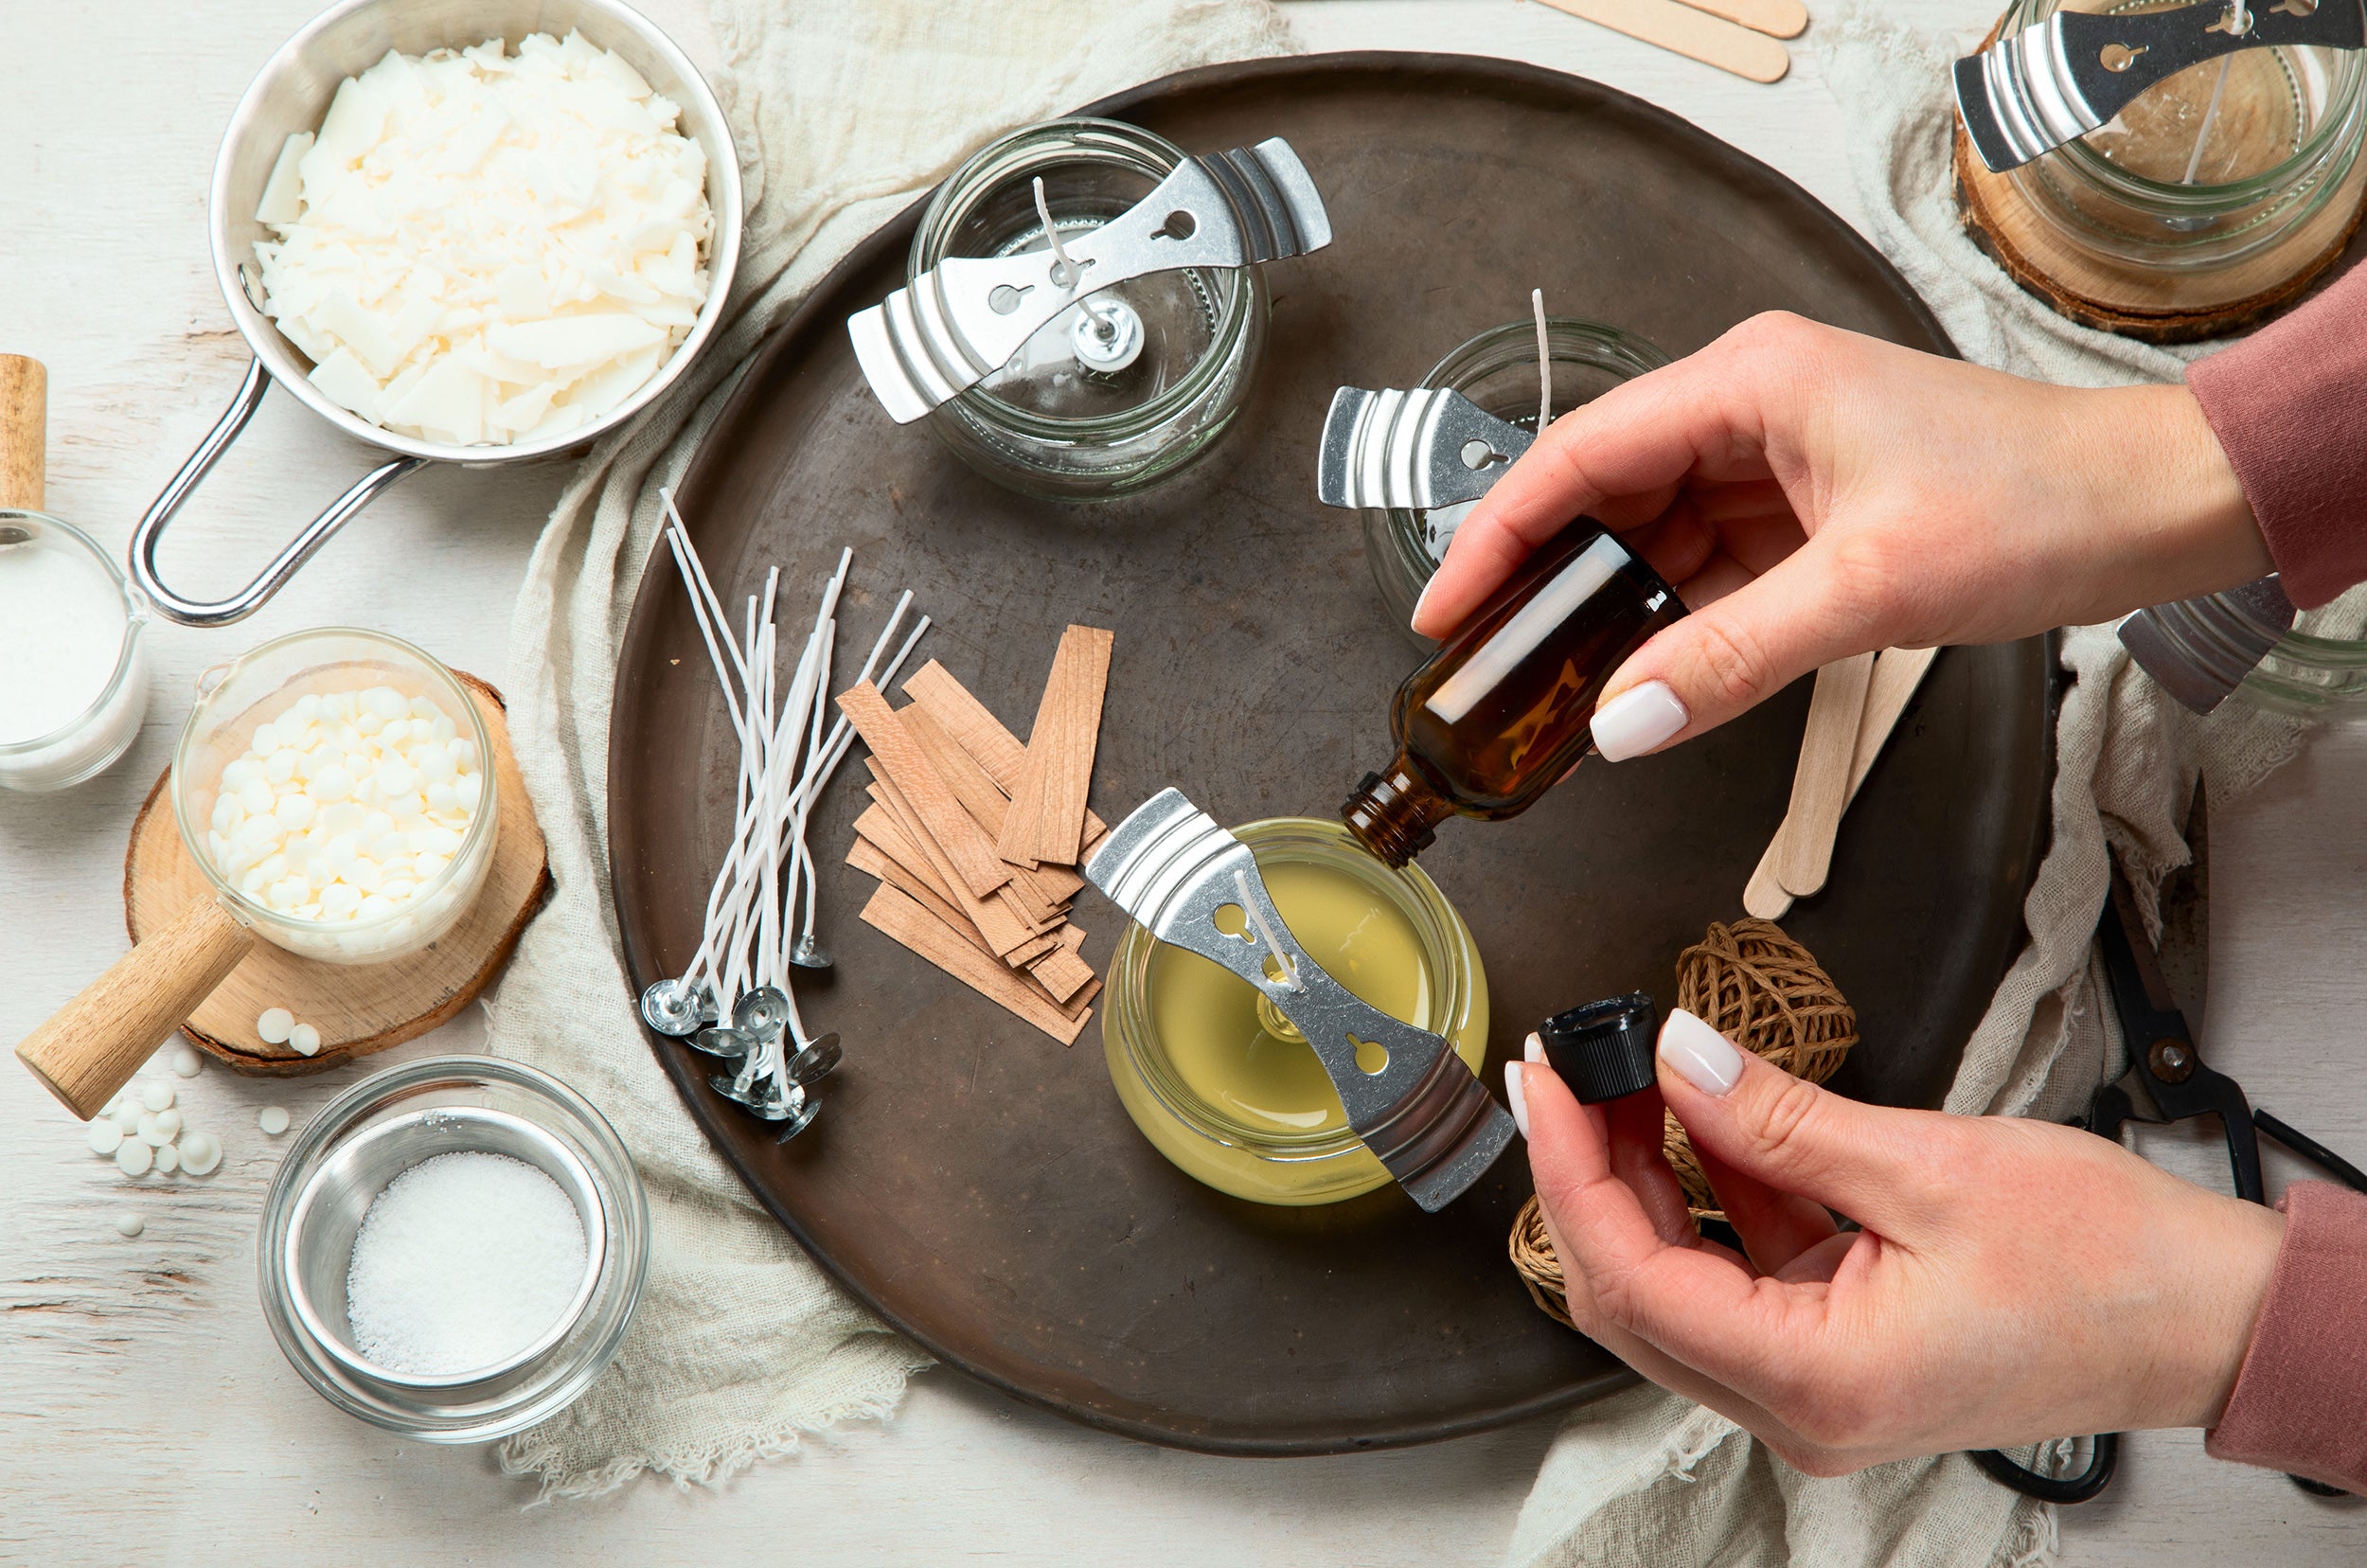
Recommended Ingredients:
- Cold Process Beeswax Soap Kit
- 1lb SFIC Low Sweat White Melt and Pour Base
- 5g Frankincense Essential Oil
- 12g Cedarwood Texas Essential Oil
- 12g Bergamot Essential Oil
- 6g Patchouli Essential Oil
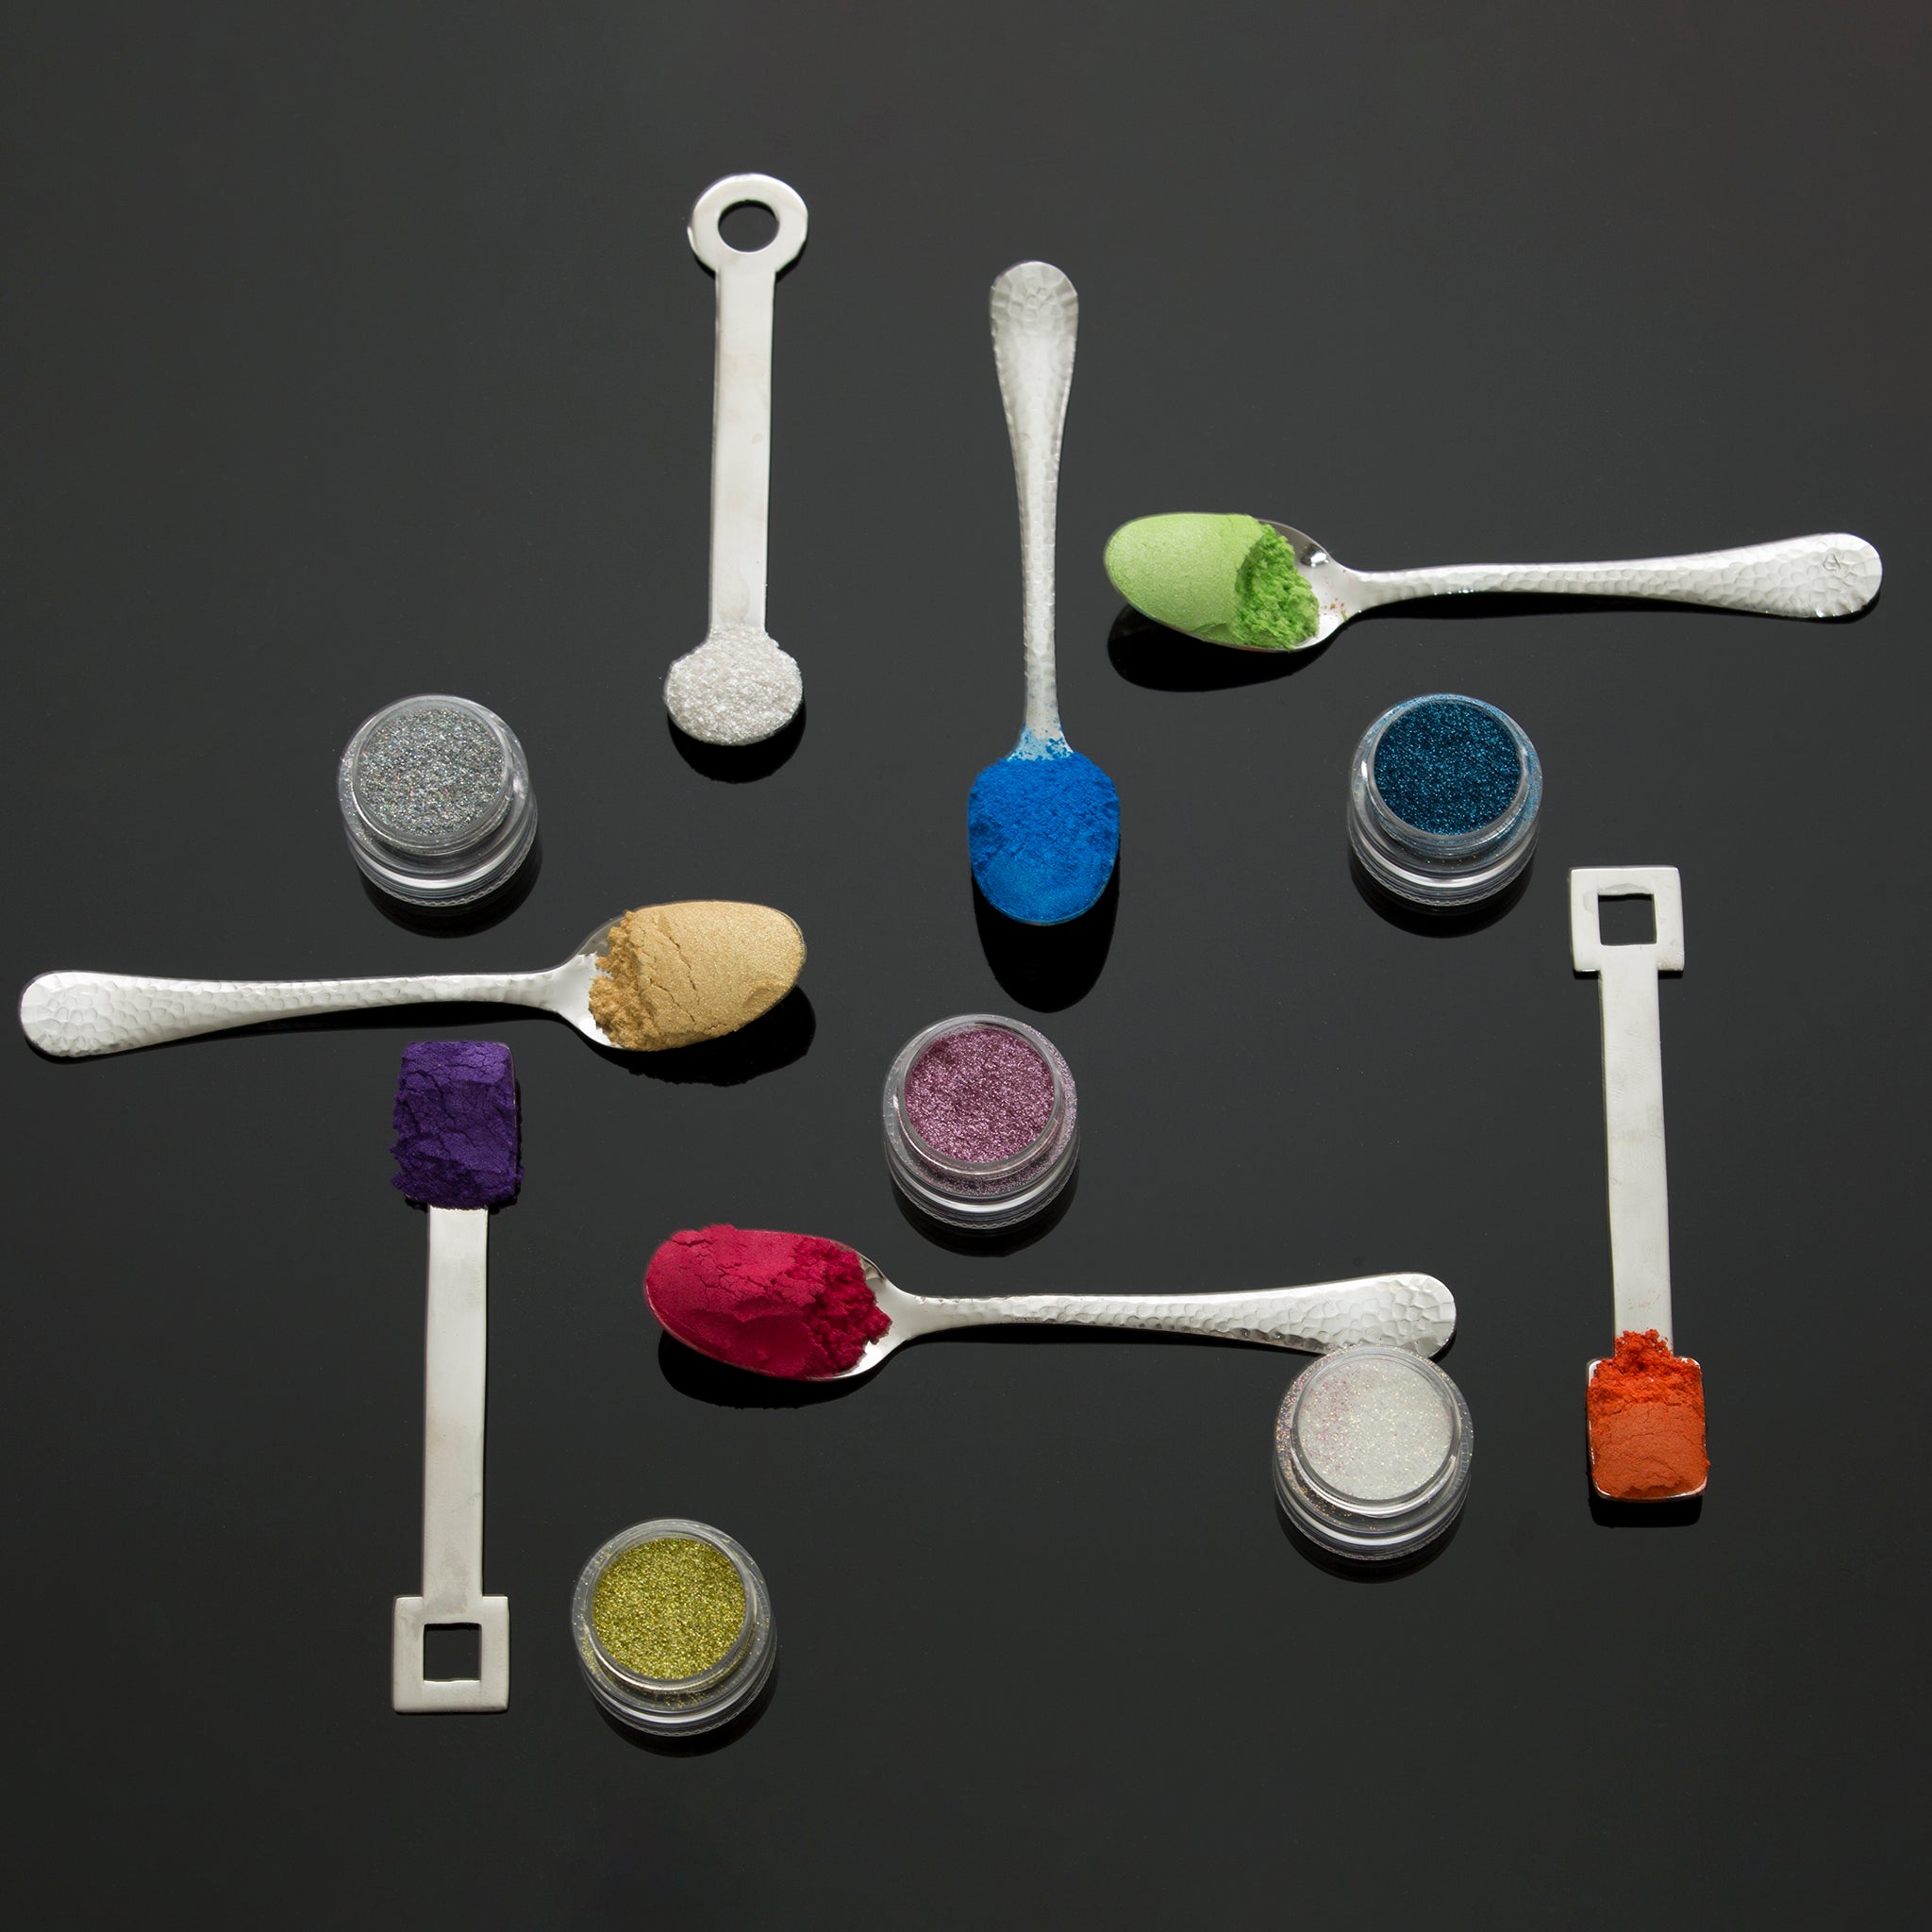
- 1g of Egyptian Gold Mica
- 3g Oil Soluble Titanium Dioxide
- 250ml Isopropyl Alcohol in Spray Bottle
- 15g Castor Oil
- 500ml Distilled Water
Recommended Utensils:
- 1x Tall & Skinny Silicone Loaf Soap Mold
- Pumpkin Guest Silicone Soap Mold
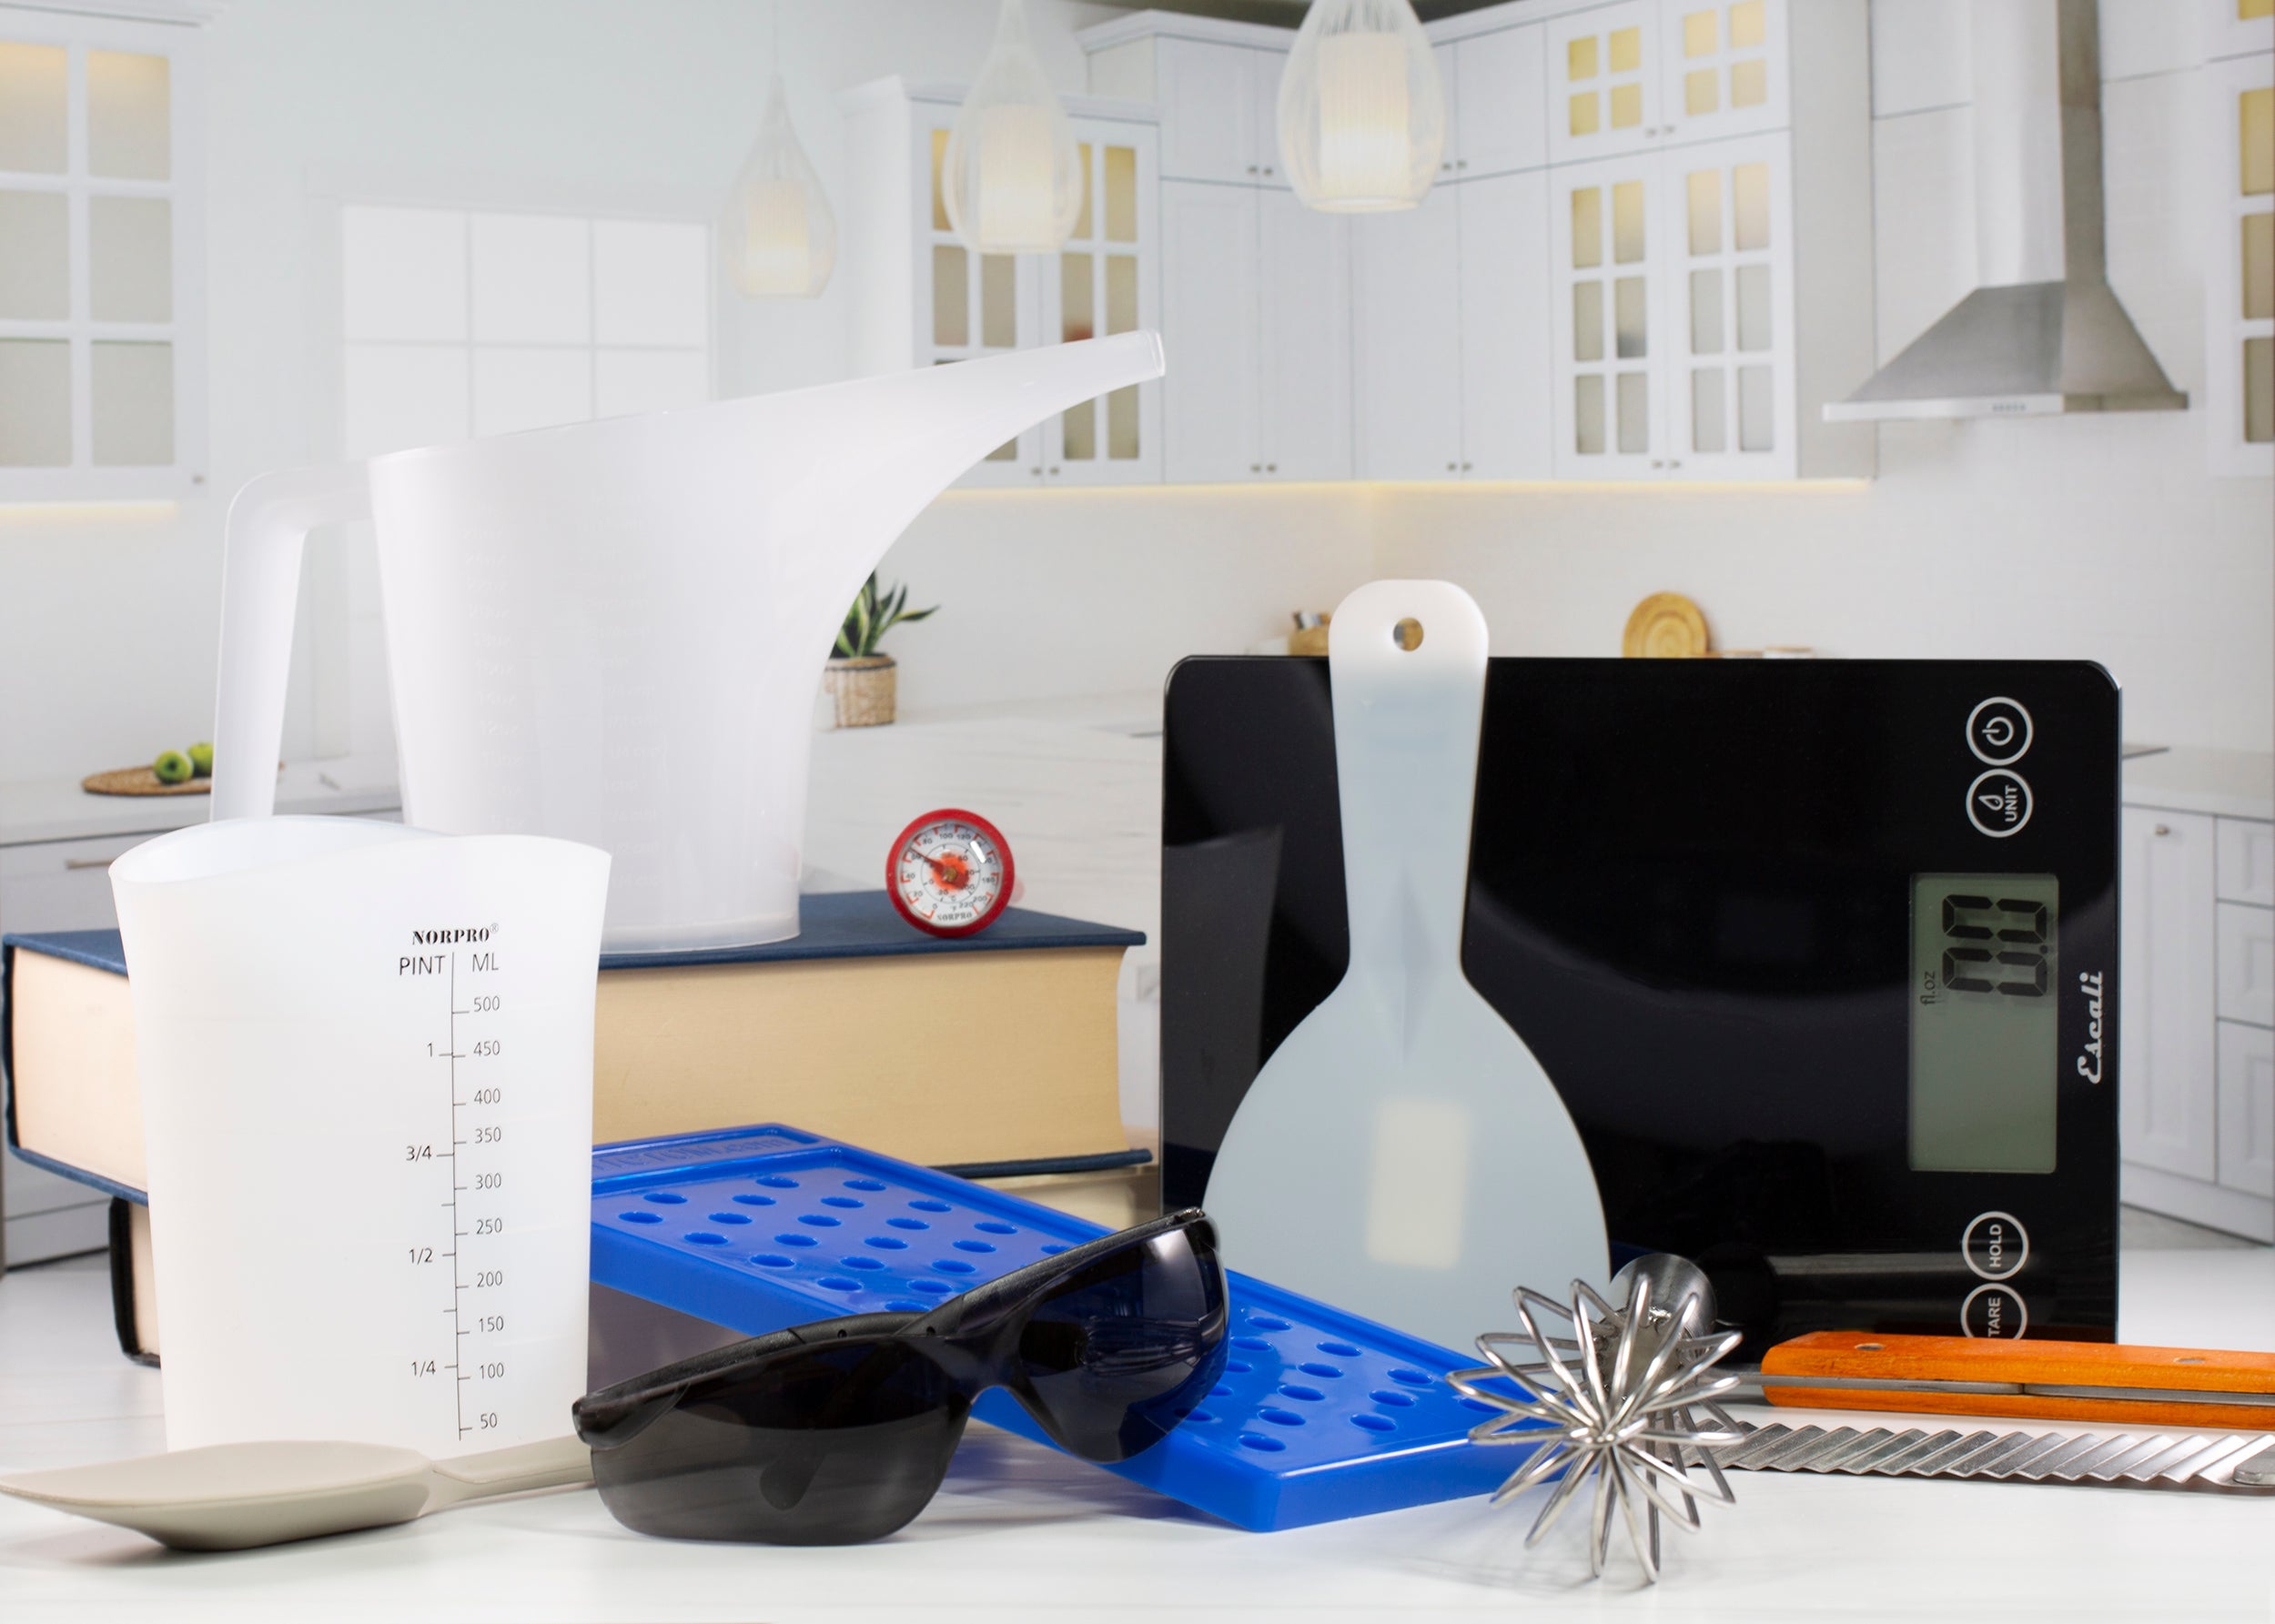
- 3x Easy Pour Measuring Cups
- 1x glass mixing cup for Lye
- Stainless Steel Heavy Gauge Soap Cutter
- Stick Blender
- 1x regular sized Whisks
- 2x small Whisks
- 1x Paint brush
- Scale
- Spatula
- Sticks to stir
- Large Glass Bowl
- Microwave
- Gloves
- Master PRO Safety Glasses
- Long Sleeves
- 2x Thermometers
Directions:
- Step 1: Weigh and cut the Low Sweat White Melt and Pour Base into small cubes and then place into an Easy Pour Cup. Slowly heat the easy pour cup containing the Melt and Pour Soap in a microwave using 10-second bursts. Be careful not to overheat as this will cause the soap to form Glycerin Dew (sweating).
- Step 2: Once completely melted pour into the Pumpkin Guest Silicone Mold, try to only fill each cavity about half way. Spritz with Isopropyl Alcohol to pop bubbles and then let the soap set for about 30 min.
- Step 3: Once set remove the Pumpkin soaps from the mold .Now using a mix of Isopropyl Alcohol and Egyptian Gold Mica, paint the stem of the Pumpkin golden. Move the soaps to the side for now.
- Step 4: Prepare your workspace by gathering all tools and ingredients. Put on your long sleeves, gloves and eye protection. Now in a large bowl pour the oils from the oil kit. If they are too hard to pour, heat the bottles with the cap off in a microwave for 10 seconds until all the oil is melted. However, be sure to not overheat the oils.
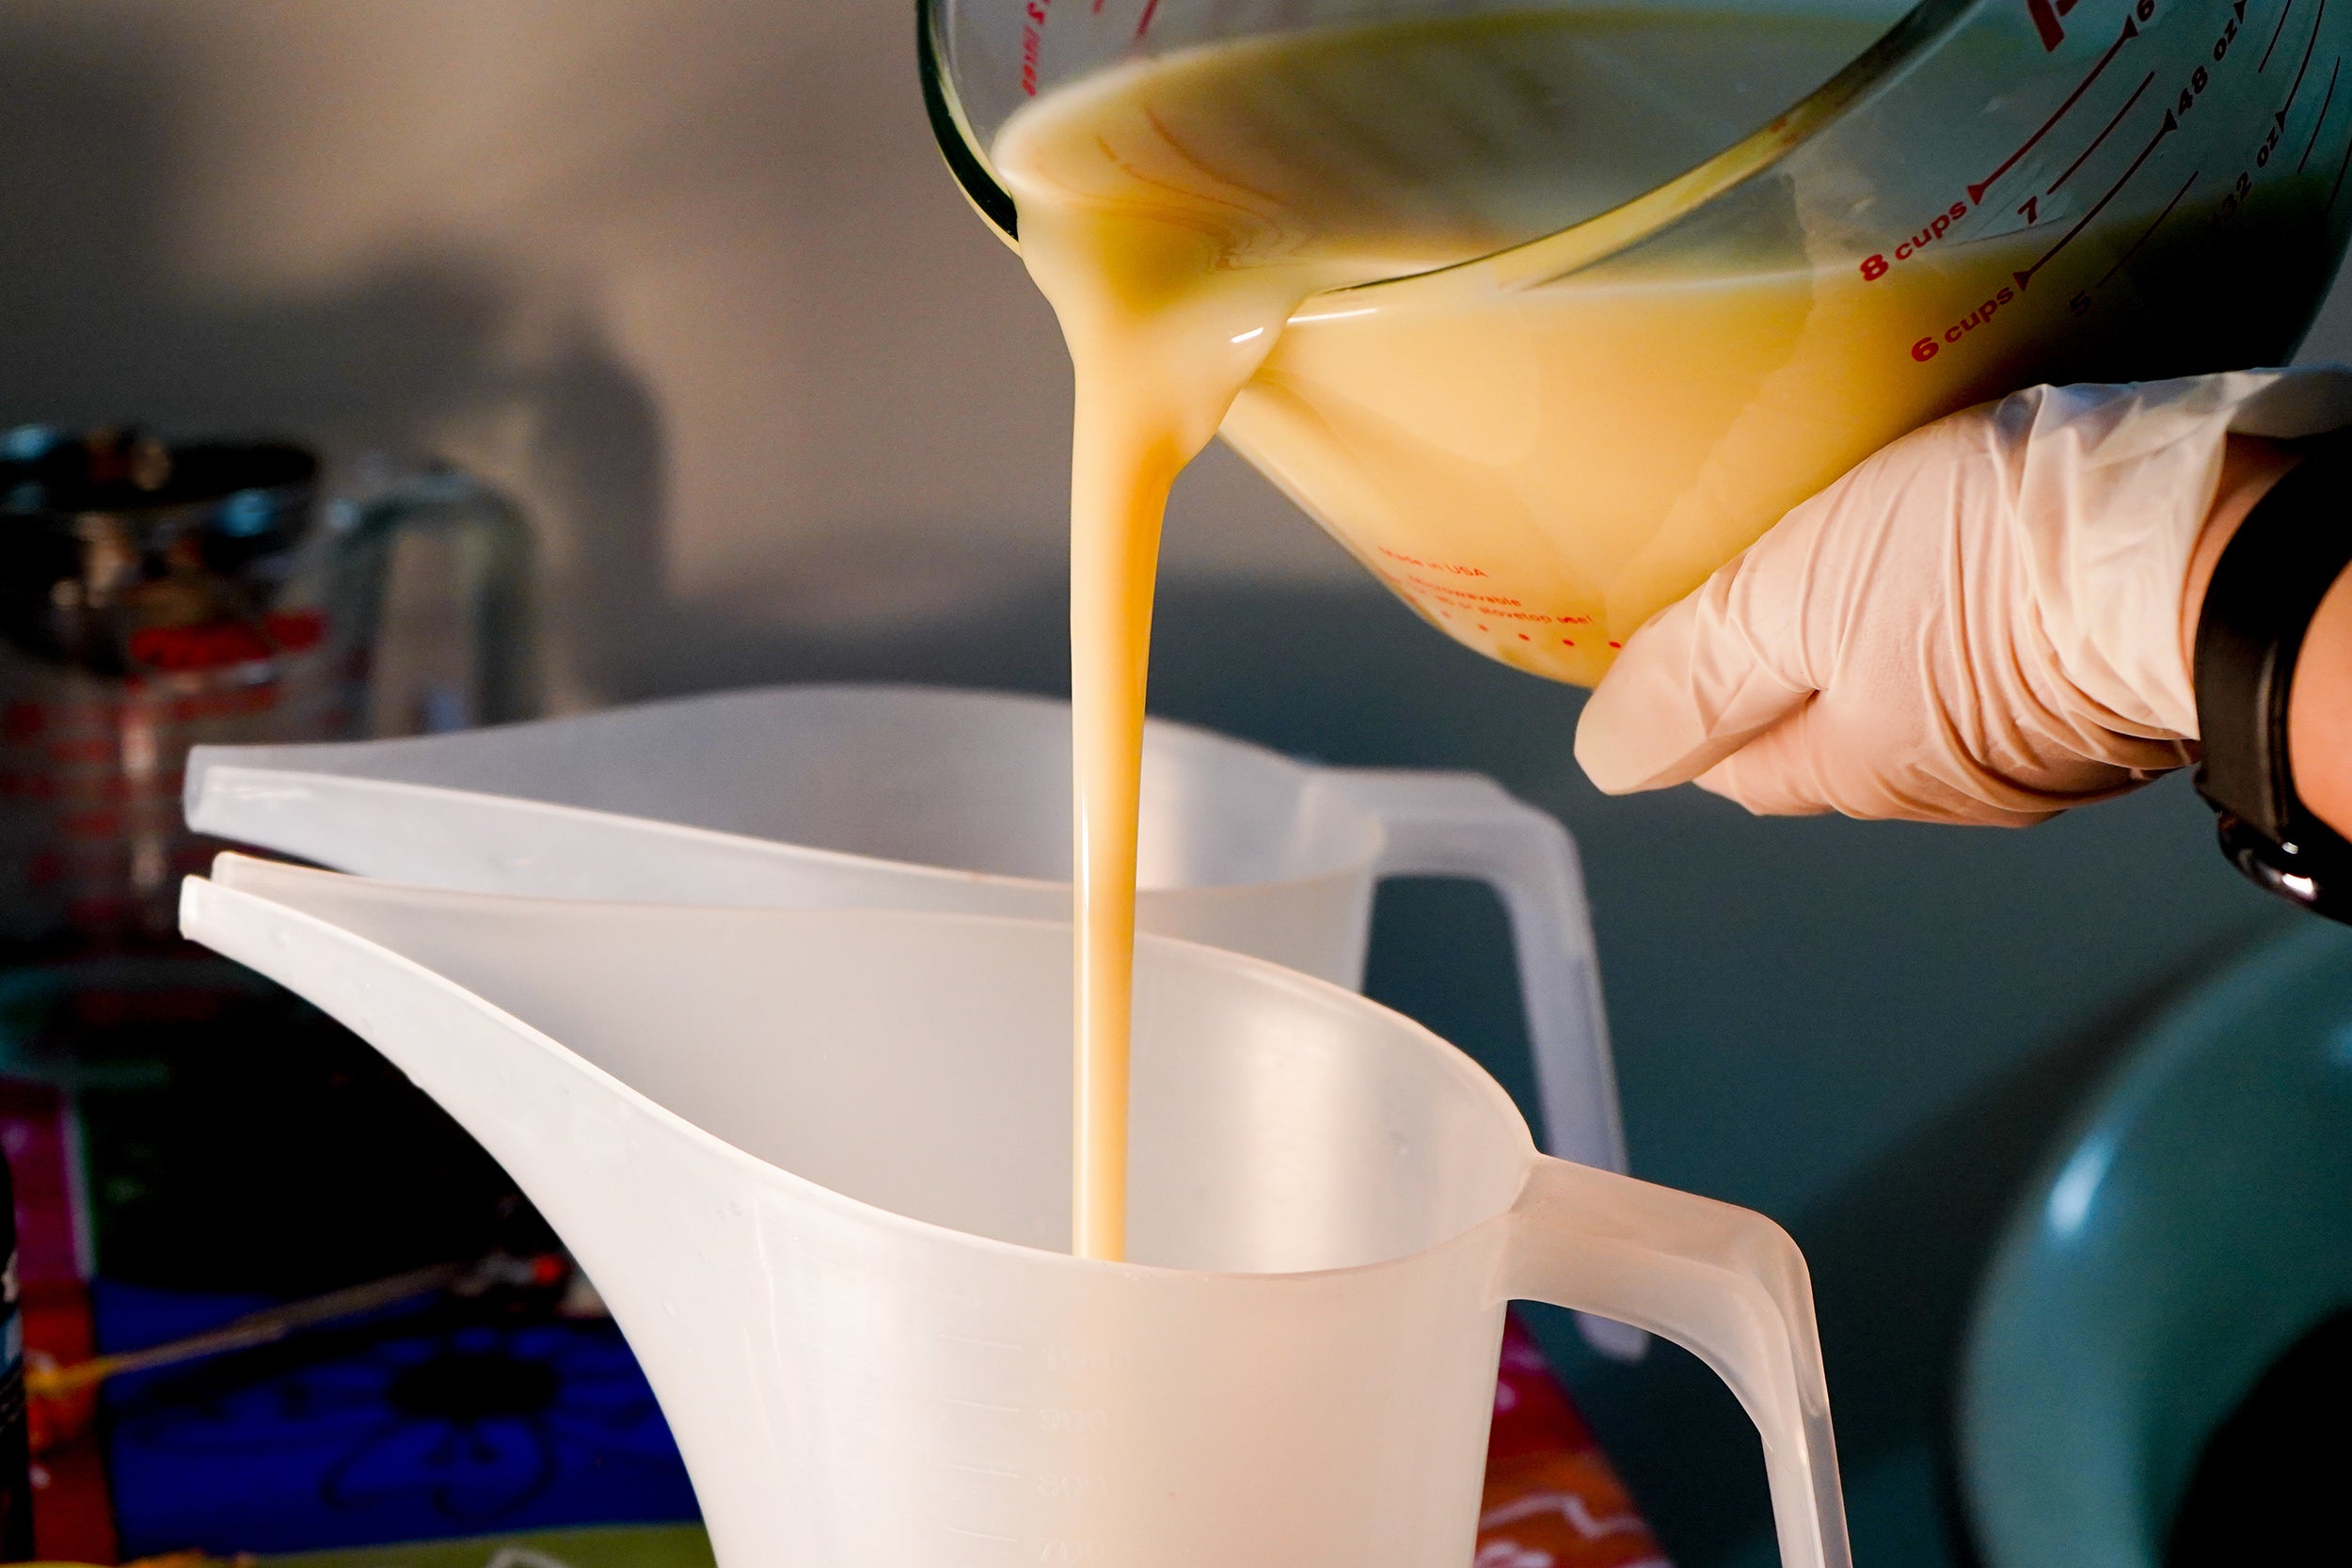
- Step 5: Weigh out 500g of water, then carefully add the lye to the water while stirring. The caustic lye water solution will heat up very quickly and reach high temperatures. So be extremely careful working with and around it.
- Step 6: Now place the Lye water in a cold water bath if you want the process to be a bit faster. You will want the lye water solution to be around 120F, as well as the oils in the large bowl.
- Step 7: Slowly heat up your oils in the microwave until they reach 120F while the Lye Water is cooling down. Keep checking the temperatures of both the Lye water and the oils to be sure they will be at the same temperature.
- Step 8: Once they are both at 120F , slowly add the Lye water into the Oils while whisking. Now rotate between the stick blender and the whisk. But try not to stick blend more than 30 seconds at a time. As the Soap Batter thickens you can eventually see a light trace. (lines on top of the batter as you move it)When you see a light trace you will not need to blend with the stick blender anymore at this point.
- Step 9: Add the essential oil mixture into the soap batter and mix well.
- Step 10: Now divide the batter , scoop out 400g of Soap batter and mix into it a mix of 5g Castor Oil and 1g Egyptian Gold Mica.
- Step 11: Then add the Oil Soluble Titanium Dioxide mixed in 10g of Castor Oil into the remaining batter, mix well .
- Step 12: Now Pour a layer of the batter with the Titanium Dioxide into the Mold, then drizzle some of the Egyptian gold batter on top.
- Step 13: Again add another layer of the batter with the Titanium Dioxide. Followed by splashes of the Egyptian Gold Batter.Repeat this untilt the mold is full.
- Step 14: Pour one last layer of the Titanium Dioxide Batter.Now drizzle a mix of Castor Oil and Egyptian Gold Mica all across the loaf.
- Step 15: Then insert your hanger tool and swirl the inside about 3 times , be sure to not overdo it.
- Step 16: Add a bit more Egyptian Gold Mica and Castor Oil drizzle and then use a thick popsicle stick to move the batter diagonally from one side of the mold to the other.
- Step 17: Place your white pumpkin embeds in the center about 1 inch apart from each other. Then spray with Isopropyl Alcohol to prevent Soda Ash. Cover the wet Soap with a baking sheet , then place under a tall enough Cardboard box and cover with towels. Keeping the Soap Warm will cause it to go through the Gel Phase which will make the colors more vibrant.
- Step 18: After 12 to 24 h your soap should be solid enough to be cut. If you let it harden for too long, the soap might get too hard and difficult to cut, so be sure to not forget to cut your soap the next day. After the cut, let your soap cure for 4 to 5 weeks. During this time your soap will get harder as the water content evaporates.
Tips:
Lye Safety:
Lye, in all its forms, is a caustic substance. It can be harmful if it’s not handled with care, and you cannot make soap without it.
Follow this Lye Safety list to keep yourself and others, as well as your home protected.
Soap Making Safety Checklist:
- Wear eye protection.
- Protect hands with lye-resistant gloves.
- Use gloves that are also essential/fragrance oil resistant: rubber, nitrile or latex.
- Wear long-sleeved clothes that cover your skin, as well as long pants and closed shoes.
- Wear an apron.
- Consider wearing a respirator mask while mixing the lye solution.
- Work in a place where you will be undisturbed.
- Keep children and pets out of the room while soap making.
- Ensure your workspace is clean and clear of clutter.
- Prepare your work space for your project.
- Use lye and heat-resistant equipment.
- Make soap on a surface that won’t react with lye.
- Keep paper towels on hand.
- When making soap, work near a sink so that water is always available.
- Mix the lye solution in a well-ventilated place.
- Store lye in a safe place.
- Protect skin and eyes from essential and fragrance oils.
- Only use glass, metal, ceramic, or PPE containers/utensils with essential and fragrance oil.
- When your soap is finished, keep protective gear on to clean your equipment.