


Welcome to a delightful DIY journey with our Easter-inspired donut bath bombs. Using our trusty 3D-printed donut mold and a few simple ingredients, you’ll craft bath treats that look good enough to eat. Follow our step-by-step guide to create the perfect glaze and decorate them into charming bath-time confections. Let’s dive in and make your bath a little sweeter!
Click here to download the step-by-step PDF guide!
Base Bath Bomb Ingredients:
Recipe (makes 7)
Recommended Dry Ingredients:
- 450g Baking Soda
- 316g Citric Acid
- 18g Cornstarch
- 14g Lathanol
- 19g Cream of Tartar
- Blue Bath Bomb Colorant
- Orange Bath Bomb Colorant
Recommended Wet Ingredients:
- 11g Avocado Oil
- 11g Polysorbate 80
- 22g Black Raspberry Vanilla Fragrance Oil
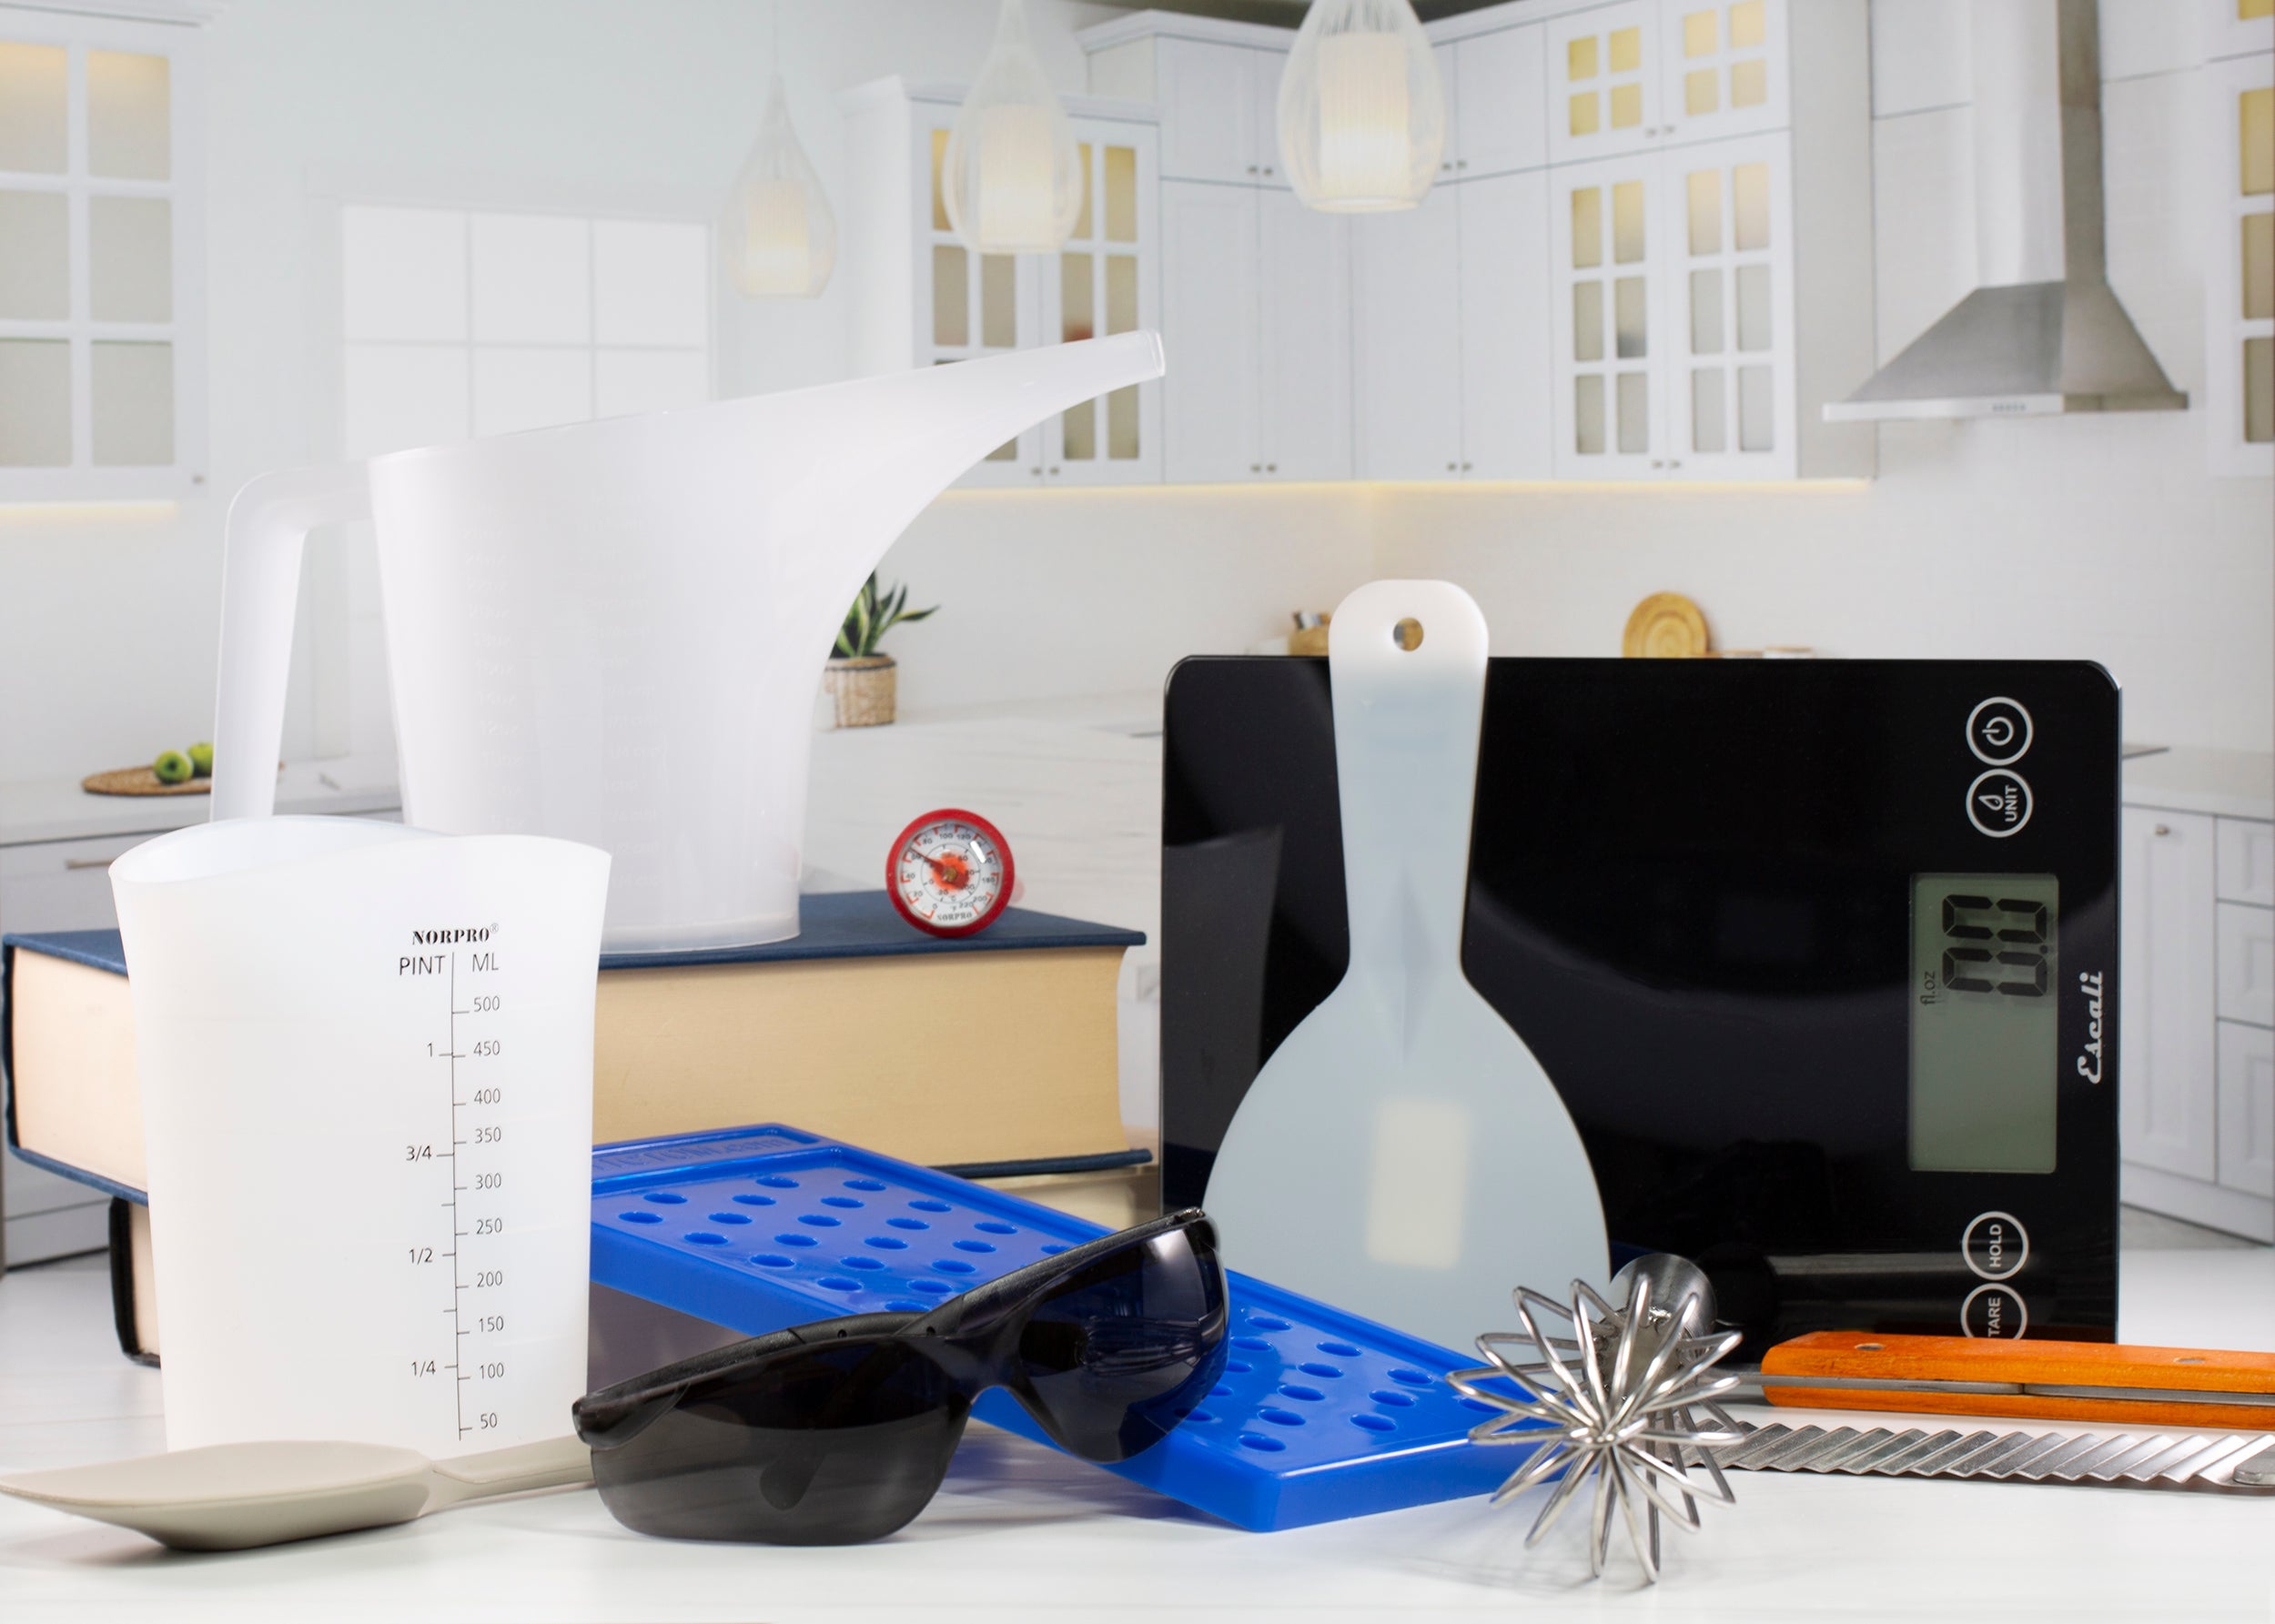
Recommended Utensils:
- 1x Mixing Bowl
- 1x 3" Donut - 3D Printed Bath Bomb Mold
- Scale
- Sifter
- Metal Spoon
- Gloves
- Facemask(recommended)
Directions:
- Step 1: Weigh out and sift into a bowl the Baking Soda, Cornstarch, Lathanol, Cream of Tartar(leave the Citric Acid out for now). Gently mix.
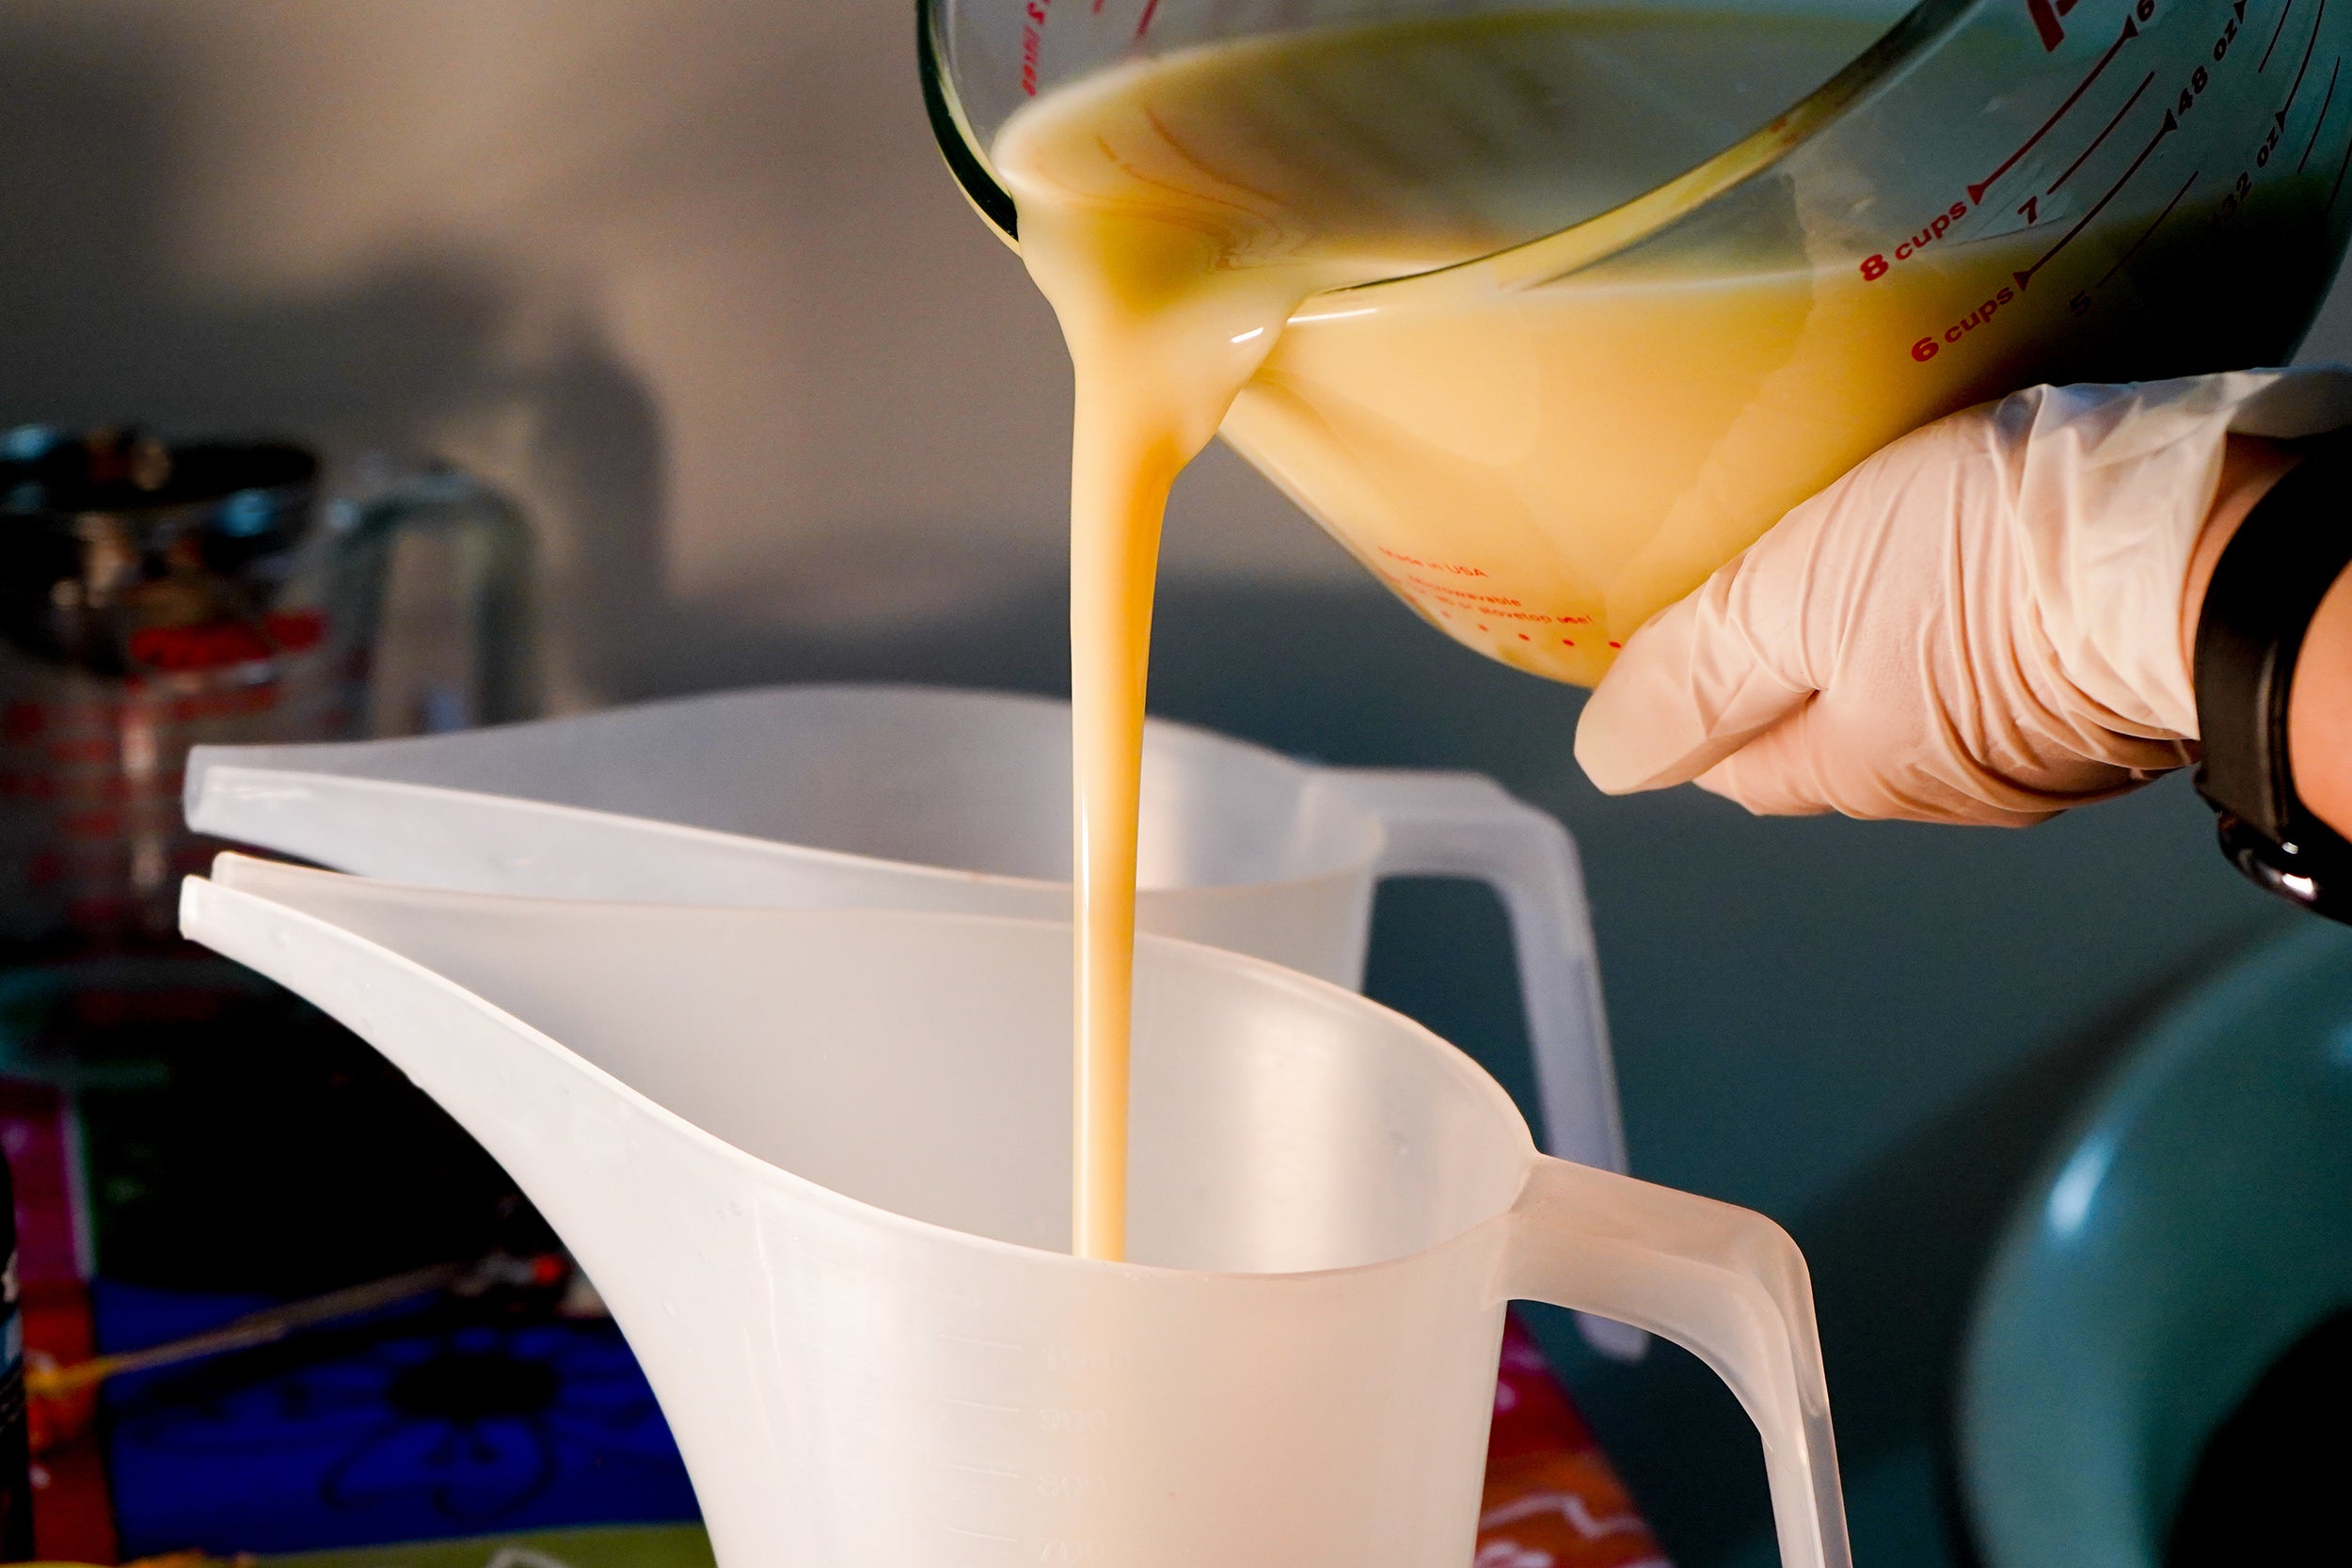
- Step 2: Weigh the Avocado Oil, Polysorbate 80, and Black Raspberry Vanilla Fragrance Oil in a mixing cup. Mix until combined, then pour the wet ingredients into the dry ingredients. Mix well.
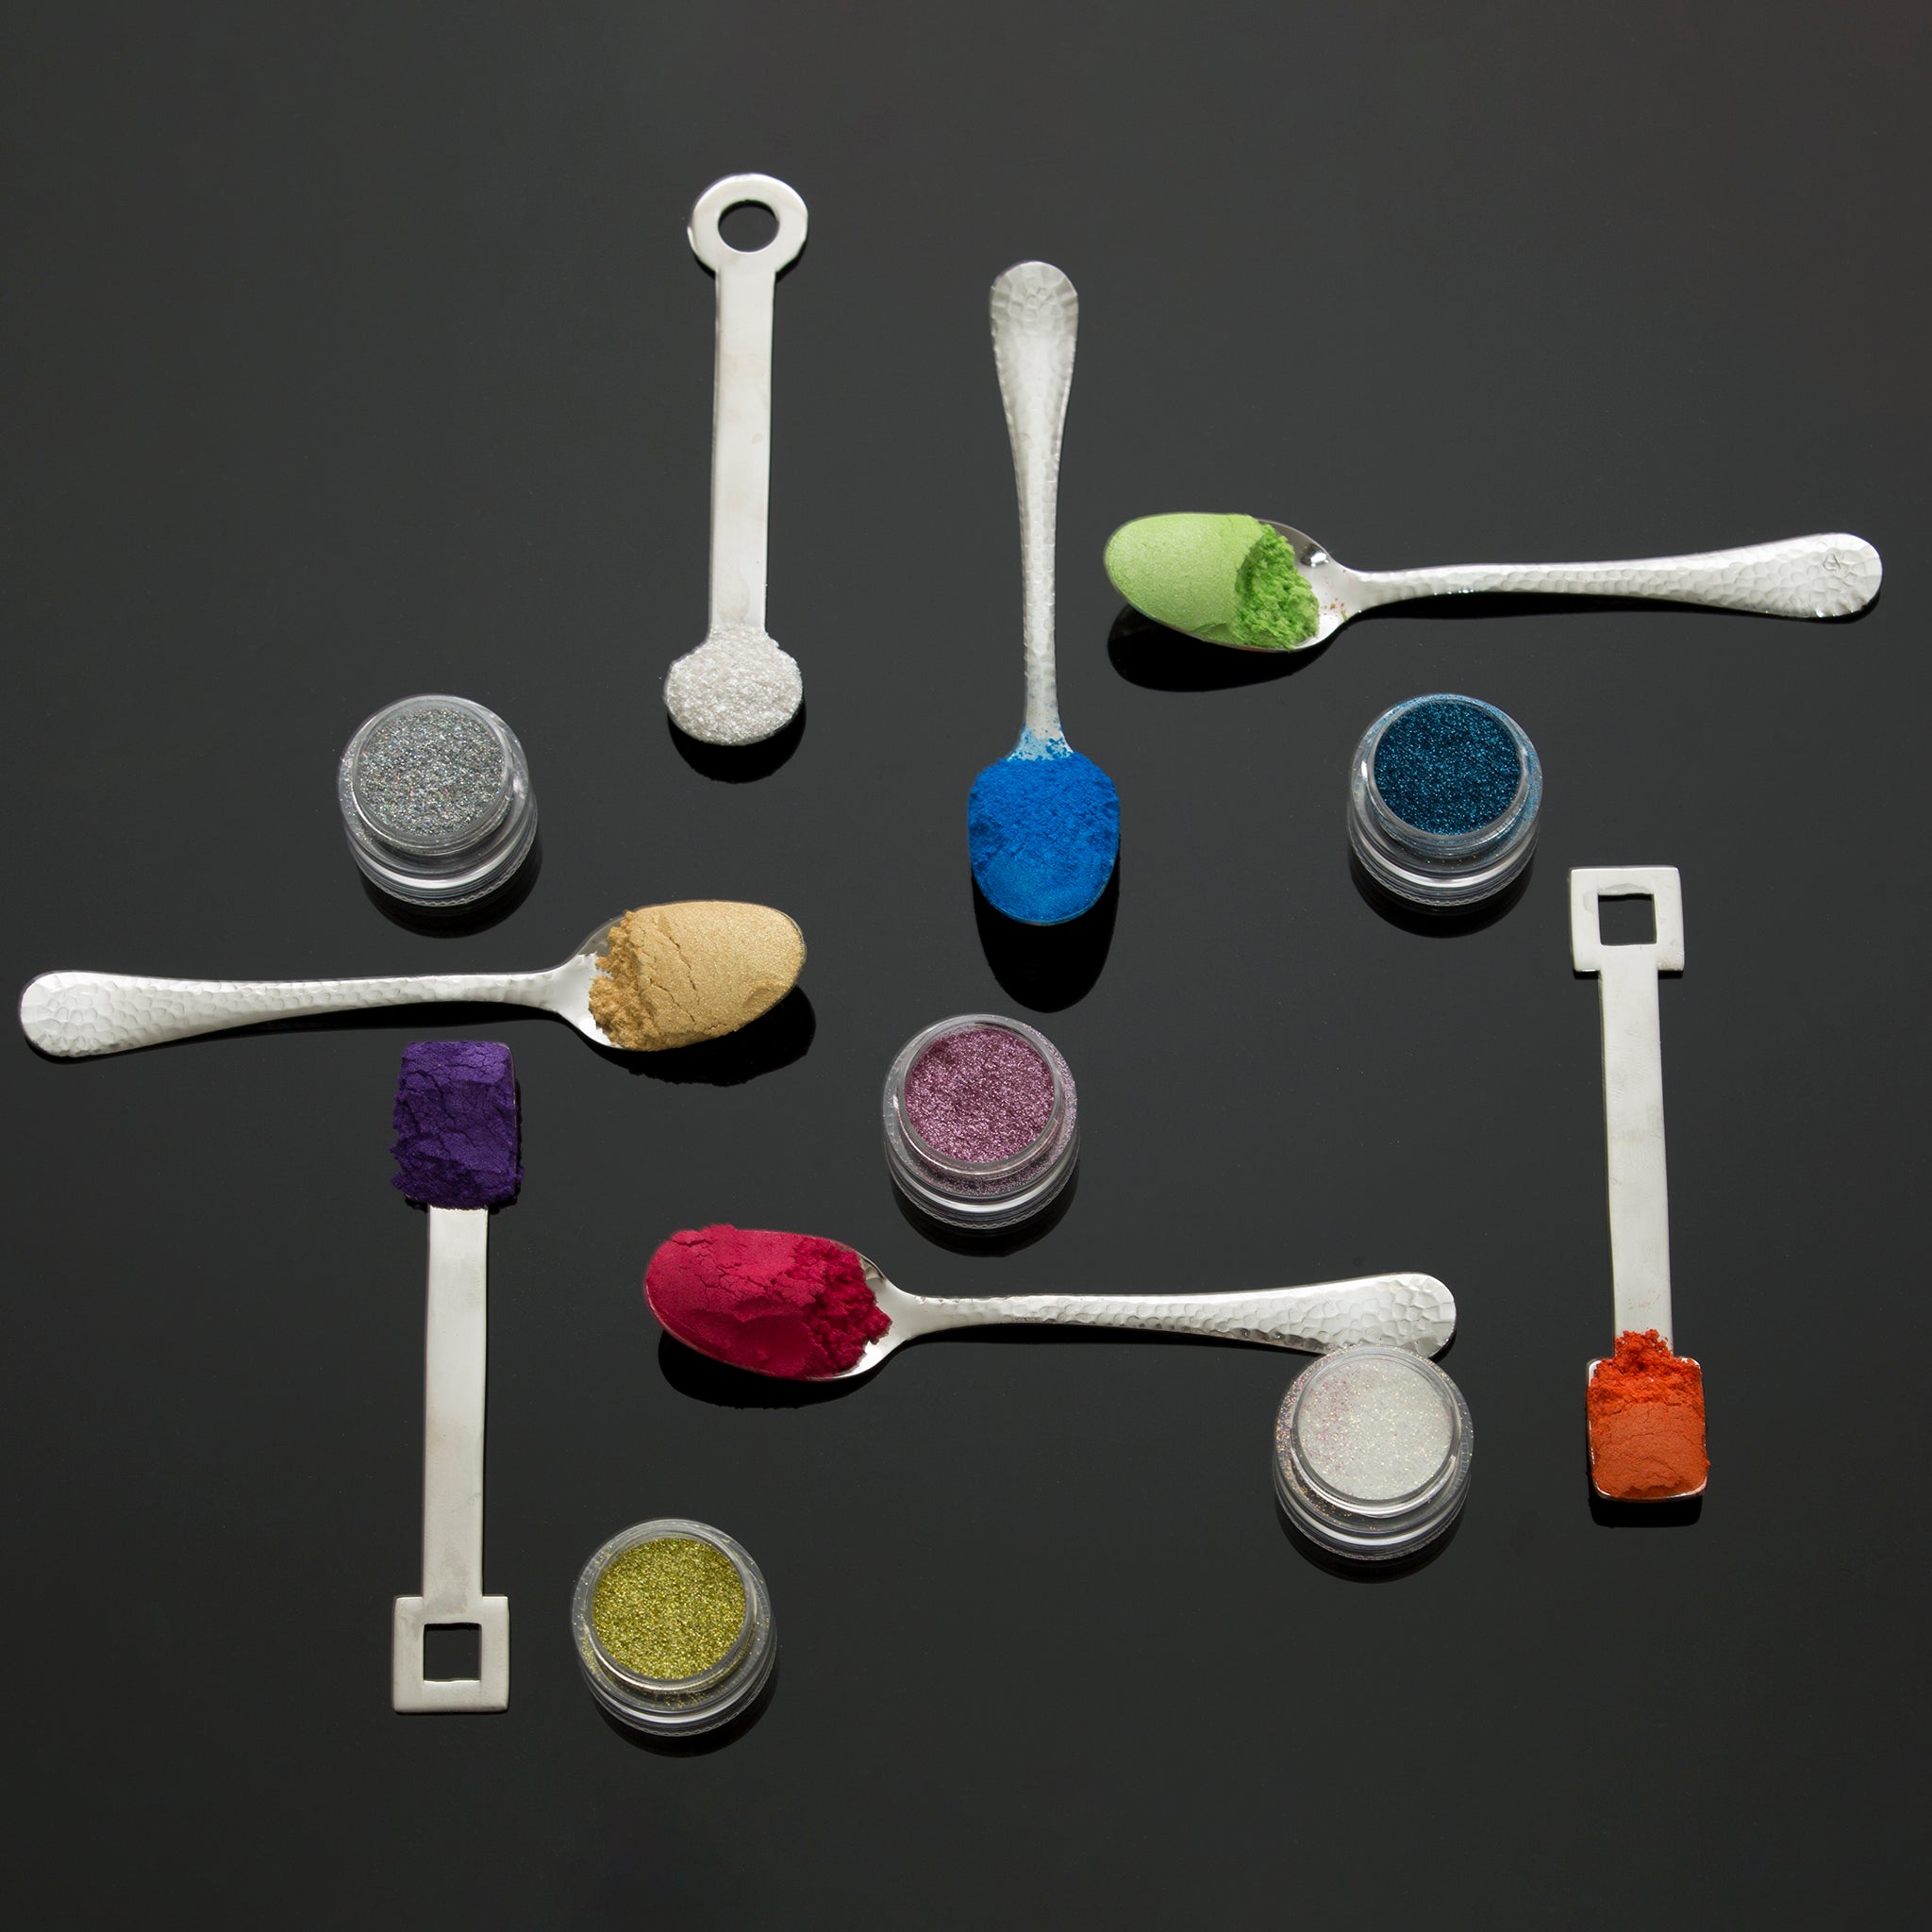
- Step 3: Now add the Orange and Blue Bath Bomb colorant , starting with a little then adding more until desired color is reached, then mix in the Citric Acid.
- Step 4: Test the Bath Bomb mix by pushing some in your hand together and dropping into the bowl. If it sticks together without breaking It's ready to fill the mix into the mold. If it doesn't hold together add some water using a spray bottle until the mix holds together when dropping.
- Step 5: Now fill the Bath Bomb mold by holding the bottom part and the sleeve in one hand , do not push the mix into the mold but rather leave it loose and be sure to leave a mound on top . However, don't overfill the mold.
- Step 6: Once you have filled the sleeve and bottom part of the mold , use the top piece and place it on top.
- Step 7: Now push down on the top part of the mold either in your hands or on a table to form the Bath Bomb.
- Step 8: This will cause a bit of a suction between the mold and Bath Bomb which you can easily break by tapping the back of a metal spoon against the mold.
- Step 9: Once you tapped a few times against all sides, place the mold on the table and push the sleeve up.
- Step 10: Remove the sleeve and brush with your thumb or index finger around the exposed ring of the bath bomb to smoothen it out.
- Step 11: Now use the spoon and gently tap against the top part of the mold while holding onto it to break the suction.
- Step 12: Carefully pull the top part of the mold diagonally up. Now carefully hold onto the exposed part of the Bath Bomb, while turning it upside down so it won't fall out. Place on a flat surface and gently tap with the back of the spoon to release from the mold. Then repeat the process until all the mix is used up. Should the Bath Bomb break you can just start over by reusing the mix, as long as it's done within roughly 30 min ,if it's too dry spray it with some water.
- Step 13: Let the Bath Bomb Donuts dry for at least 24 hours before decorating!
Glaze for Donut Bath Bombs
Recommended Ingredients:
- 200g Baking Soda
- 50g Cocoa Butter
- 2x 0.15cc Wedding Veil Mica
Recommended Utensils:
- 1x Mixing Bowl
- Glass Measuring Cup
- Scale
- Sifter
- Whisk
- Gloves
Directions:
- Step 1: Weight in a glass cup the cocoa butter , then melt in a microwave in short bursts to avoid overheating the cocoa butter.
- Step 2: Once fully melted add Baking Soda by sifting directly into the cocoa butter. Mix with whisk and add Baking Soda until a Glaze like consistency is reached.
- Step 3: Pour Glaze into a bowl deep and wide enough to dip the Donuts.
White Sugar Sprinkle Donut
- Step 1: Prepare the Glaze as per the Instructions above.
- Step 2: Add 2 scoops of Wedding Veil Mica to create a white shimmery Glaze.
- Step 3: Now dip the Donut into the glaze , then add sprinkles and sugar bunny right away as it sets quickly once dipped.
White Bunny Tail Donut
- Step 1: Use a Heart Mold to make one white heart using Melt and Pour Soap, once hardened cut in half and paint on toe beans by mixing Isopropyl Alcohol and Cotton Candy Mica. This will be the 2 bunny feet.
- Step 2: Prepare the Glaze as per the Instructions above.
- Step 3: Add 2 scoops of Wedding Veil Mica to create a white shimmery Glaze.
- Step 4: Now dip the Donut into the glaze , then add the 2 feet right away as it sets quickly once dipped.
- Step 5: In a bowl weigh out and sift 65g Baking Soda, 7g Lathanol, 4g Cream of Tartar, 7g Cornstarch. Then in a cup measure and mix 1g Glycerin, 1g Polysorbate 80, 5g Cocamidopropyl Betaine, 1g Cocoa Butter. Mix the wet ingredients into the dry ingredients. Then add some Isopropyl Alcohol until it reaches a pipeable consistency. Quickly fill into a piping bag with desired tip and pipe a fluffy tail into the Donut hole. If the bubble bar gets too hard to pipe, return to the bowl and mix in more Isopropyl Alcohol. Keep leftover Bubble Bar in a ziplock bag for other projects.
White Bunny Donut
- Step 1: Use a small Heart Mold to make one white heart using Melt and Pour Soap, once hardened cut in half and paint on toe beans by mixing Isopropyl Alcohol and Cotton Candy Mica. This will be the 2 bunny feet.
- Step 2: Use a larger Heart Mold to make another white heart using Melt and Pour Soap,once set, cut in half and paint on the pink inside of the bunny ears onto them by mixing Isopropyl Alcohol and Cotton Candy Mica.
- Step 3: To make the 2 paws , make 2 White Melt and Pour Blueberries using a Blueberry mold or any small round sphere mold.
- Step 4: Prepare the Glaze as per the Instructions above.
- Step 5: Add 2 scoops of Wedding Veil Mica to create a white shimmery Glaze.
- Step 6: Now dip the Donut into the glaze , then add the 2 ears,2 paws and 2 feet right away as it sets quickly once dipped.
- Step 7: Once the glaze is set, paint on the eyes and nose onto the donut using onyx mica mixed with isopropyl Alcohol.
Pink Sugar Sprinkle Donut
- Step 1: Prepare the Glaze as per the Instructions above.
- Step 2: Add 2 scoops of Cotton Candy Mica to create a pink shimmery Glaze.
- Step 3: Now dip the Donut into the glaze , then add sprinkles and sugar egg right away as it sets quickly once dipped.
Multicolor dipped Donut
- Step 1: Prepare the Glaze as per the Instructions above.
- Step 2: Split into three cups. Add into one cup 2 scoops of Cotton Candy Mica to create a pink shimmery Glaze . In another cup add 2 scoops of Buttercup Yellow Mica and in the third cup add 2 scoops or Springtime Green Mica.
- Step 3: Pour the colors alternating into a bowl wide and deep enough to dip the Donut .Once all the glaze is in the bowl use a skewer or chopstick to pull the colors from the outside towards the middle.
- Step 4: Quickly dip the donut and then leave it to dry.
Green Sugar Sprinkle Donut
- Step 1: Prepare the Glaze as per the Instructions above.
- Step 2: Add 2 scoops of Springtime Green Mica to create a green shimmery Glaze.
- Step 3: Now dip the Donut into the glaze , then add sprinkles right away as it sets quickly once dipped.
- Step 4: Add some Buttercup Yellow Mica into the green Glaze , to create a brighter green shade. Mix well, then using a spoon let it drizzle onto the donut while moving the spoon back from left to right above the donut. Quickly stick a Chick Sugar Sprinkle into the drizzle.
Chick inspired Donut
- Step 1: Prepare the Glaze as per the Instructions above.
- Step 2: Add 2 scoops of Buttercup Yellow Mica to create a yellow shimmery Glaze.
- Step 3: Now dip the Donut into the glaze, add 2 round sprinkles for the eyes, then let it dry for a few minutes.
- Step 4: Paint the sprinkles black using a mix of Onyx Mica and Isopropyl Alcohol then add 2 small white dots onto the eyes using the wedding veil mica mixed with isopropyl alcohol.
- Step 5: Use some leftover Bubble Bar mix from the Bunny Tail Donut and add Sunset Orange Mica. Then pipe with a fine round tip the feet , beak and the comb onto the donut. Once happy with the result use a dry paintbrush and Cotton candy mica to add the red blush onto the chicks cheeks.
Humidity
Humidity can cause Bath Bomb mix to become tricky. We prefer working with this recipe between 30% to 50% humidity.
We also found that adding clay to the recipe can help at a higher humidity.If the mix activates , try adding a little bit of clay .
This recipe was tested at 43% humidity in a room temperature of 24.3 degrees. We highly recommend working in a space with a humidifier.
If for some reason the Bath Bombs do crumble , do not throw out the mix(or any leftovers from making Bath Bombs, rather package it and sell it as a Bath Bomb powder).
Caring for your 3d printed Bath Bomb molds:
Do not submerge in water , as water can get trapped inside the plastic , causing Bath Bombs to activate upon making. You may wipe the mold with cold water and paper towel if needed, hot water can deform the plastic. Do not place it in a dishwasher!
If the mold was submerged in water accidentally , place it on a metal drying tray for at least 24h, to be sure the water fully evaporated from all sides.