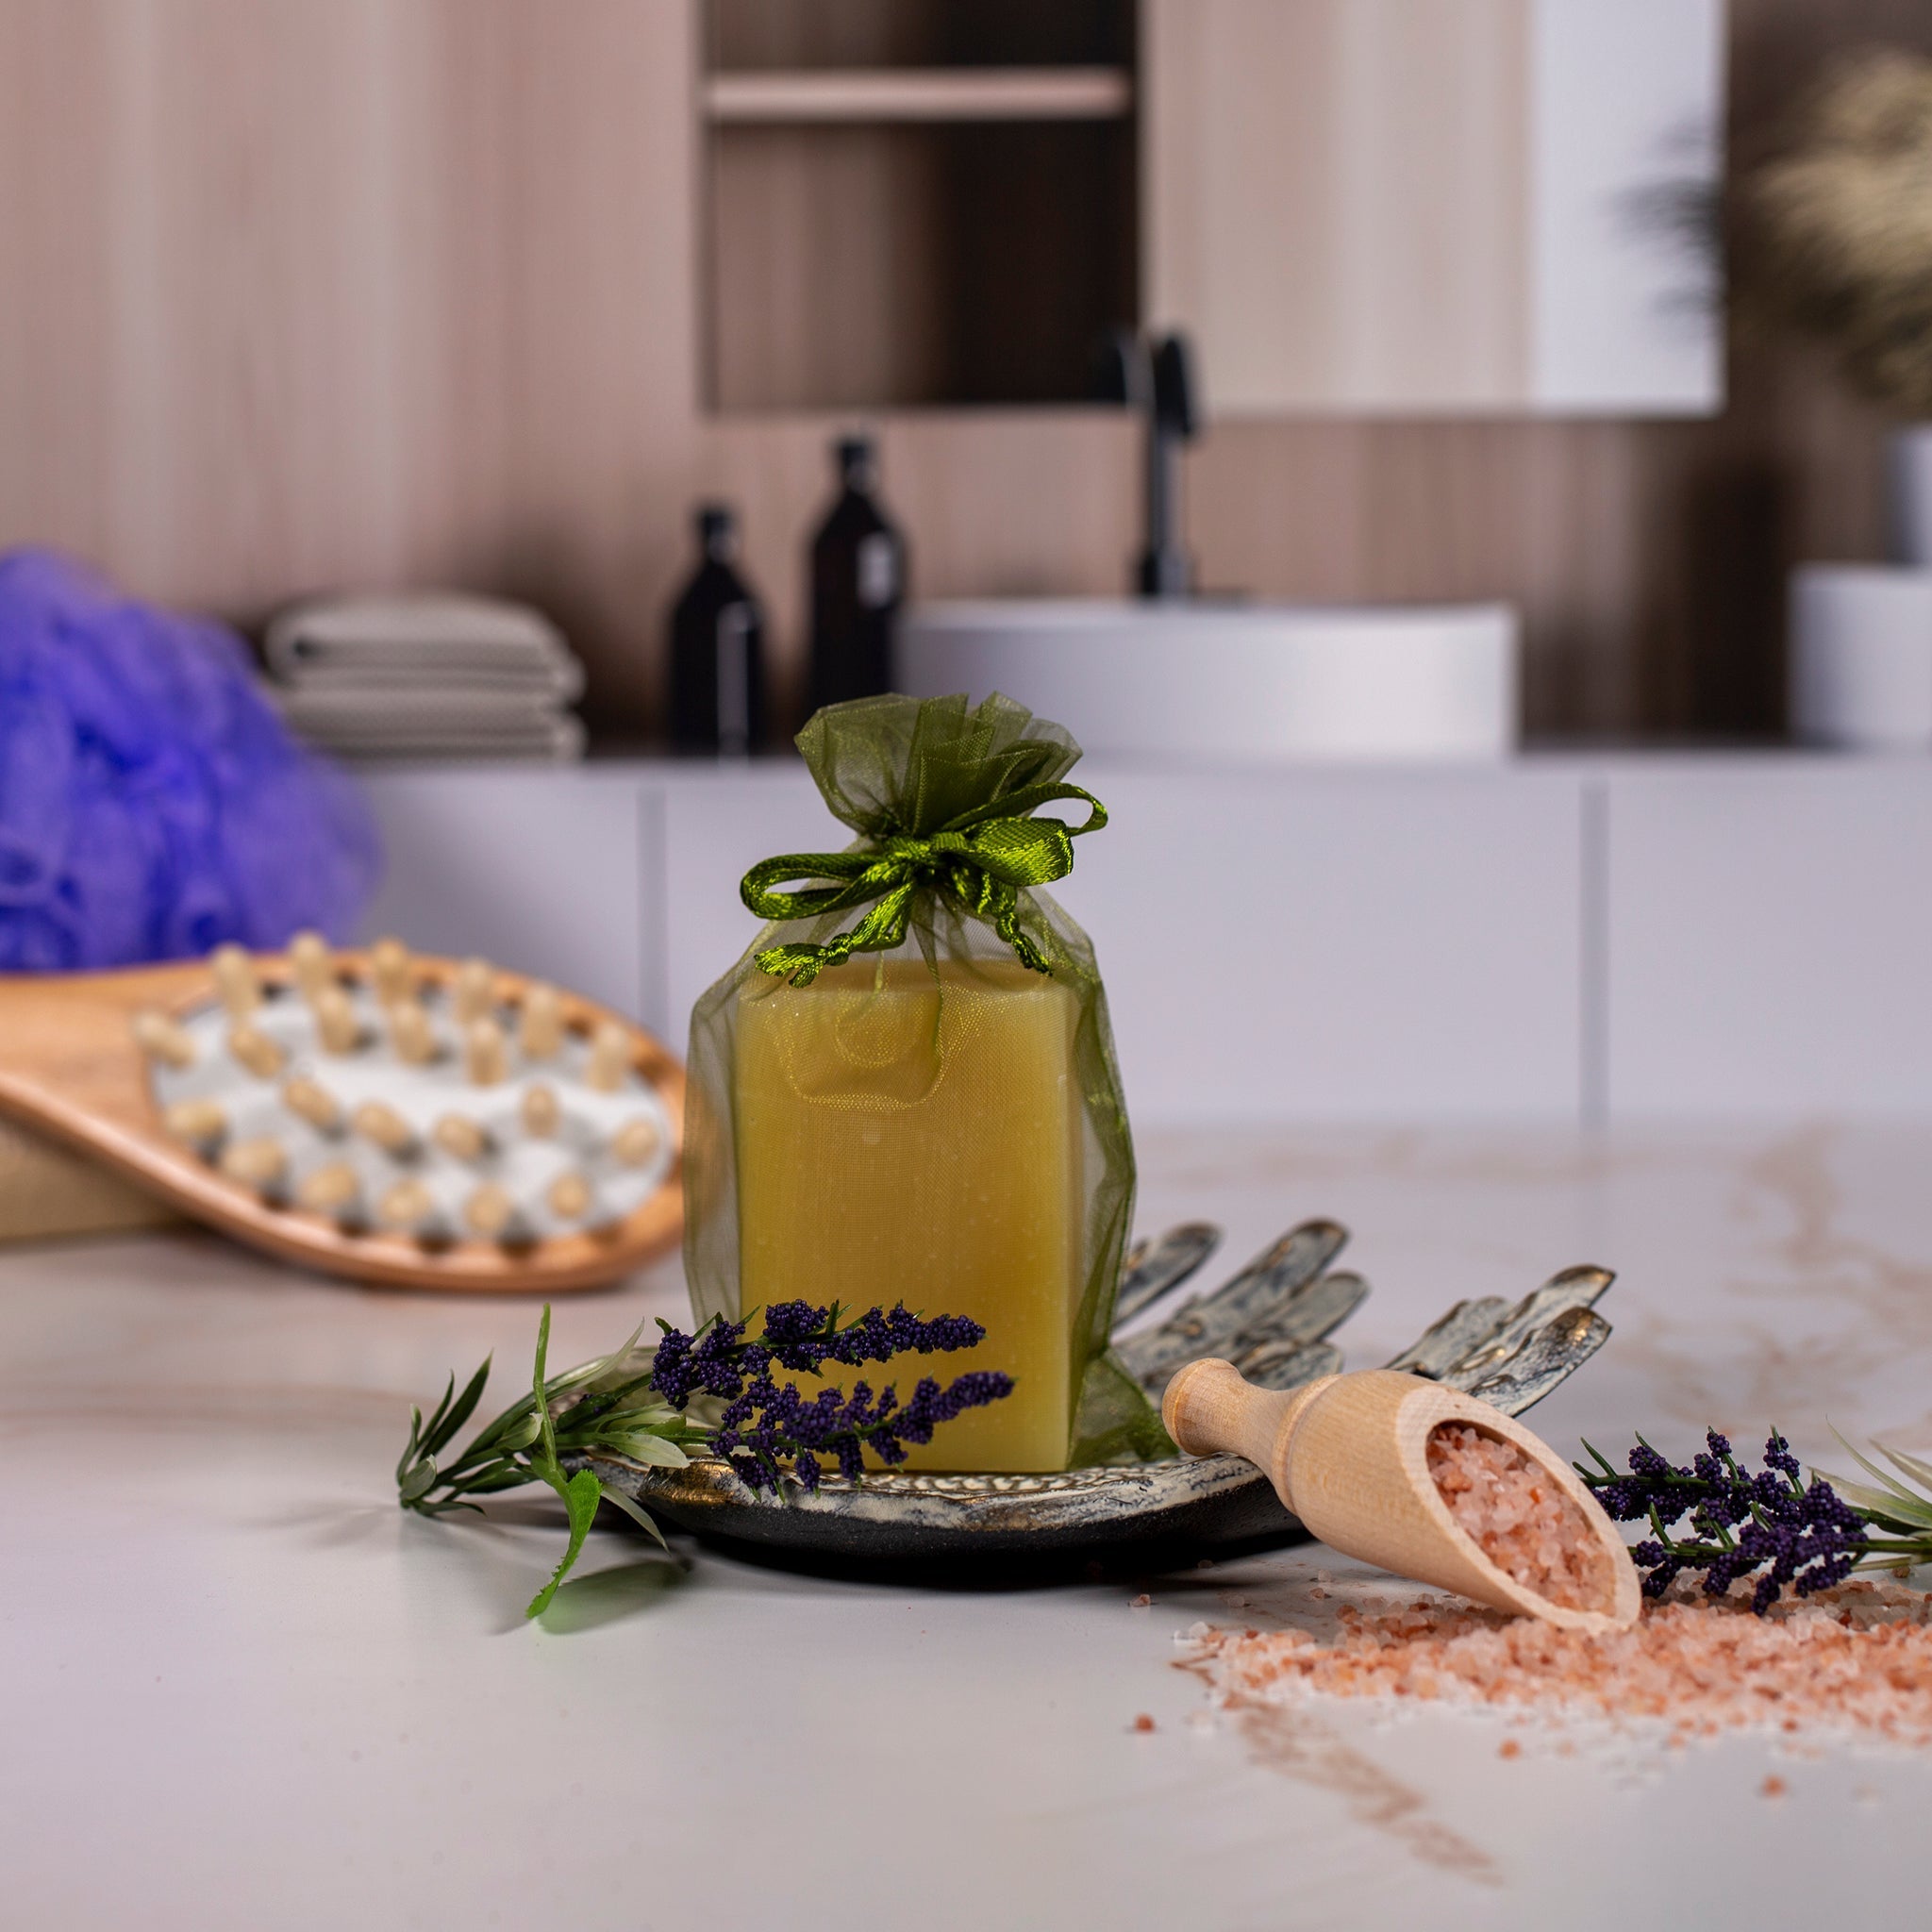
These exquisite Pink Cranberry Bath Bombs are ideal as a stocking filler. They are glittery and exude a delightful aroma, turning your bathwater into a mesmerizing pink sparkle.
Click here to download the Step by Step Guide
Recommended Ingredients:
Recipe (makes 7 )
Dry Ingredients:
- 387g Baking Soda
- 226g Citric Acid
- 13g Cornstarch
- 10g Lathanol
- 14g Cream of Tartar
- 8g Milk Powder
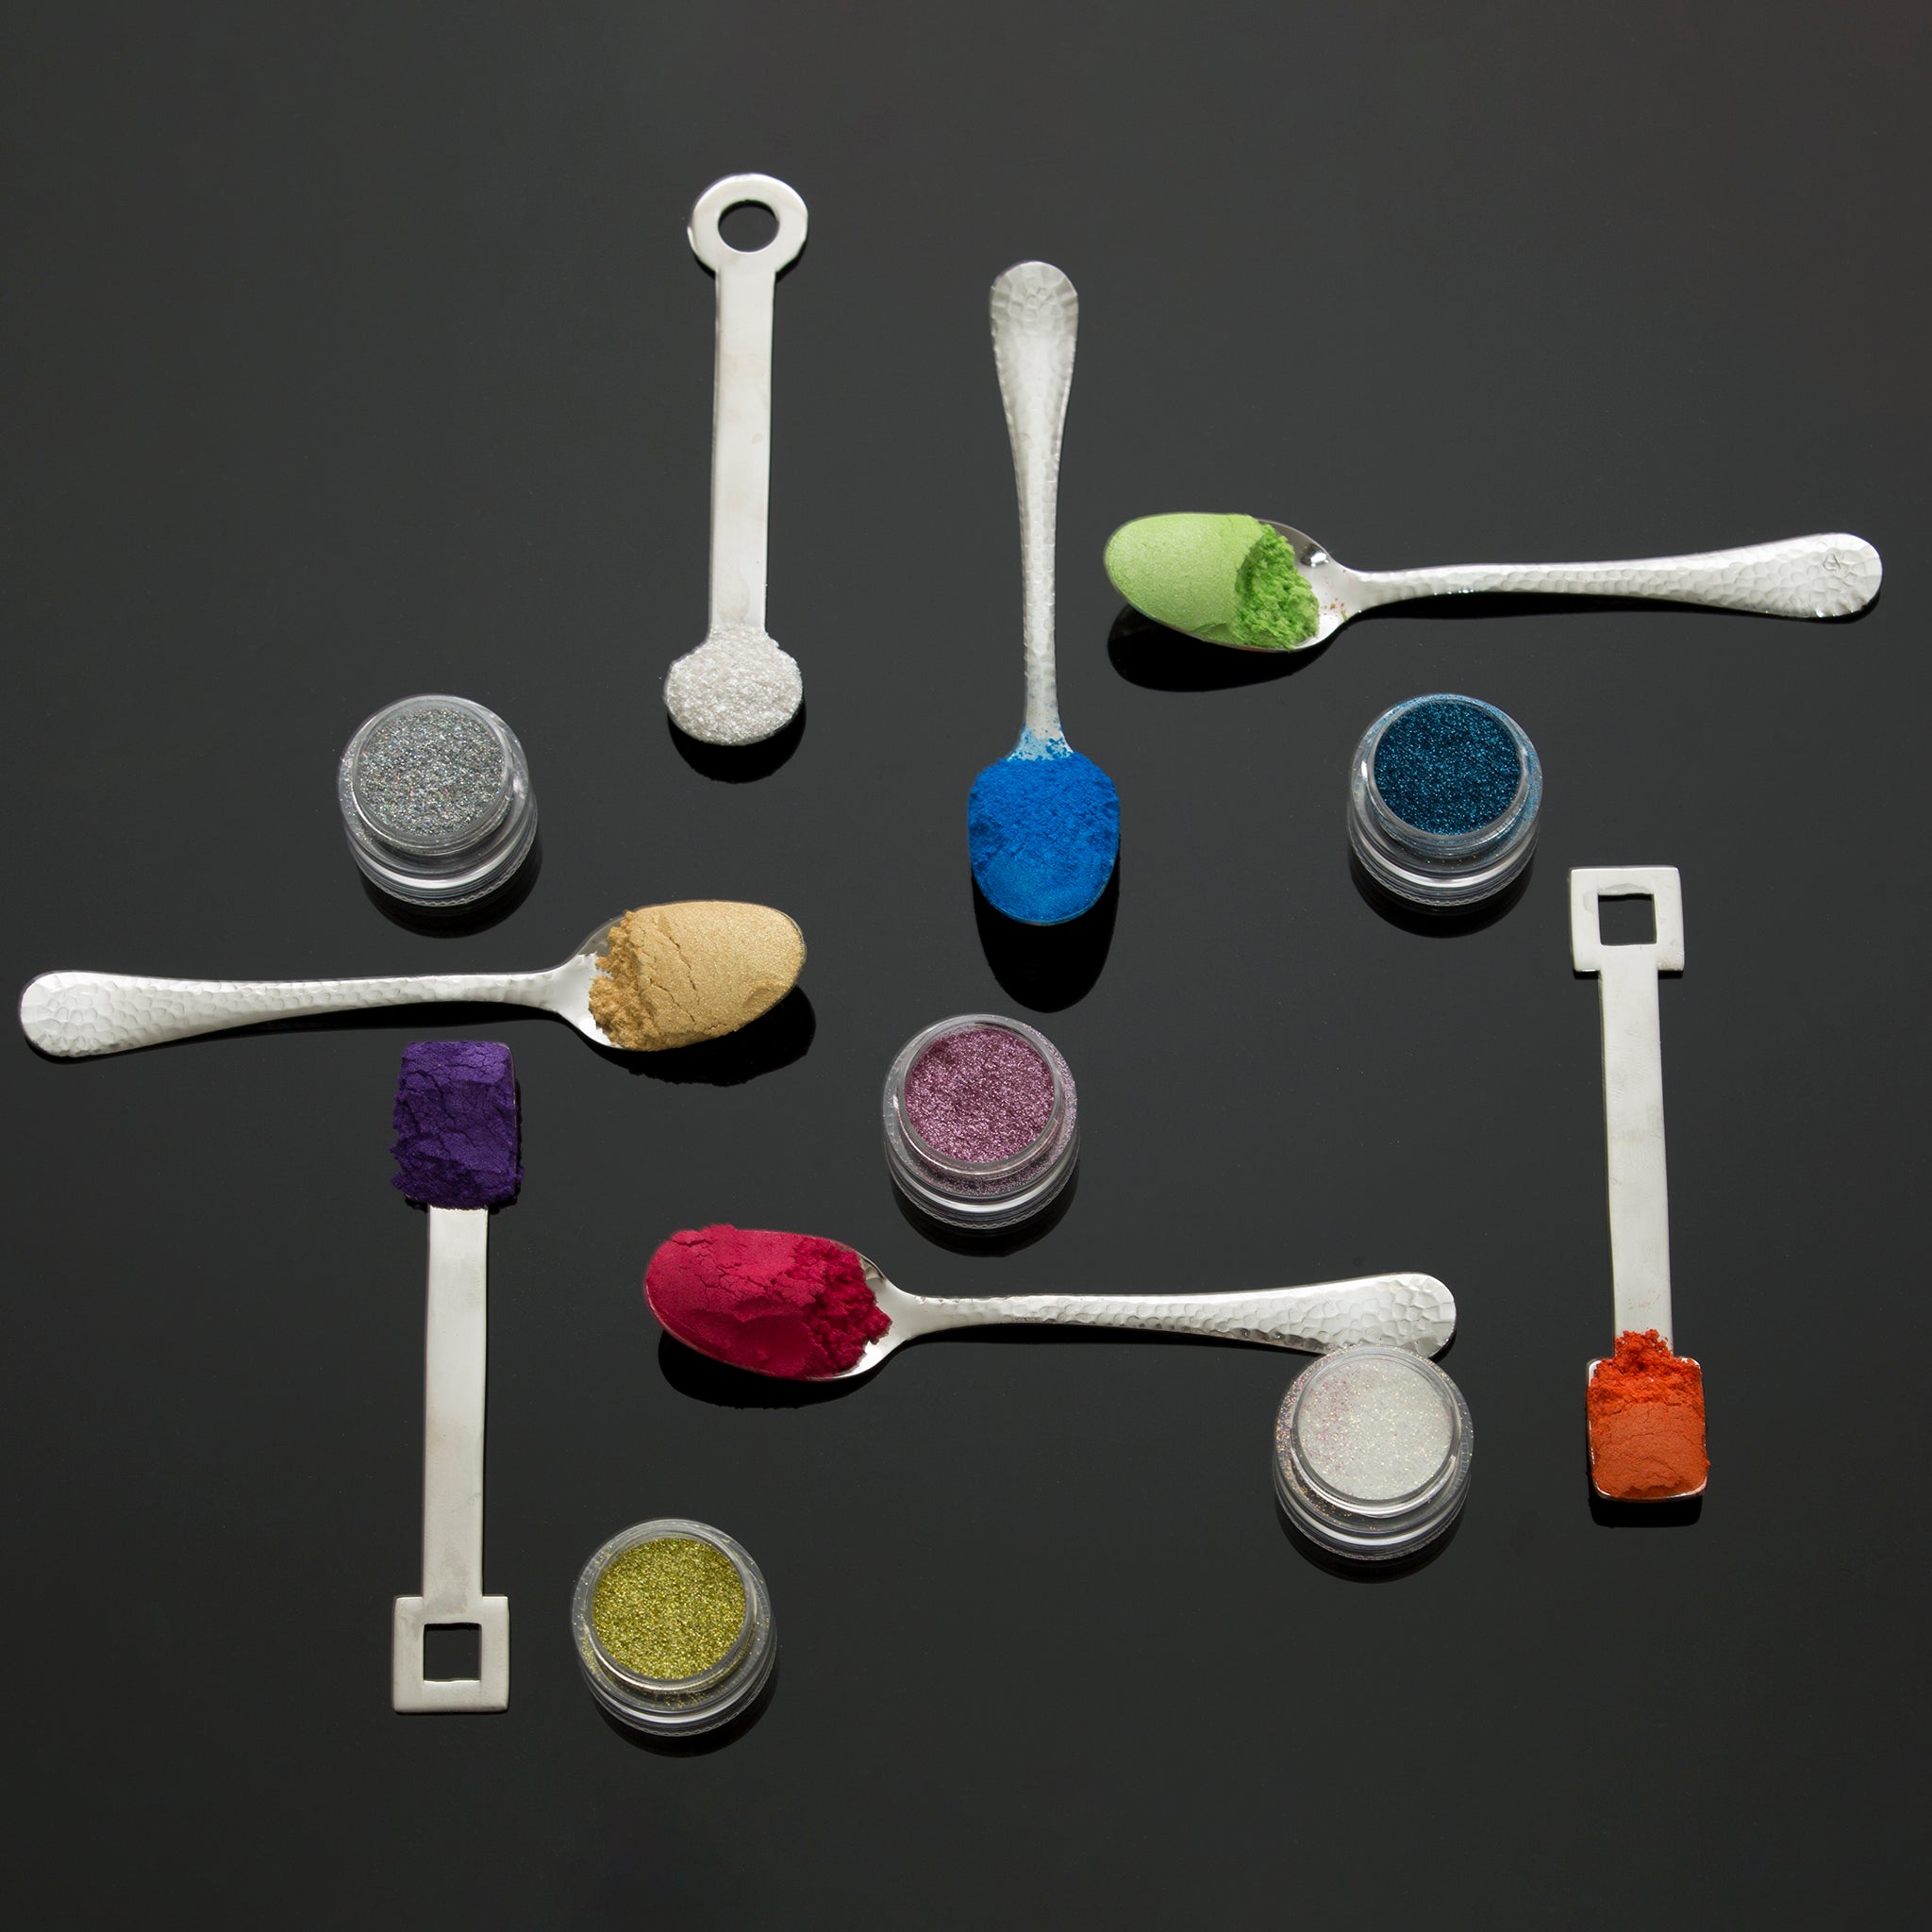
- 4x 0.15cc Scoops of Neon Magical Magenta Powder
- 3x 0.15cc Scoops of Frost Mica
Wet Ingredients:
- 8g Avocado Oil
- 8g Polysorbate 80
- 4g Cocoa Butter
- 4g Cranberry-White Fragrance Oil
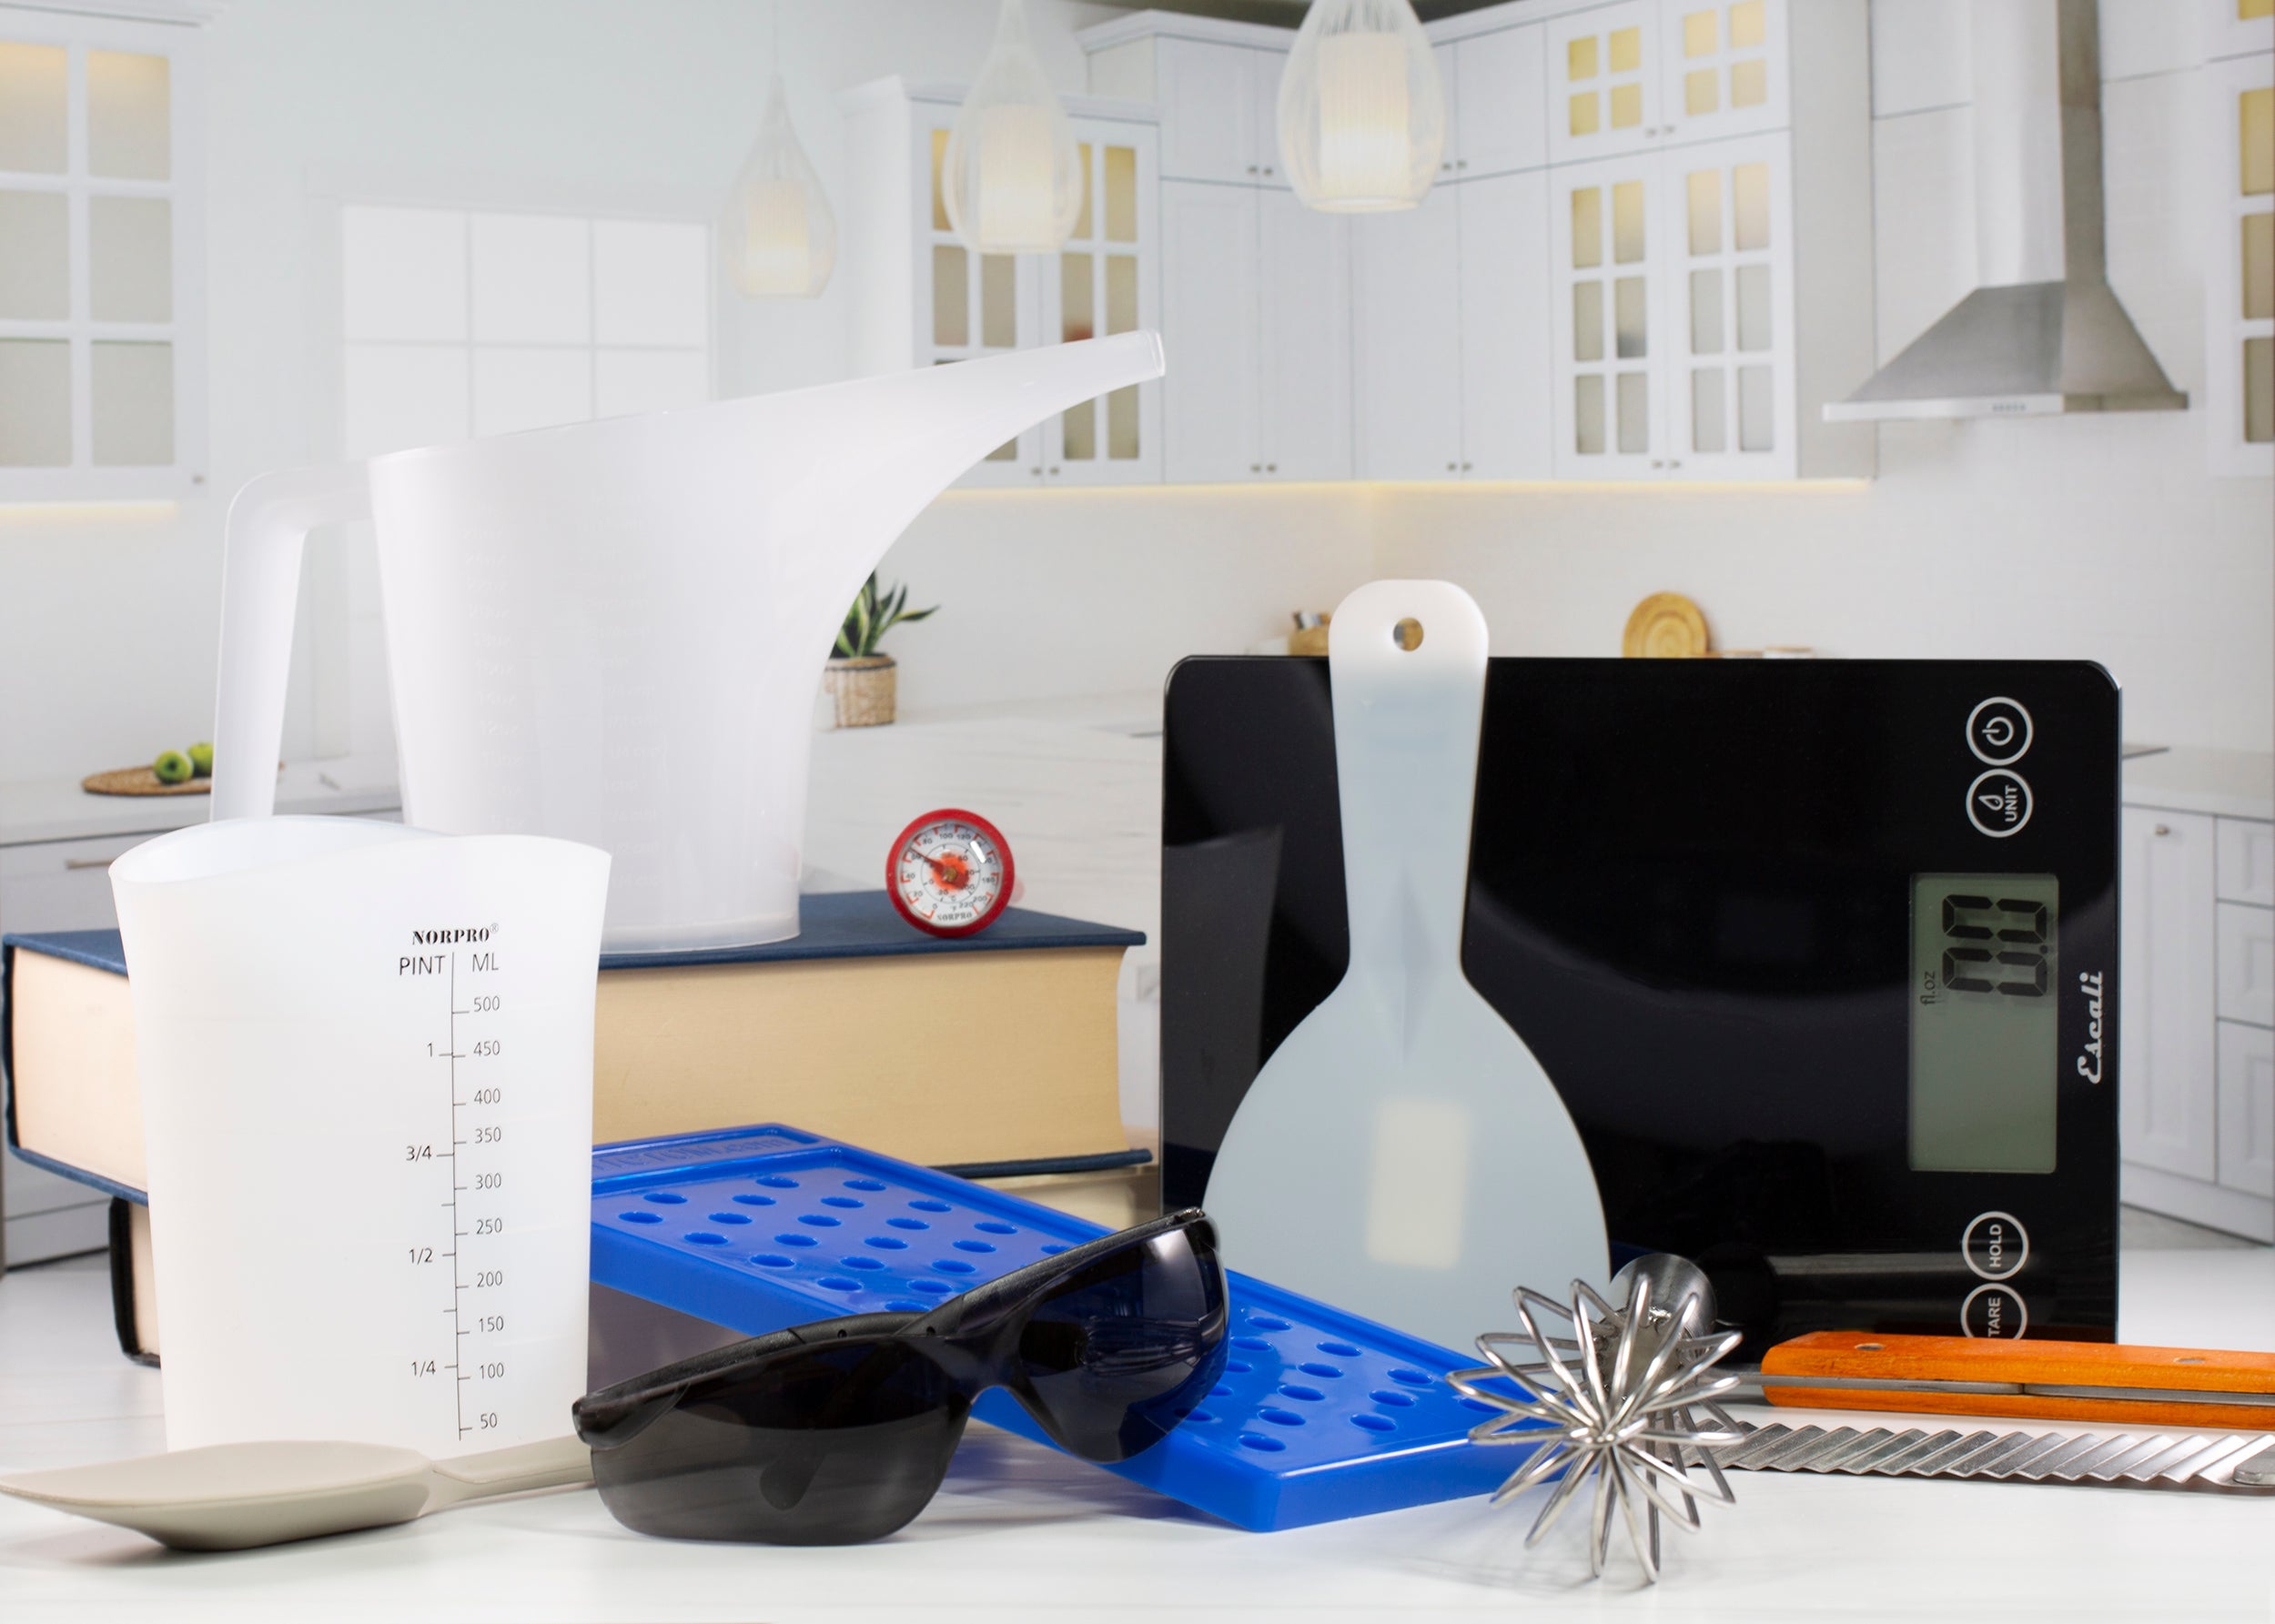
Recommended Utensils:
- 1x Mixing Bowl
- 1x Glass measuring Cup
- Metal Bath Bomb Mold - 2" Diameter
- Large Bubble Wrap
- Scale
- Sift
- Small sift
- Metal Spoon
- Gloves
- Facemask(recommended)
Directions:
- Step 1: Weigh out and sift into a bowl the Baking Soda, Cornstarch, Lathanol, Cream of Tartar and Milk Powder (leave the Citric Acid out for now). Gently mix.
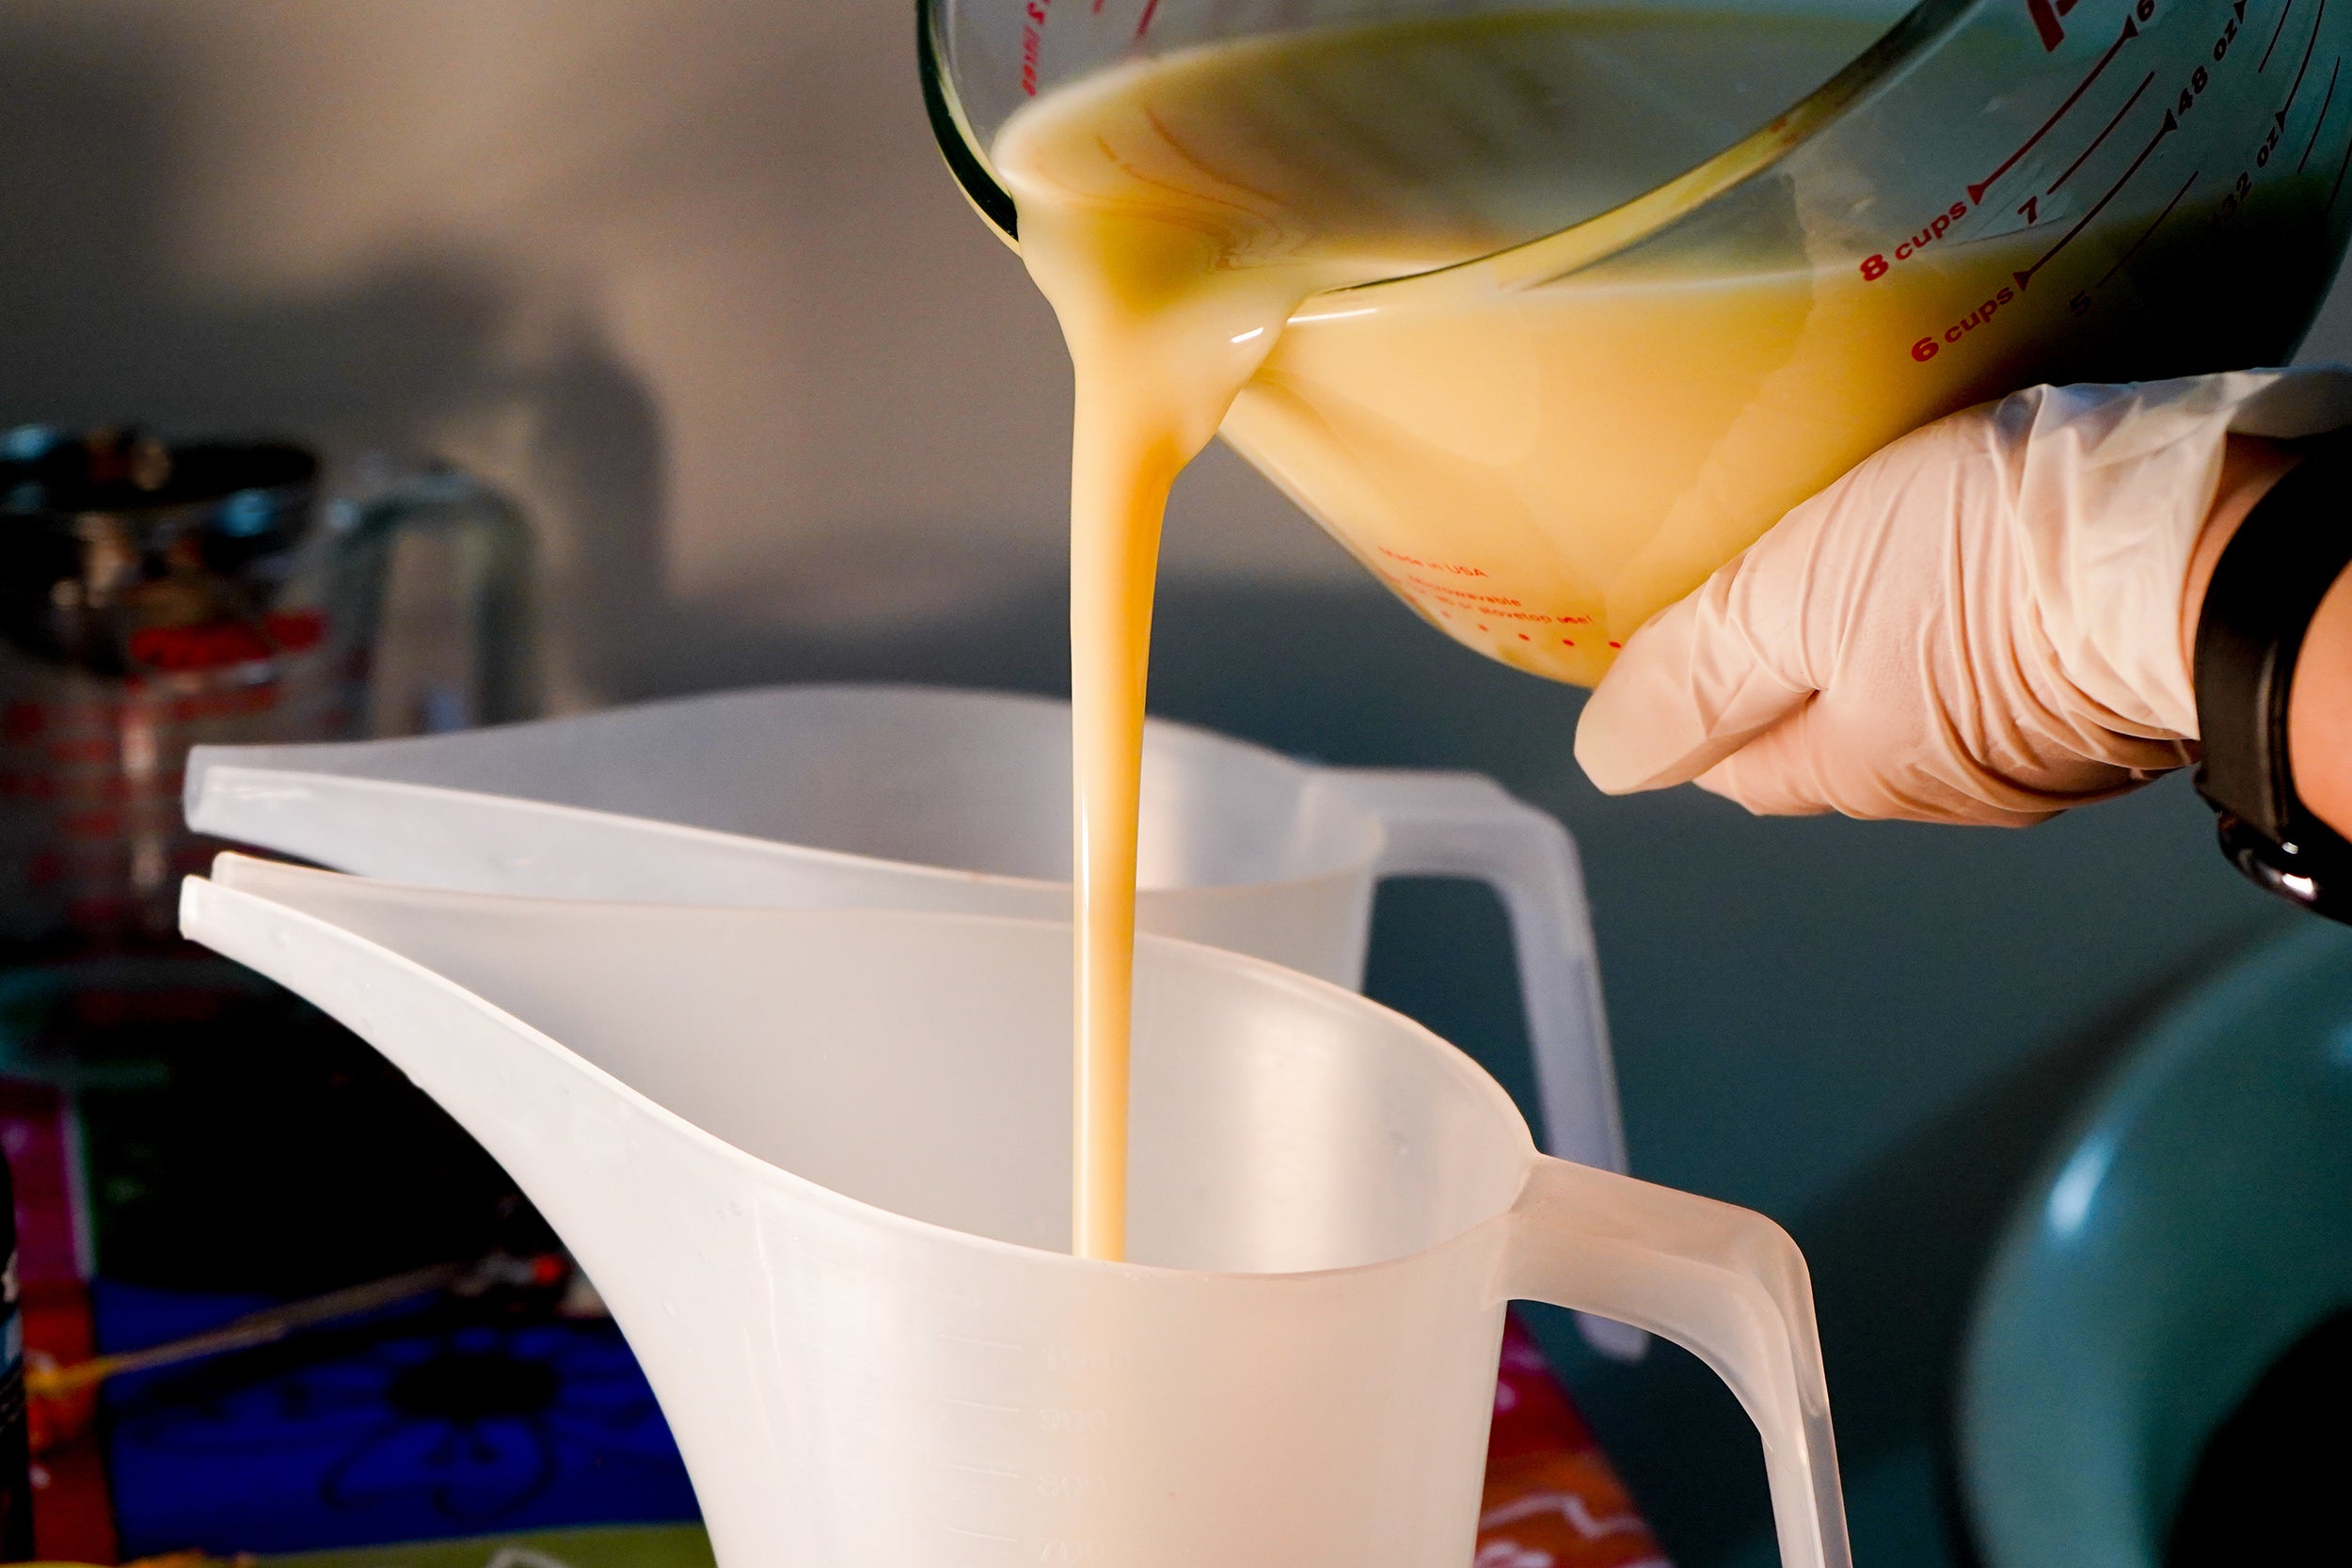
- Step 2: Weigh out in a mixing cup the Avocado Oil, Polysorbate 80 and the Cranberry-White Fragrance Oil. Mix until combined, then pour the wet ingredients into the dry ingredients. Mix well.
- Step 3: Slowly melt the Cocoa butter in a microwave safe cup, using a microwave and in 20 second intervals until fully melted. Be sure not to overheat the cocoa butter. Once melted combine with the Bath Bomb Mix.
- Step 4: Now add the Citric Acid , as well as the Colorant and mix once again. Test Bath Bomb mix by pushing some in your hand together and dropping into the bowl. If it sticks together without breaking, it's ready to fill the mix into the mold. If it doesn't hold together add some water using a spray bottle until the mix holds together when dropping.
- Step 5: Take your Metal Bath Bomb Mold and begin by filling both halves. Leave some mix on top and then press both halves together forming the sphere.
- Step 6: Gently tap on both halves using a Metal Spoon to break the suction between the mold and Bath Bomb.
- Step 7: Now remove one half by pulling it diagonally up.
- Step 8: Carefully hold onto the exposed part of the Bath Bomb, while turning it upside down so it won't fall out. Place over the large bubble wrap and gently release. Then repeat the process until all the mix is used up. Should the Bath Bomb break you can just start over by reusing the mix, as long as it's done within roughly 30 min, if it's too dry spray it with some water.
- Step 9: Next gently sprinkle some Frost Mica onto each Bath Bomb, you can use a small sift for this step. Let the Bath Bombs dry for 24h. Then package them and keep dry!
Humidity
Humidity can cause Bath Bomb mix to become tricky. We prefer working with this recipe between 30% to 50% humidity.
We also found that adding clay to the recipe can help at a higher humidity.If the mix activates , try adding a little bit of clay .
This recipe was tested at 43% humidity in a room temperature of 24.3 degrees. We highly recommend working in a space with a humidifier.
If for some reason the Bath Bombs do crumble , do not throw out the mix(or any leftovers from making Bath Bombs, rather package it and sell it as a Bath Bomb powder).


