


Transform your space with the warm glow of this delectable Chocolate Fudge and Cookie Candle! Follow our step-by-step guide to create your own delightful candle and uplift your home with the sweet scent of baked treats.
Click Here To Follow Our Step-By-Step PDF Guide
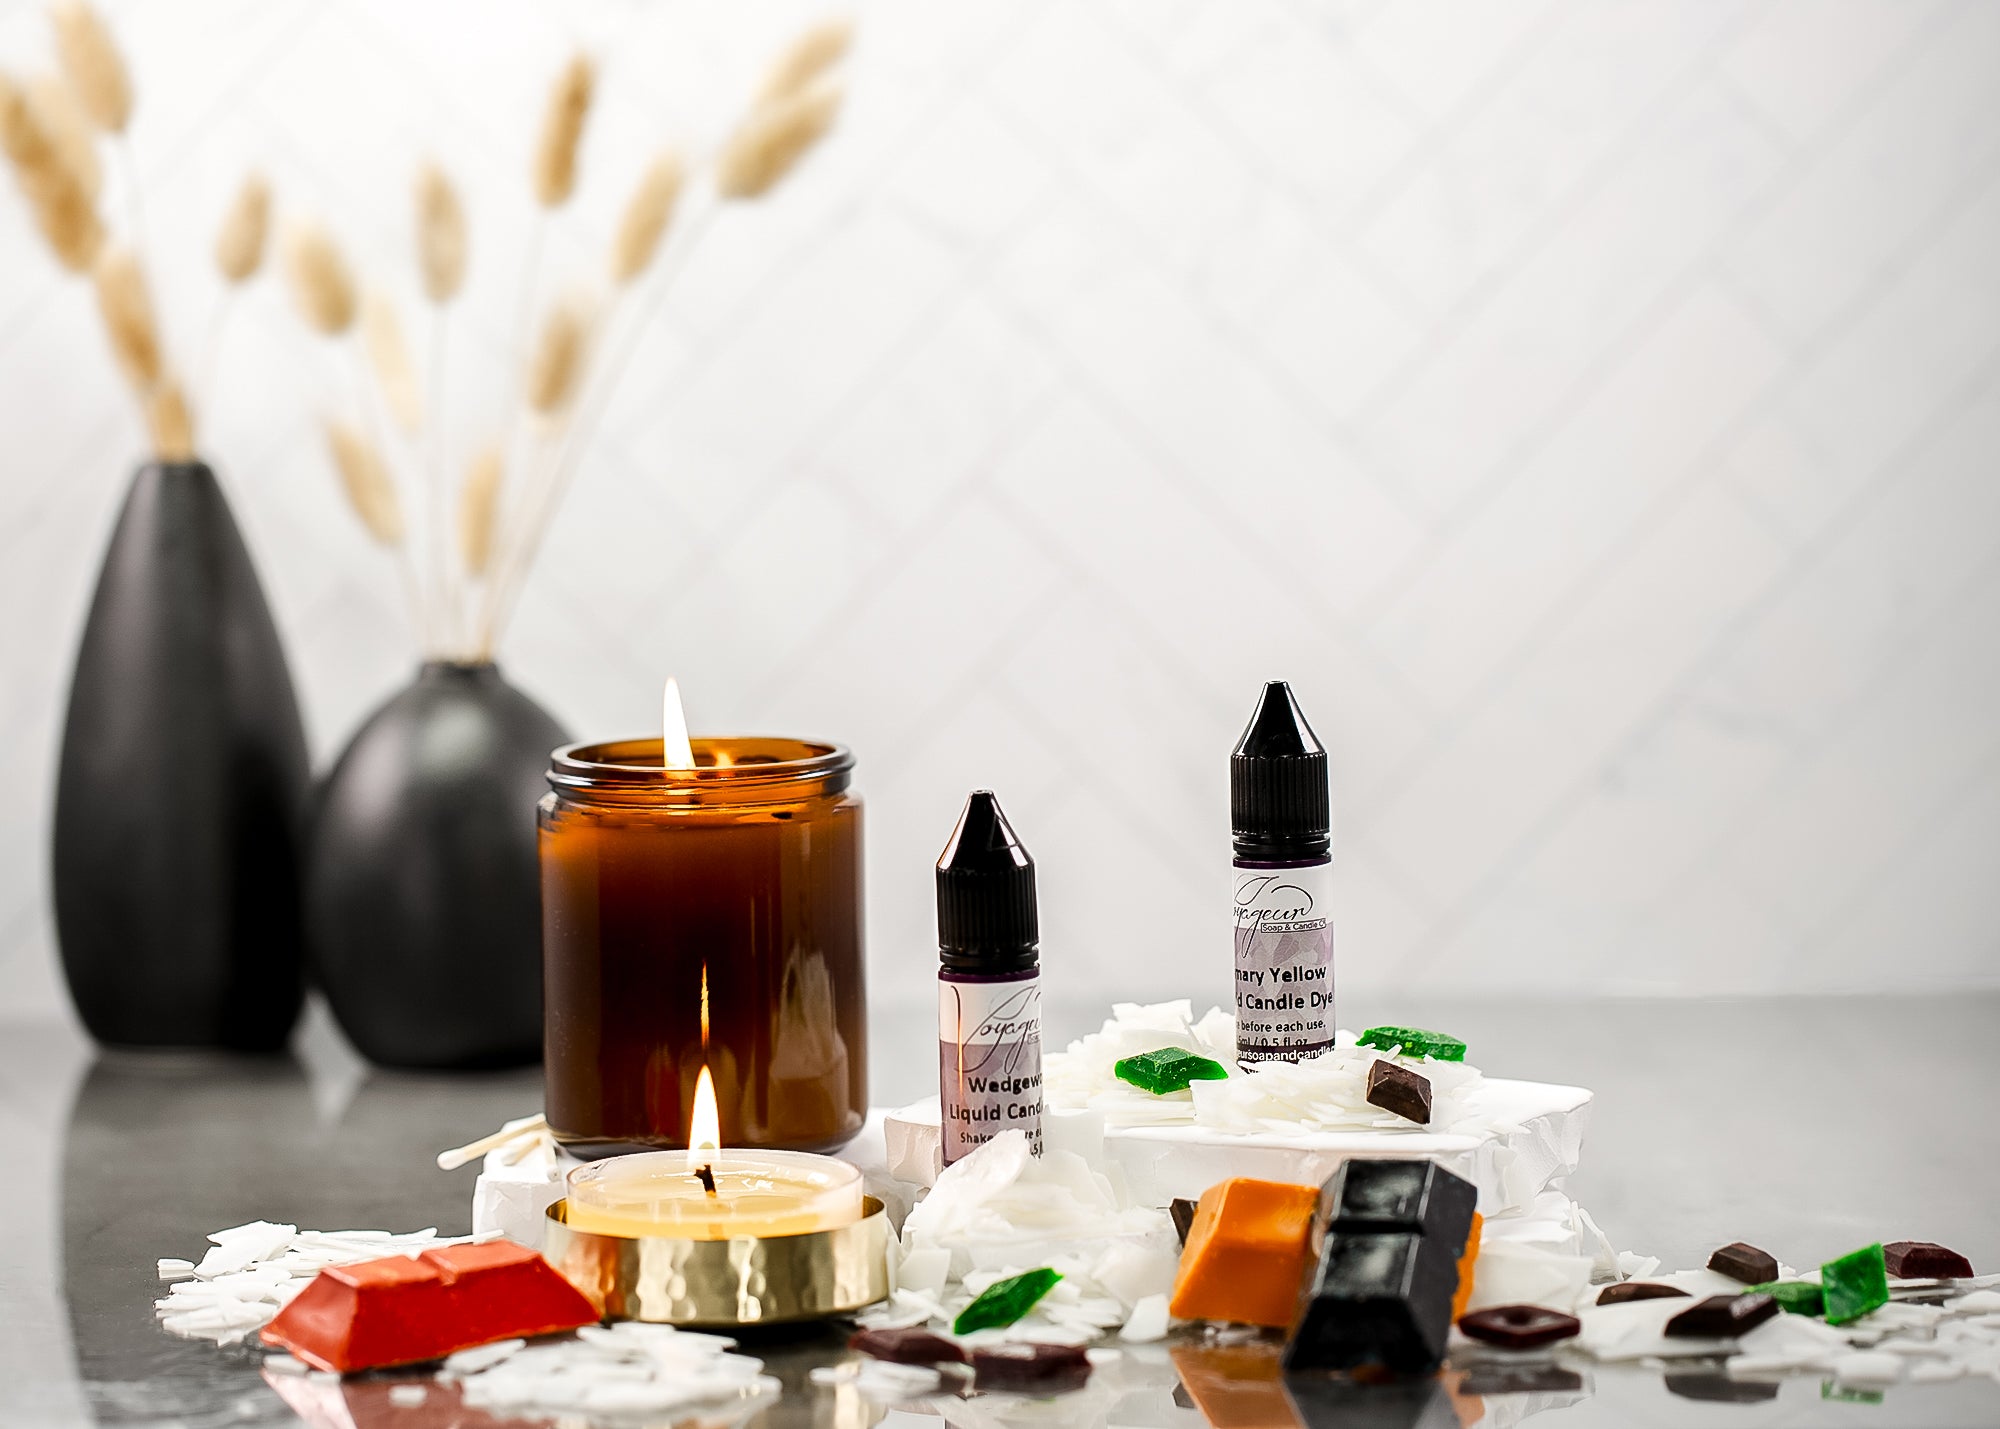
Recommended Ingredients:
(makes 1)
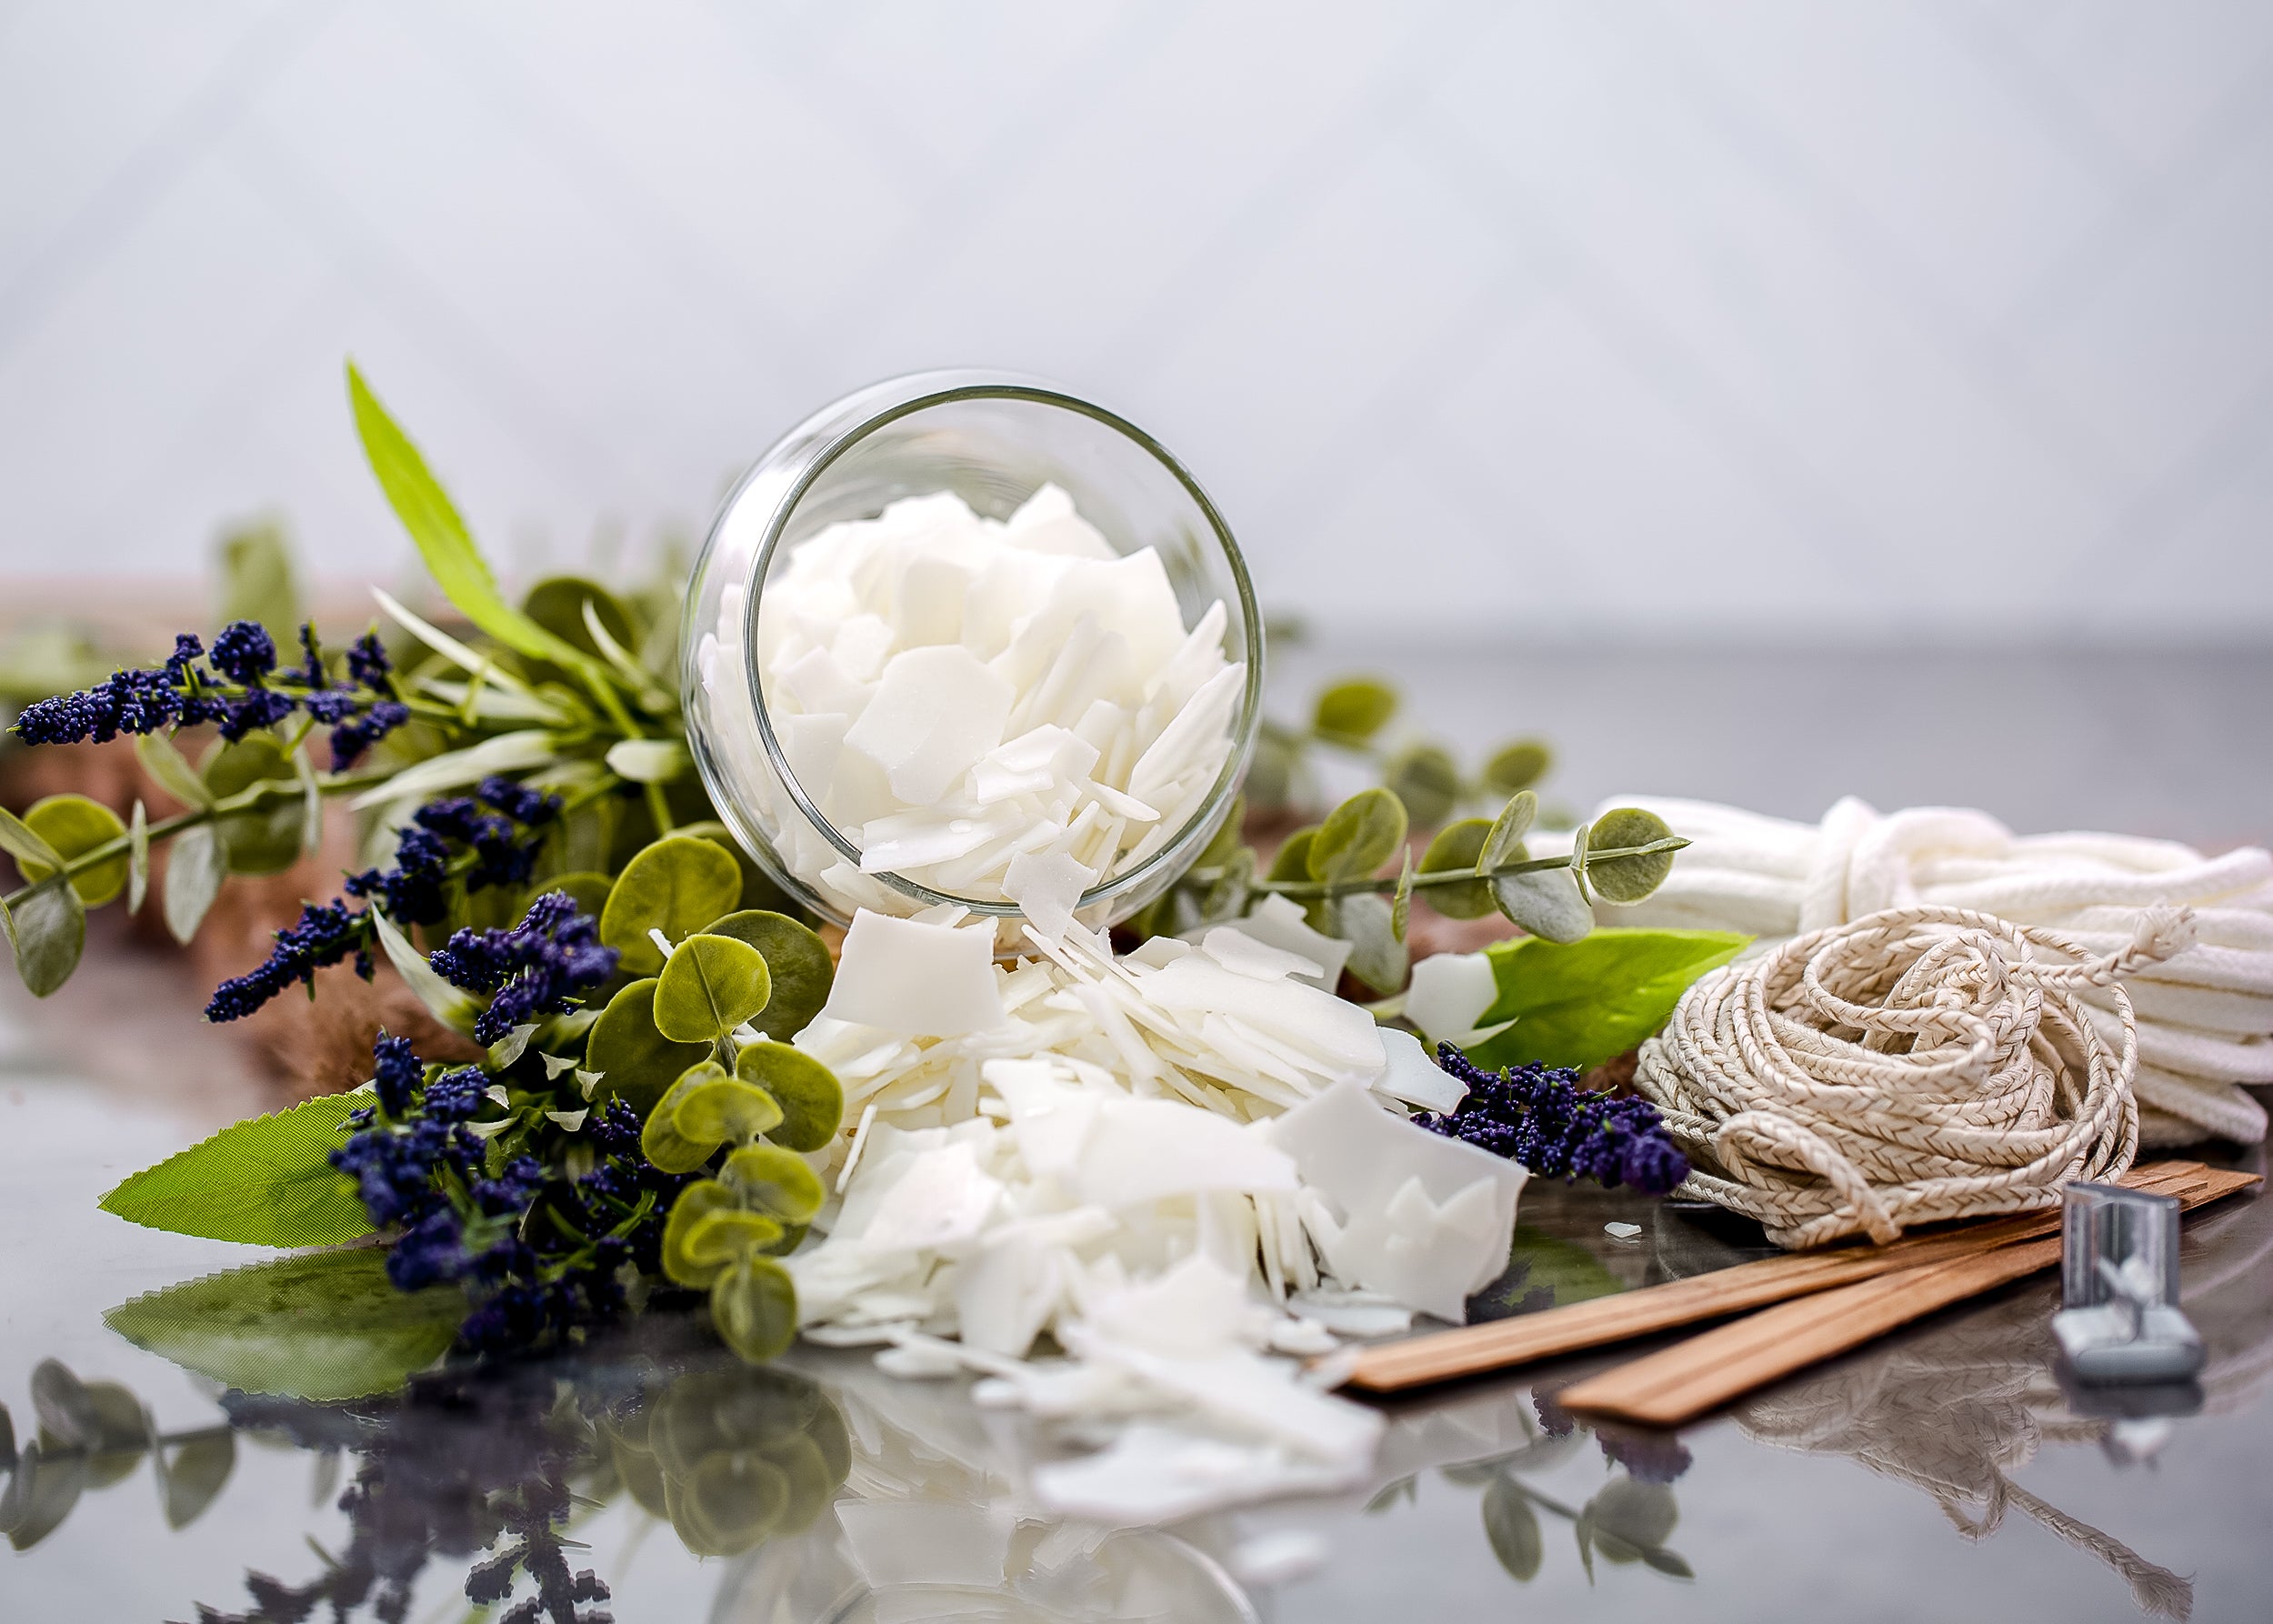
- 365g Golden Brands - GW 464 Soy Container Candle Wax
- 50g Blended Waxes - BW 911 Paraffin Pillar Wax Blend
- 16g Cookie Coma Fragrance Oil
- 20g Chocolate Fudge Fragrance Oil
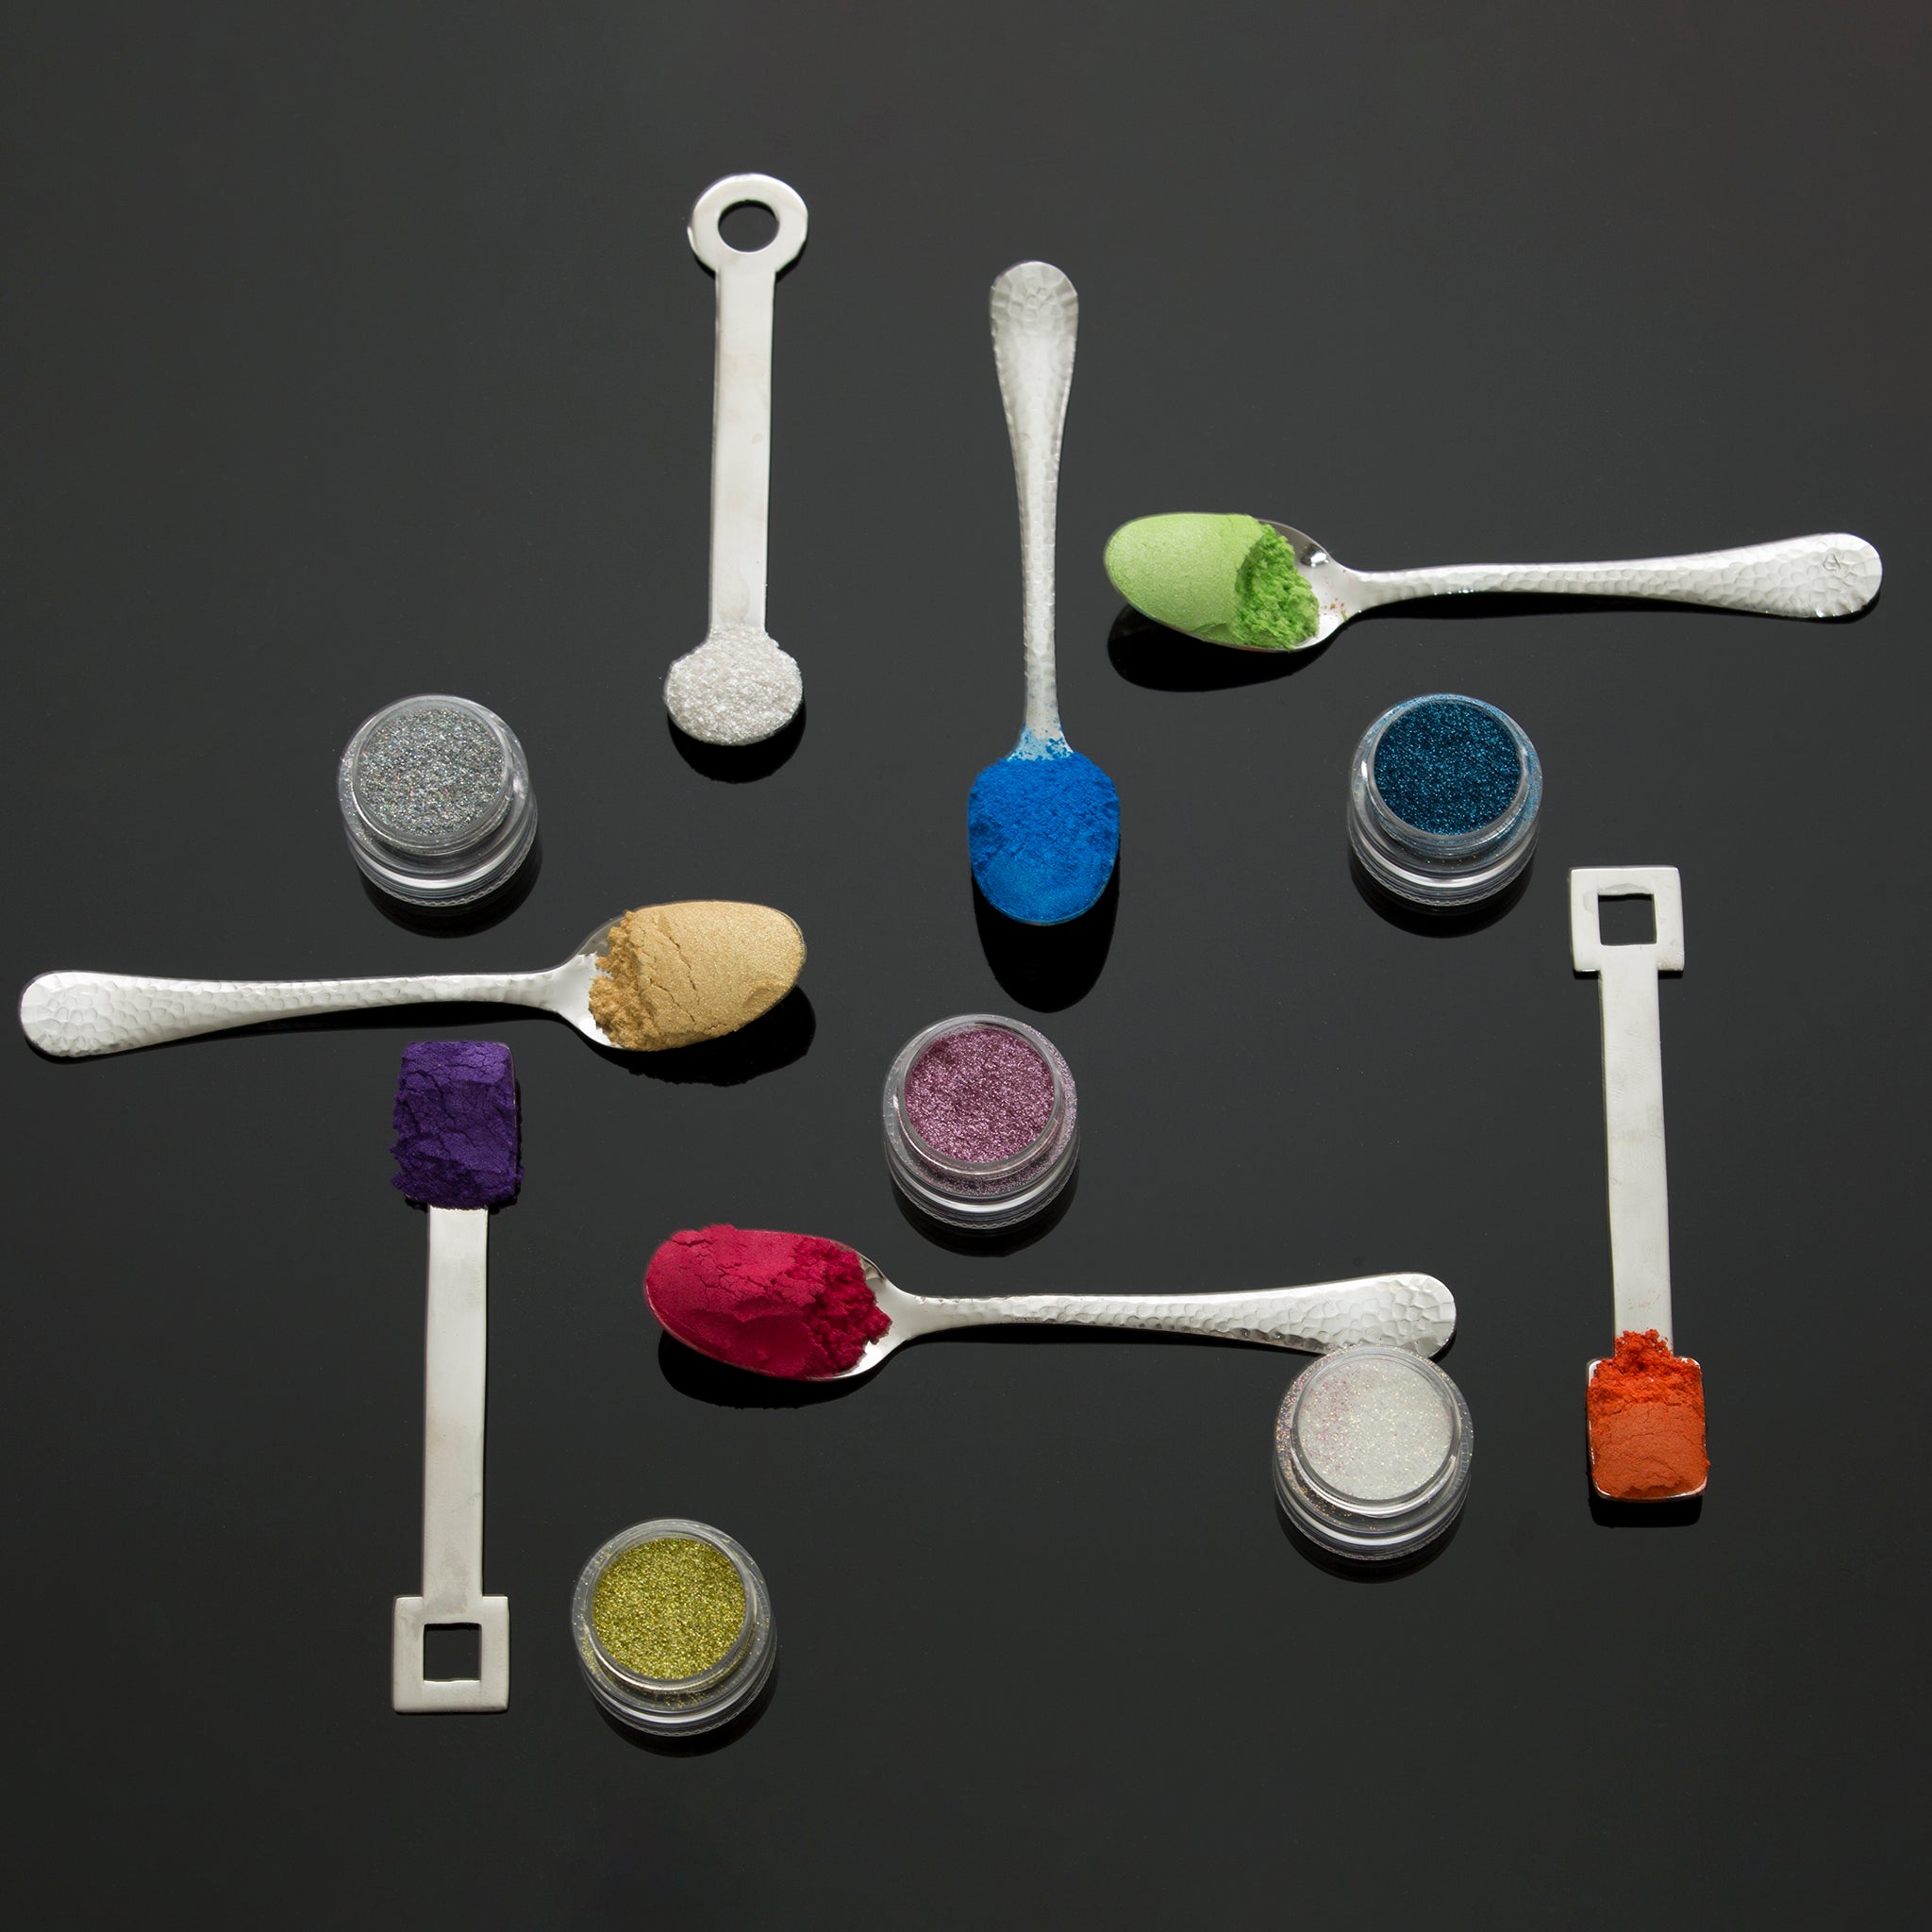
- 1x Reddig-Glo Diamond Dye Chip - Brown
- Liquid Candle Dye - Golden Honey
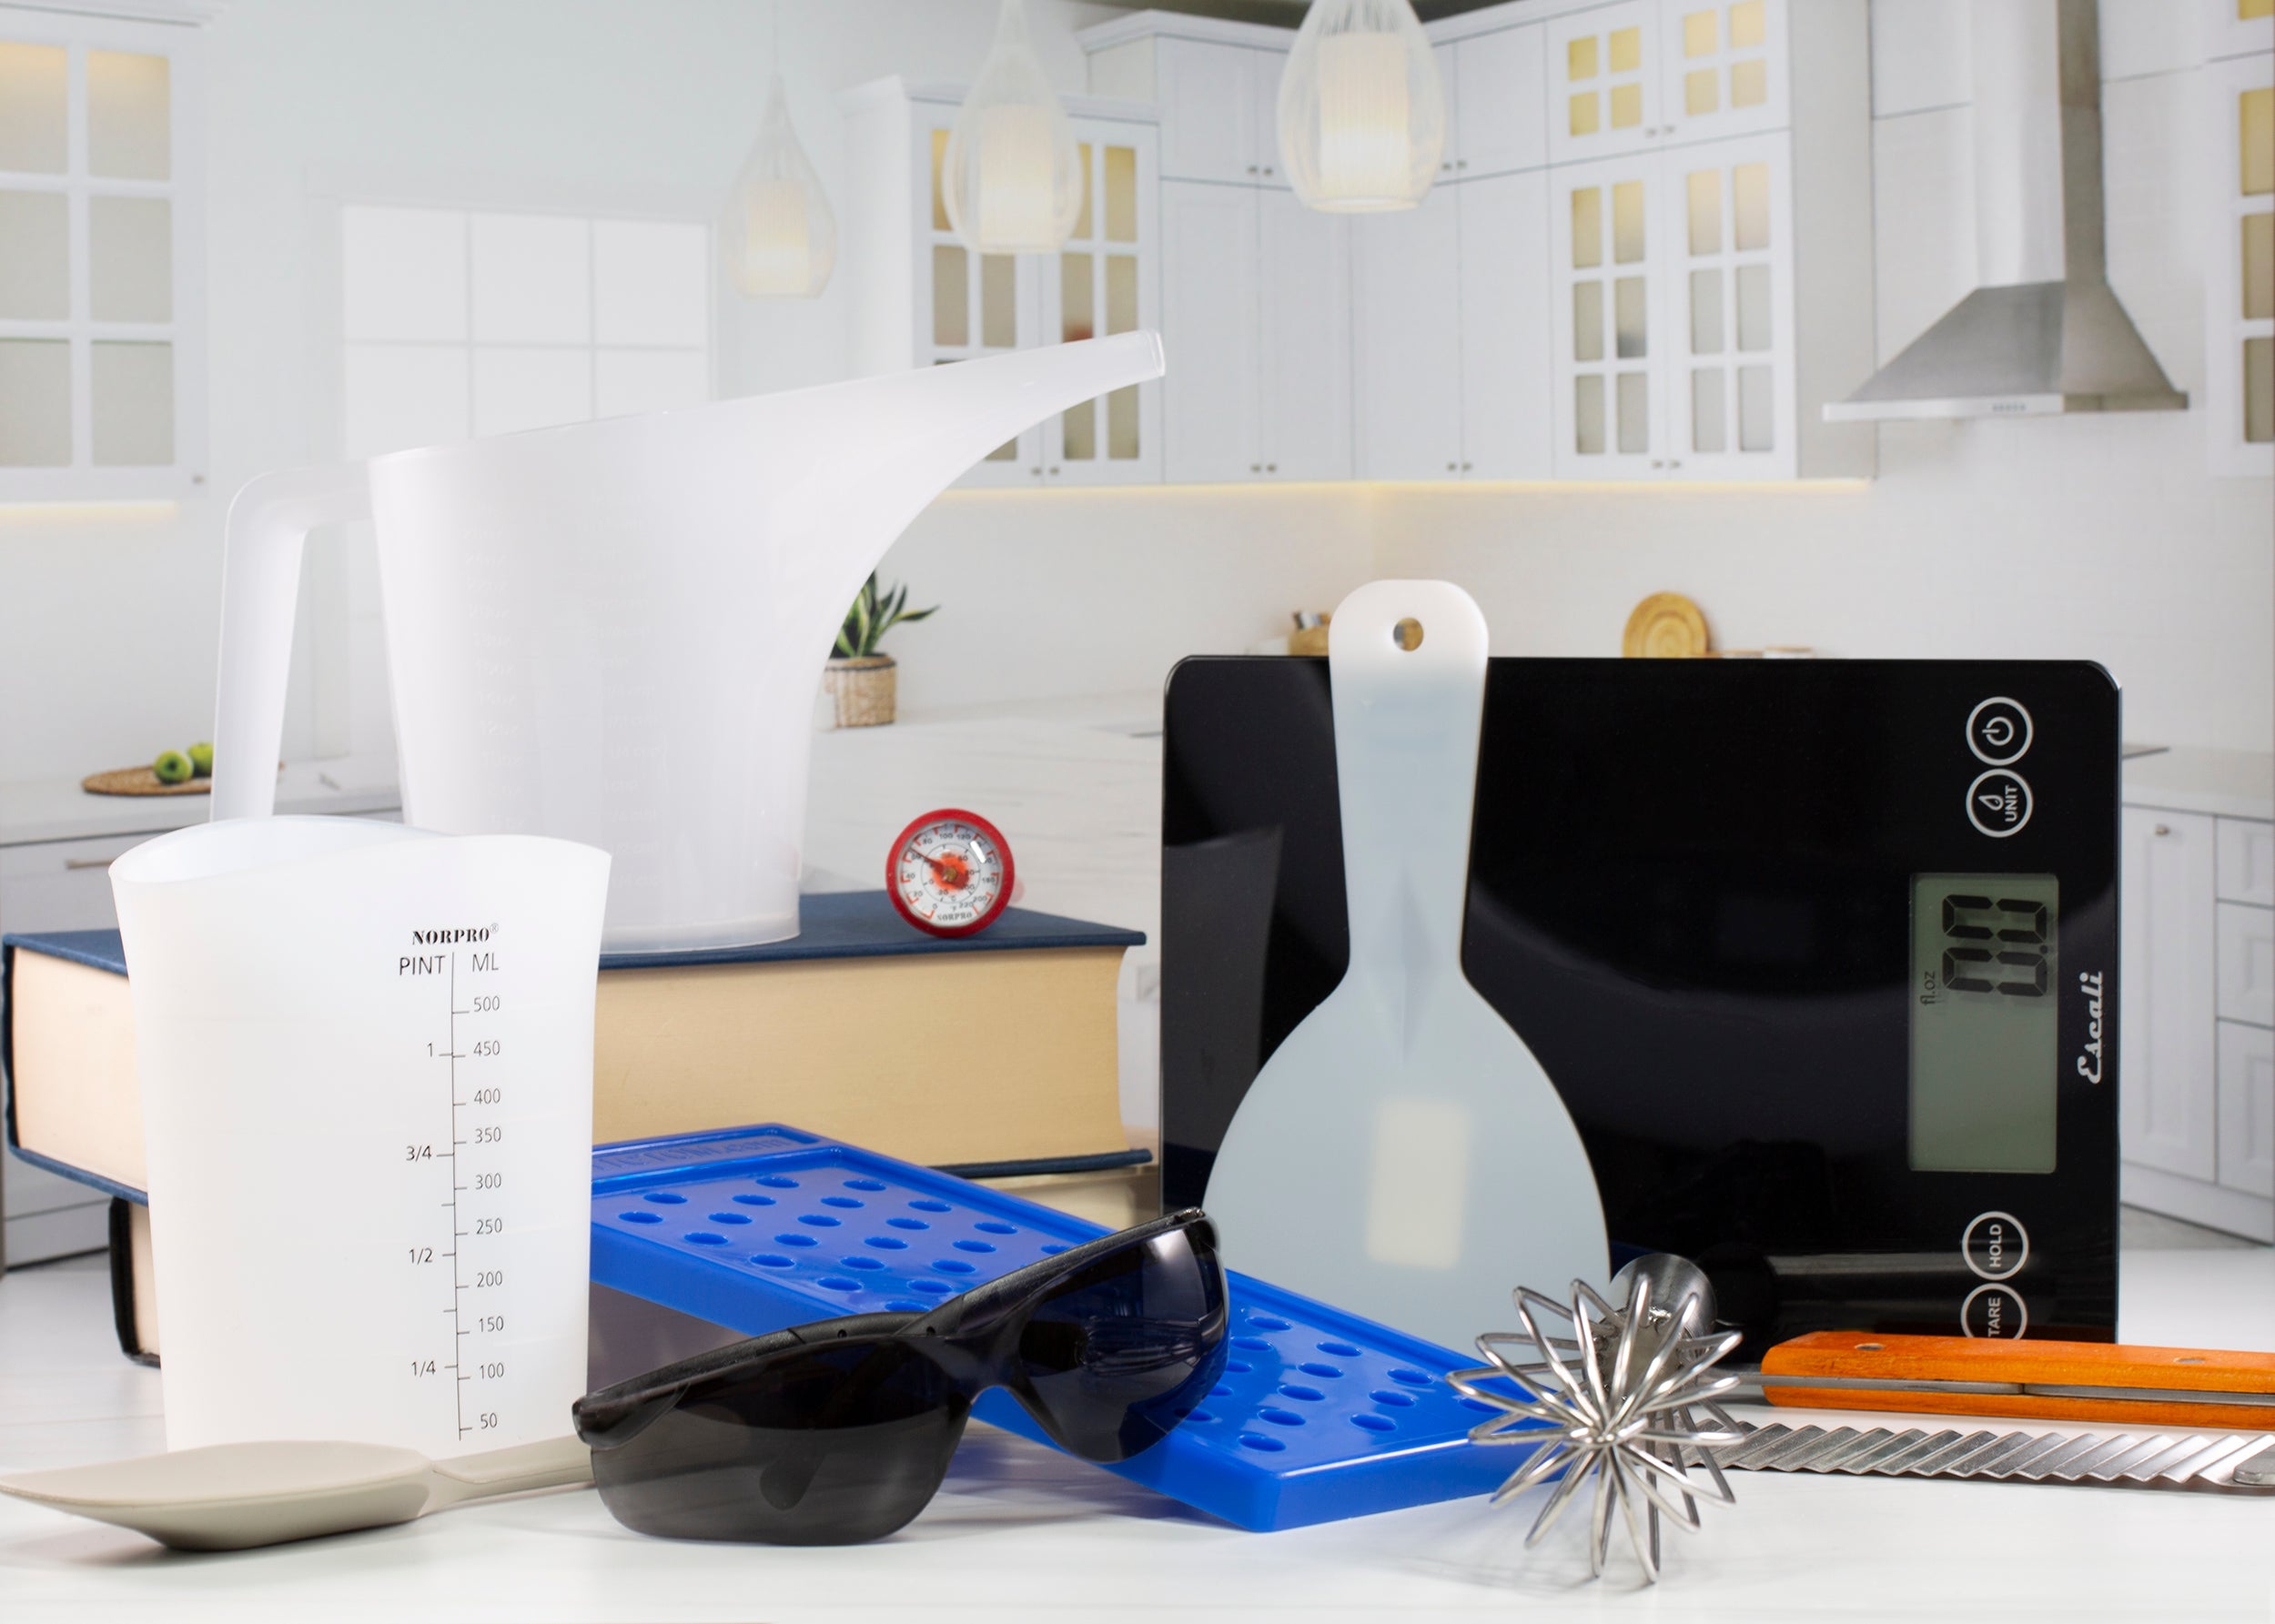
Recommended Utensils:
- 1x Chocolate Chip Cookie Silicone Mold - Single Cavity
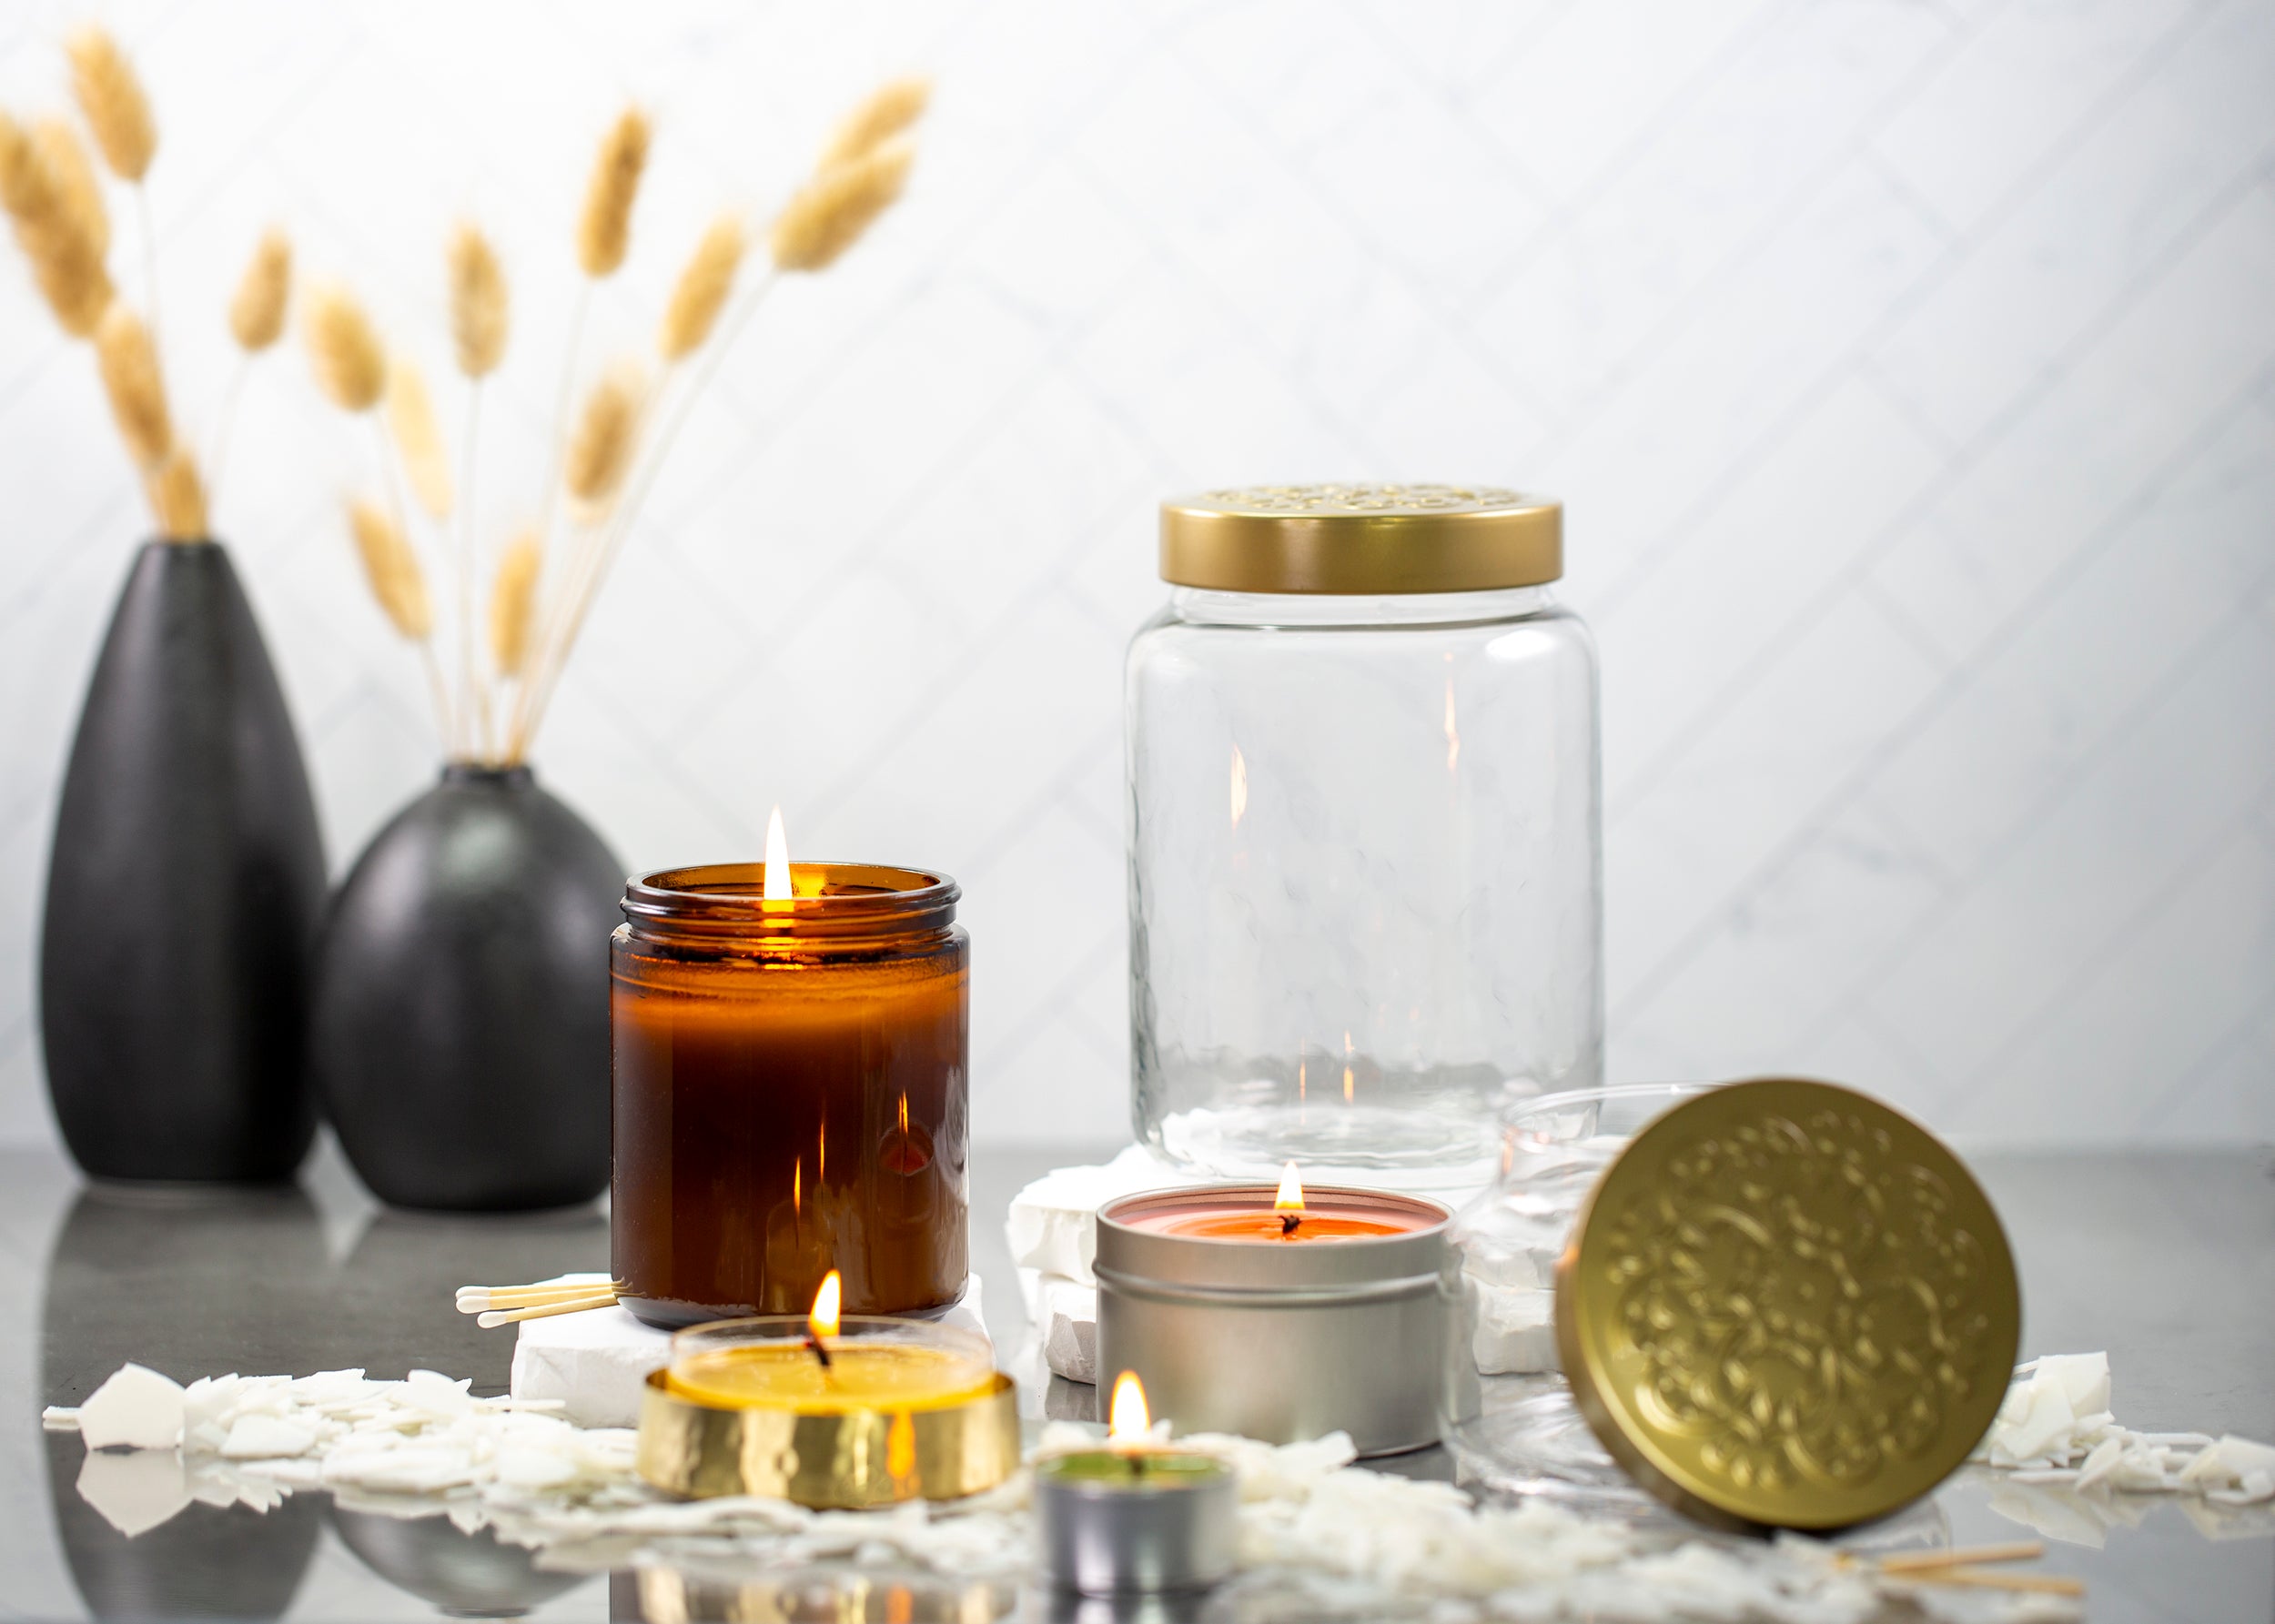
- 1x Clear round candle jar
- 2x Aluminum Pouring Pot 1 lb
- 1x ECO 14 Pre-tabbed Candle Wick 6” Height
- 1x Candle Glue Dot
- 30 ml Glass Tube Dropper
- 10 Piece Decorating Kit
- Double Boiler
- Knife
- Thermometer
- Scale
- Ceramic plate or baking sheet
- 2 x Sticks to support the wick
- 2 x Sticks to stir
- 1 x Candle Caution Label - 2" Diameter
- 1x small paper cup
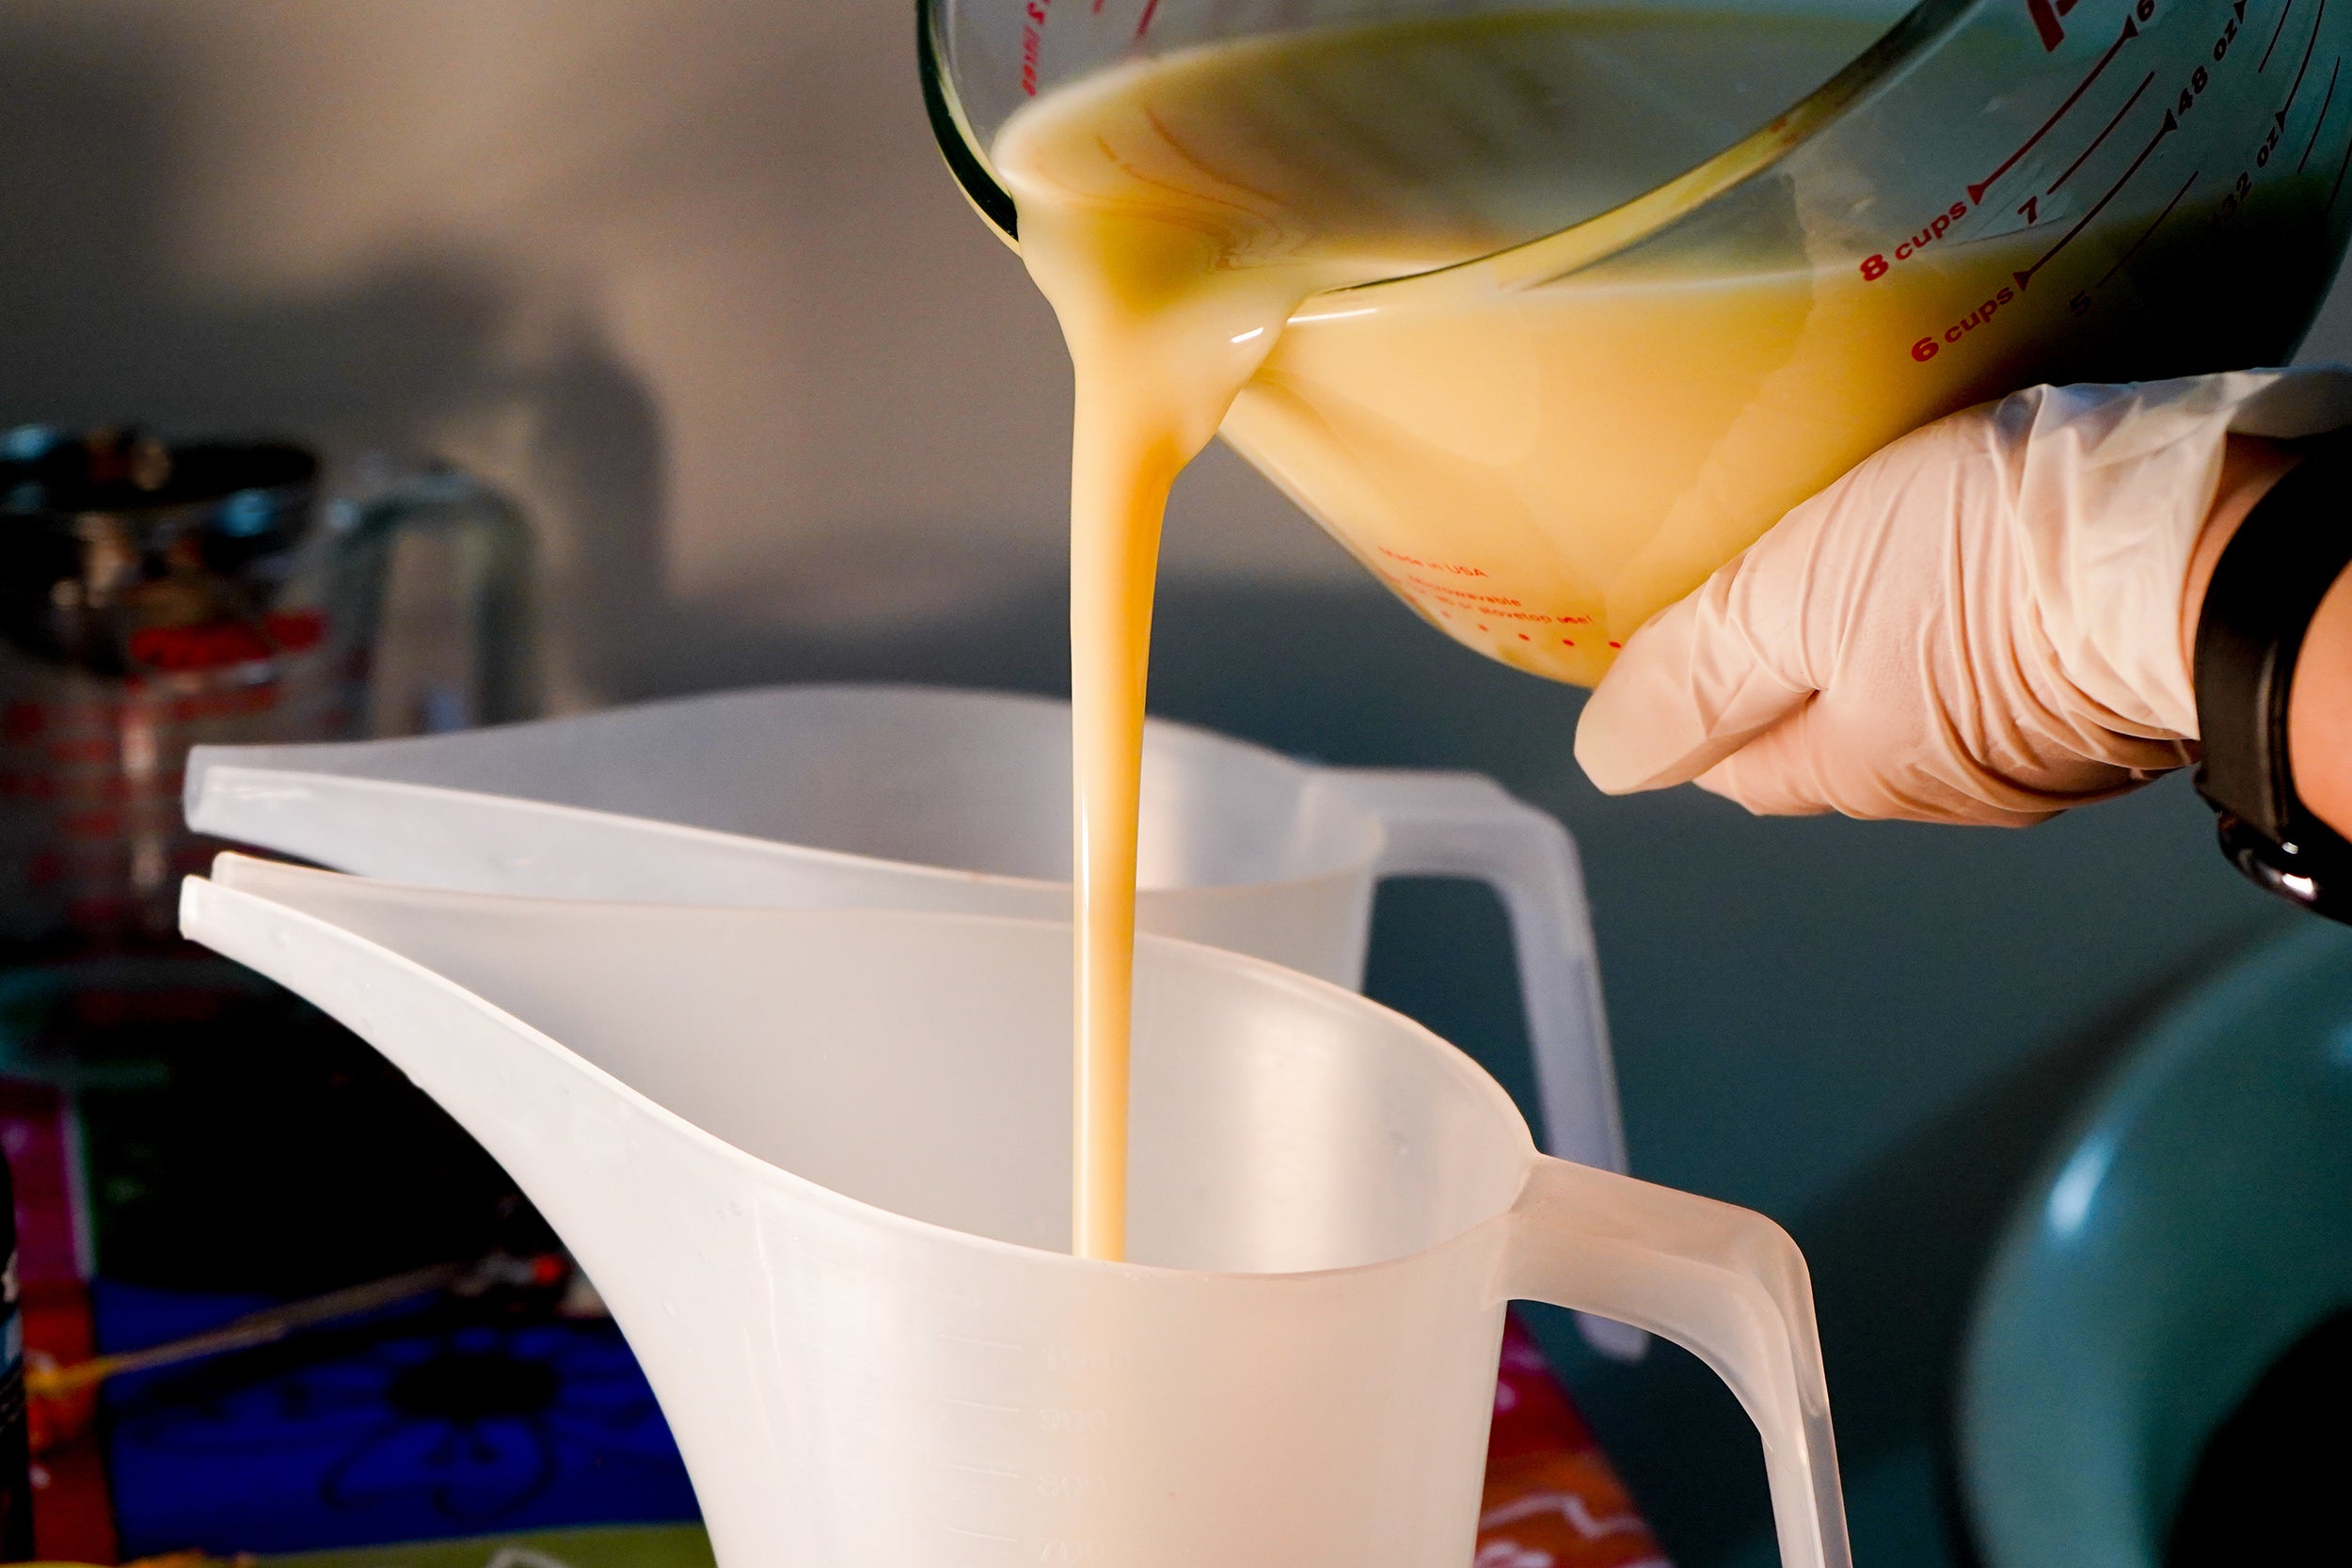
- Gloves
- Whisk or mini mixer
Directions:
- Step 1: Melt 464 Wax in a double boiler, meanwhile cut half a Brown Reddig-Glo Diamond chip into small pieces. Once the wax is melted, weigh out 200g and at a temperature of 185 F add the brown chip pieces into the wax, stir until they are fully dissolved.
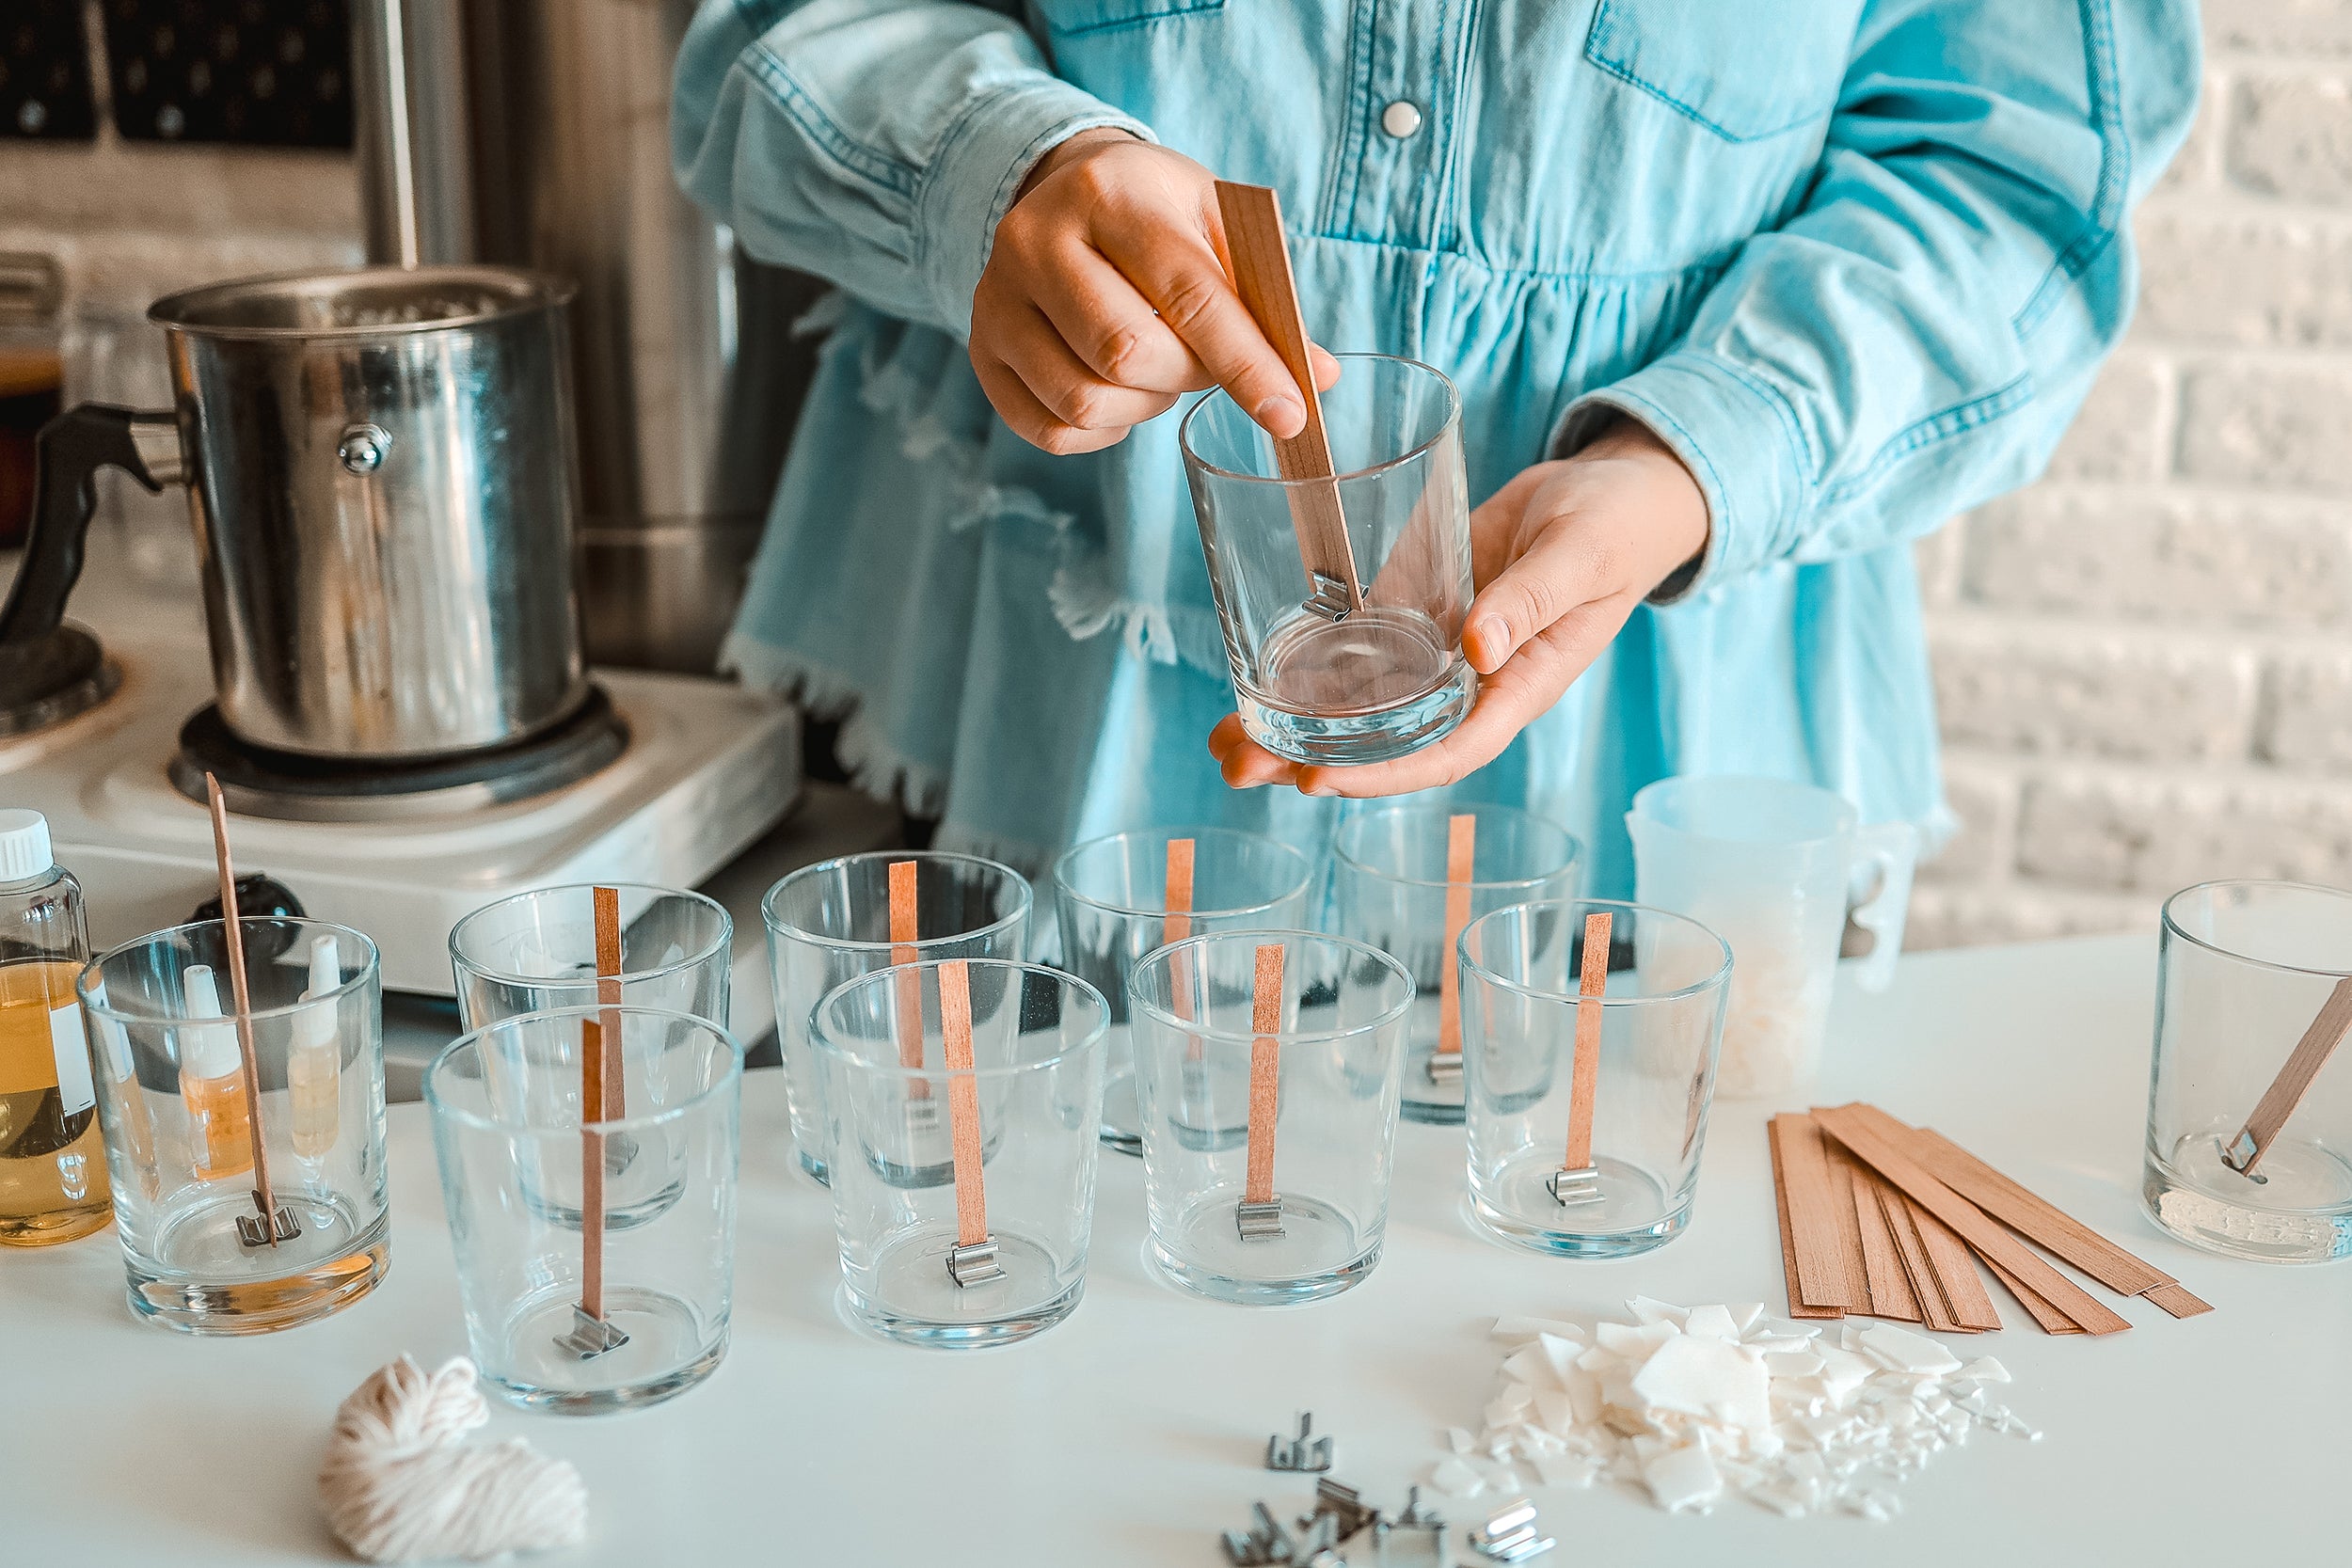
- Step 2: While waiting for the wax to cool a little , place the Glue Dot onto the wick tab on the bottom of the Eco14 wick, then center the wick in the middle of your jar and press down so the wick adheres to the jar.
- Step 3: When the wax reaches around 145F add 20g of Chocolate Fudge Fragrance Oil and gently stir.
- Step 4:Fill the jar about half way. Be sure to leave some extra wax for the next Step. Place 2 sticks to support the Wick so it will stay centered.
- Step 5: Pour the extra wax into a small cup, that way it's easier to fill it into the dropper. Immediately use the dropper suction to fill it with the wax . Then randomly place a few drops into your cookie mold, these will later look like chocolate chips.
- Step 6: If you have any extra wax pour it into an embed mold , we used a small chocolate bar shaped mold .
- Step 7: When the drops are hardened. Melt 15g of 464 Wax and add 1 drop of Golden Honey Liquid Candle dye and 1g of Cookie Coma Fragrance. Stir gently then pour into the cookie mold.
- Step 8: Once the Wax is fully set, remove the Cookie embed from the mold.
- Step 9: Melt 50g of 911 Paraffin Wax. At 185F add 3 drops of Golden Honey liquid candle dye and 0.5g of Cookie Coma Fragrance Oil. Pour onto a plate or baking sheet and let set for a few minutes, then begin to scrape it until crumbles are forming. Keep scraping with a stick or start using your fingers as the wax hardens to crumble the wax into even smaller pieces.
- Step 10: Weigh out 150g of melted 464 Wax, add 1 drop of Golden Honey Liquid dye and let cool to 145F. Now add 15g of Cookie Coma Fragrance. Stir well and then using a mixer or whisk start mixing the wax as it cools down. Until it gets thick enough to hold peaks.
- Step 11: Immediately fill Whipped Wax into a piping bag with the desired tip.(We used a 9 FT Tip) Then start piping into the candle jar in a circular motion.
- Step 12: Once happy with the pipped wax, add the Cookie (and mini chocolate bar ) as well as the cookie crumbles on top.
- Step 13: Trim or curl your wick. Let the Candle cure for at least 2 weeks. Before selling or gifting be sure to add one of our Candle Safety Stickers to the bottom of your Candle Creation.
Tips:
Candle Cooling:
Cool undisturbed candles at an ambient temperature of 70° F (21.1°C). The containers should be about 1/2 inch (1.3 cm) apart to allow air circulation for even cooling. The container should remain open during cooling for at least 24 hrs (large candles may require longer times). Slower cooling will encourage container adhesion while quicker cooling will encourage container pull away.. Candles should be allowed to sit undisturbed for 48 hours before test burning.
Test Burning:
Test burn the candle for burn pool diameter and quality after it has setup (cured or dried) for a minimum of 48 hours. Every combination of container, wax, dye, fragrances, and wick should be tested for burn quality.