Candy Corn is a great fall treat. Celebrate the season with Candy Corn inspired Popsicle Bath Bombs using our 3D Printed Ice Pop Mold. These bath bombs add a whimsical touch to bath time with soothing fizz and delightful aromas. Follow our guide for a fun, festive project that's as enjoyable to make as it is to use.
Click here to download the Step by Step PDF guide!
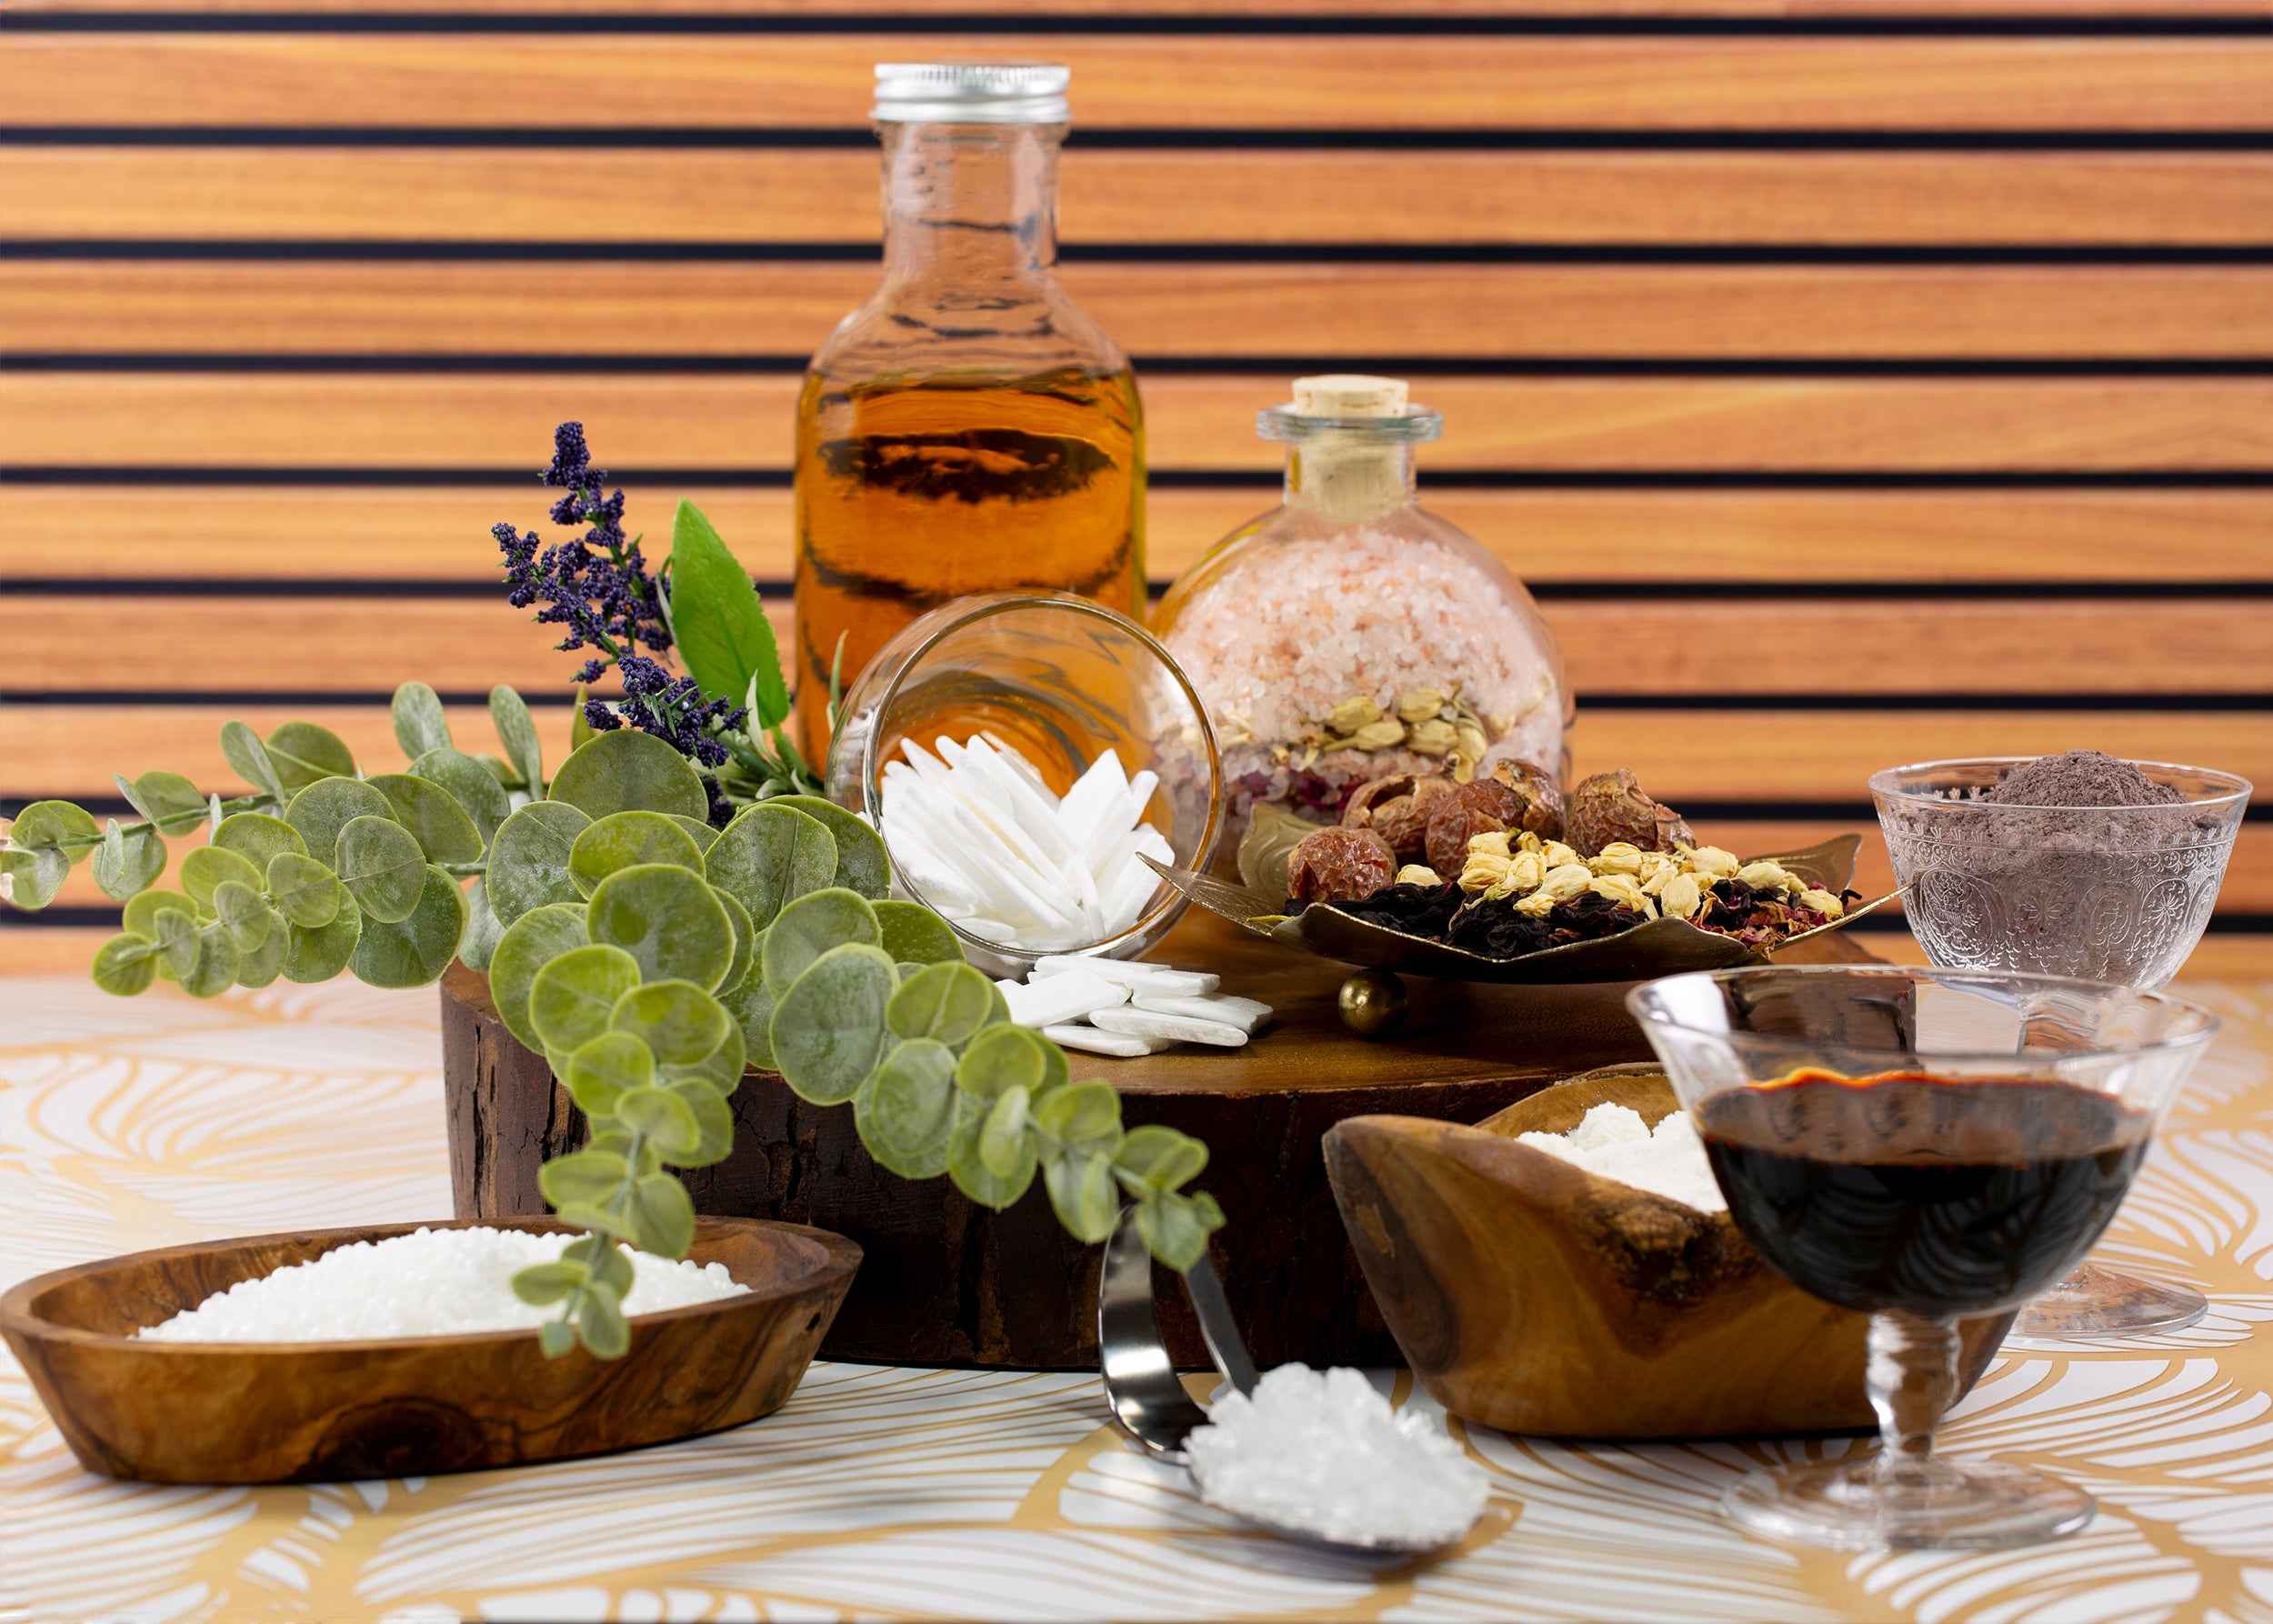
Recommended Ingredients:
Recipe (makes 5)
Dry Ingredients:
- 387g Baking Soda
- 226g Citric Acid
- 14g Cream of Tartar
- 14g Milk Powder
- 13g Cornstarch
- 10g Lathanol
- 1g Bath Bomb Yellow Powder
- 1g Bath Bomb Orange Powder
Wet Ingredients:
- 8g Avocado Oil
- 8g Polysorbate 80
- 10g Mystic Pear Fragrance Oil
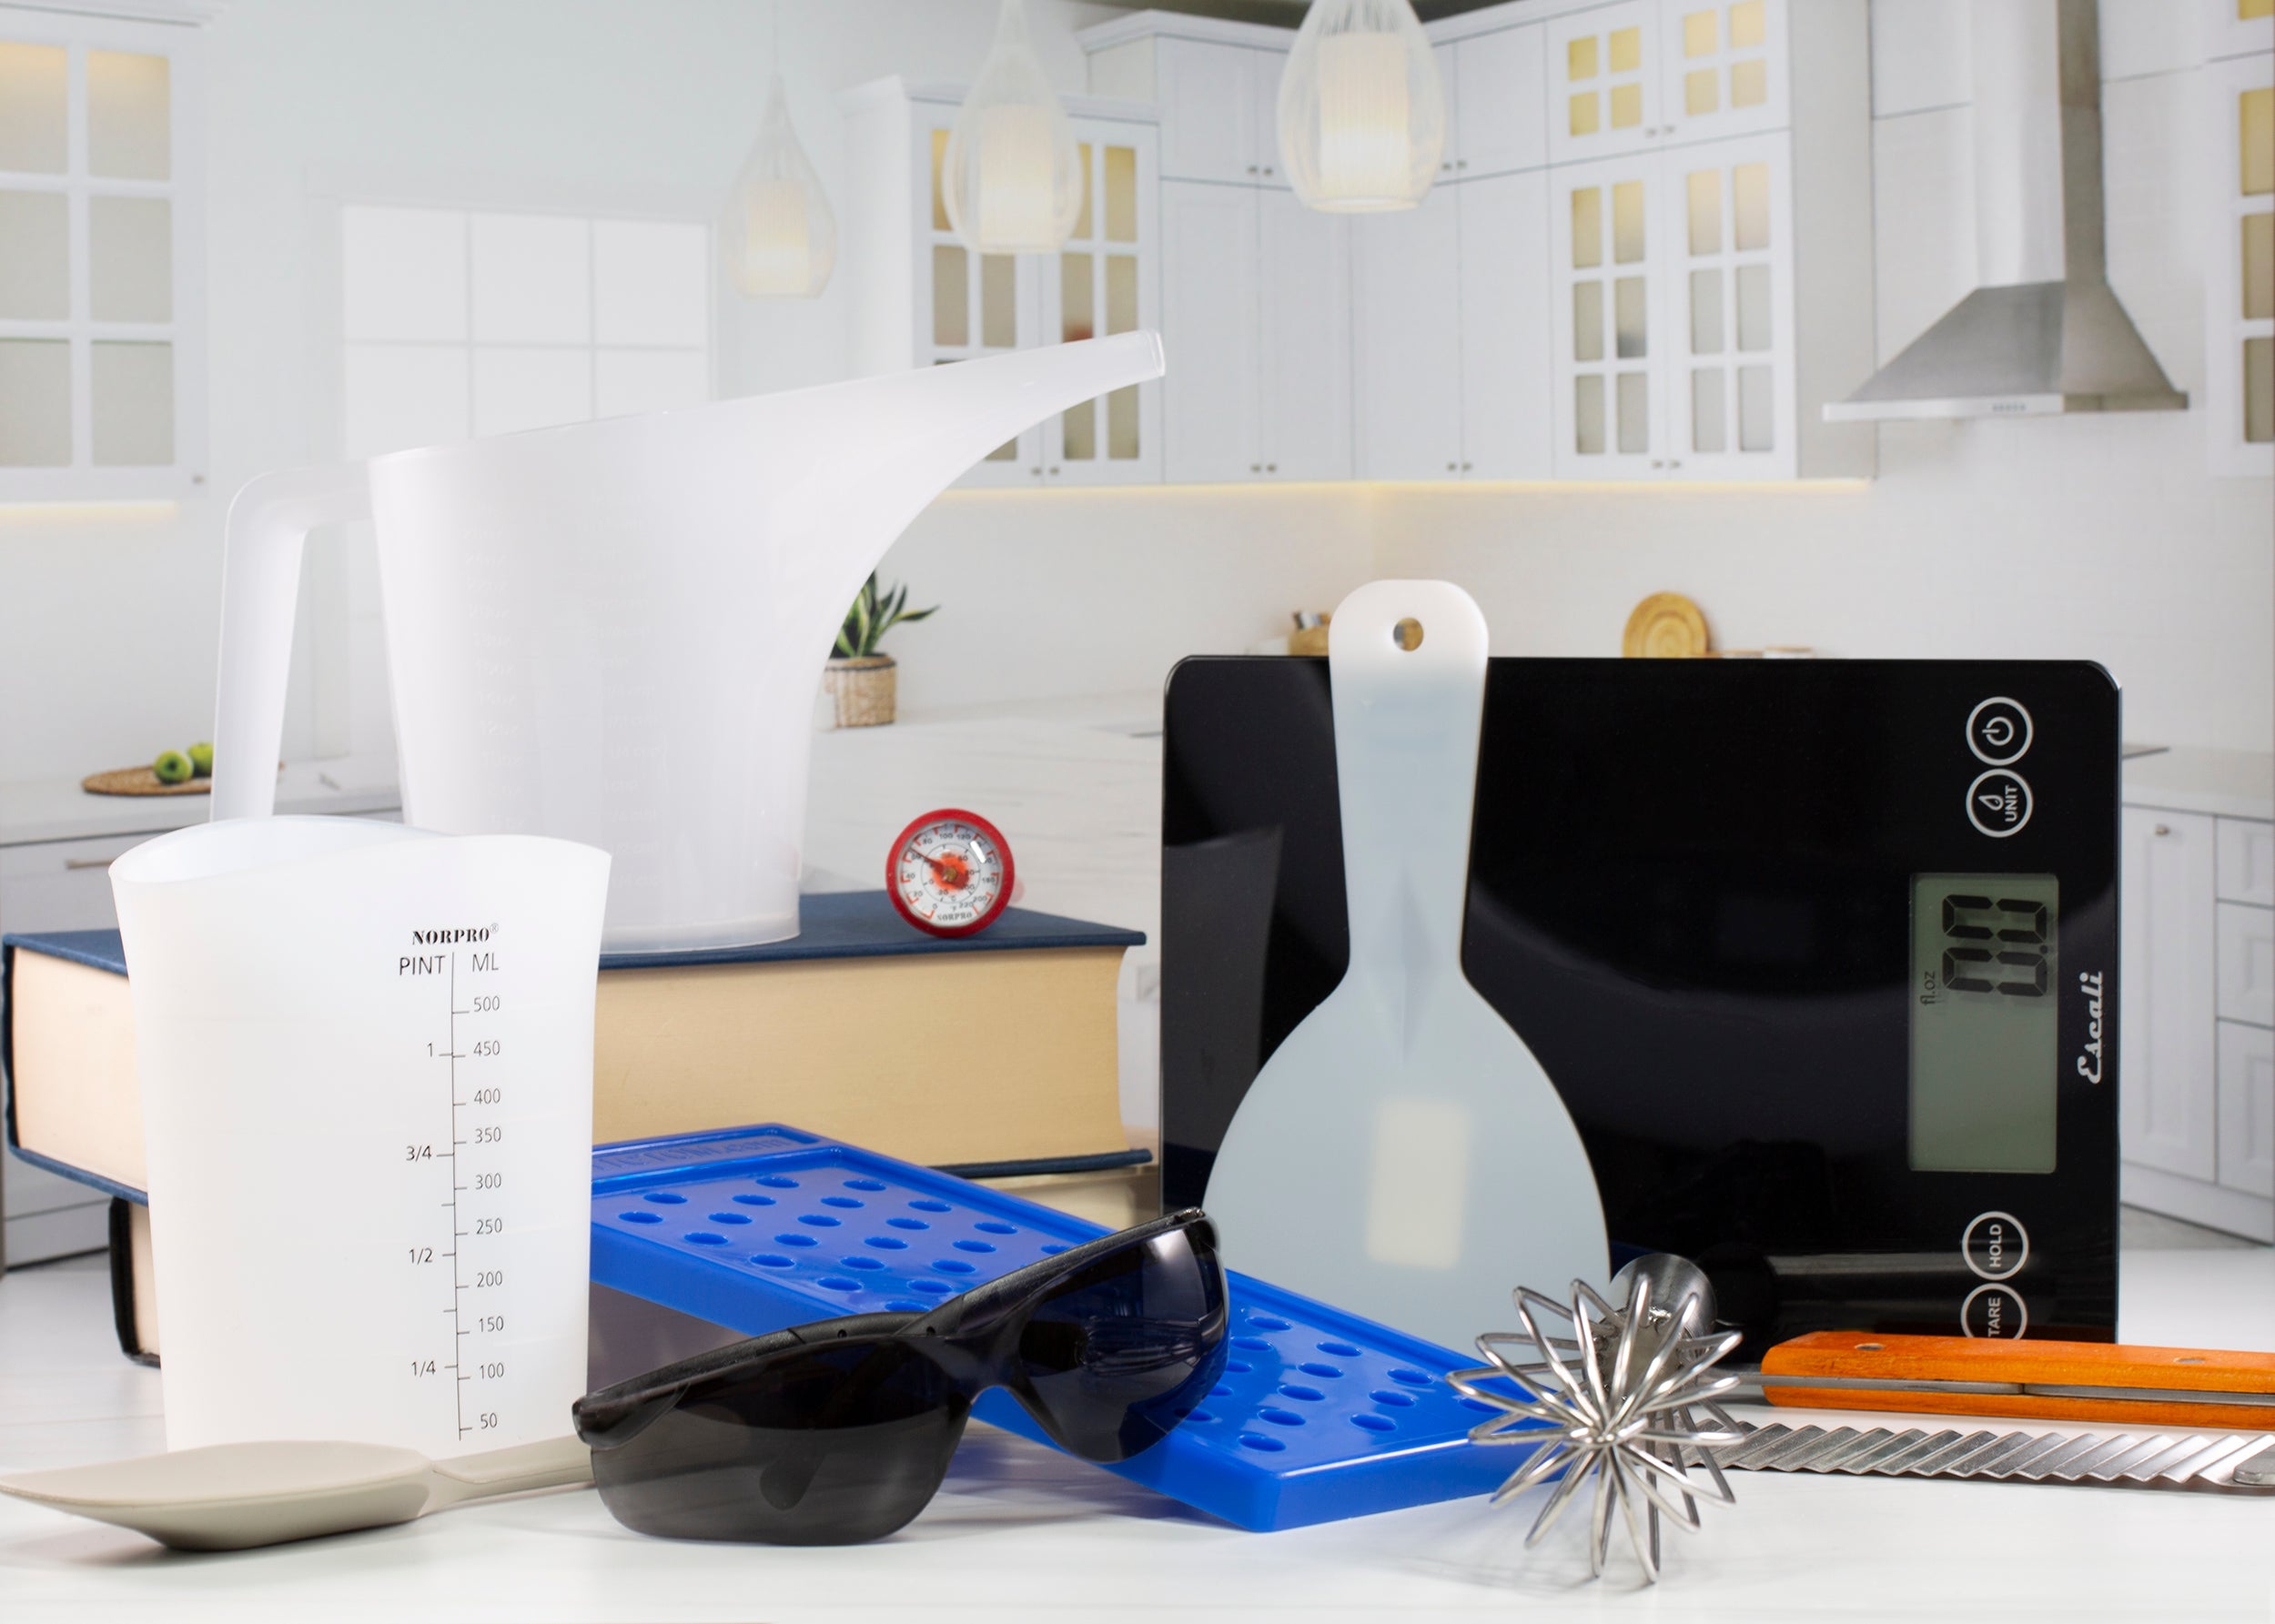
Recommended Utensils:
- 3x Mixing Bowls
- 1x small Bowl
- 1x Glass measuring Cup
- 5x regular sized wooden popsicle sticks
- Voyageur Ice Pop - 3D Printed Bath Bomb Mold
- Scale
- Sifter
- Metal Spoon
- Gloves
- Facemask(recommended)
Directions:
- Step 1: Weigh out and sift into a bowl the Baking Soda, Cornstarch, Lathanol, Cream of Tartar and Milk Powder(leave the Citric Acid out for now). Gently mix.
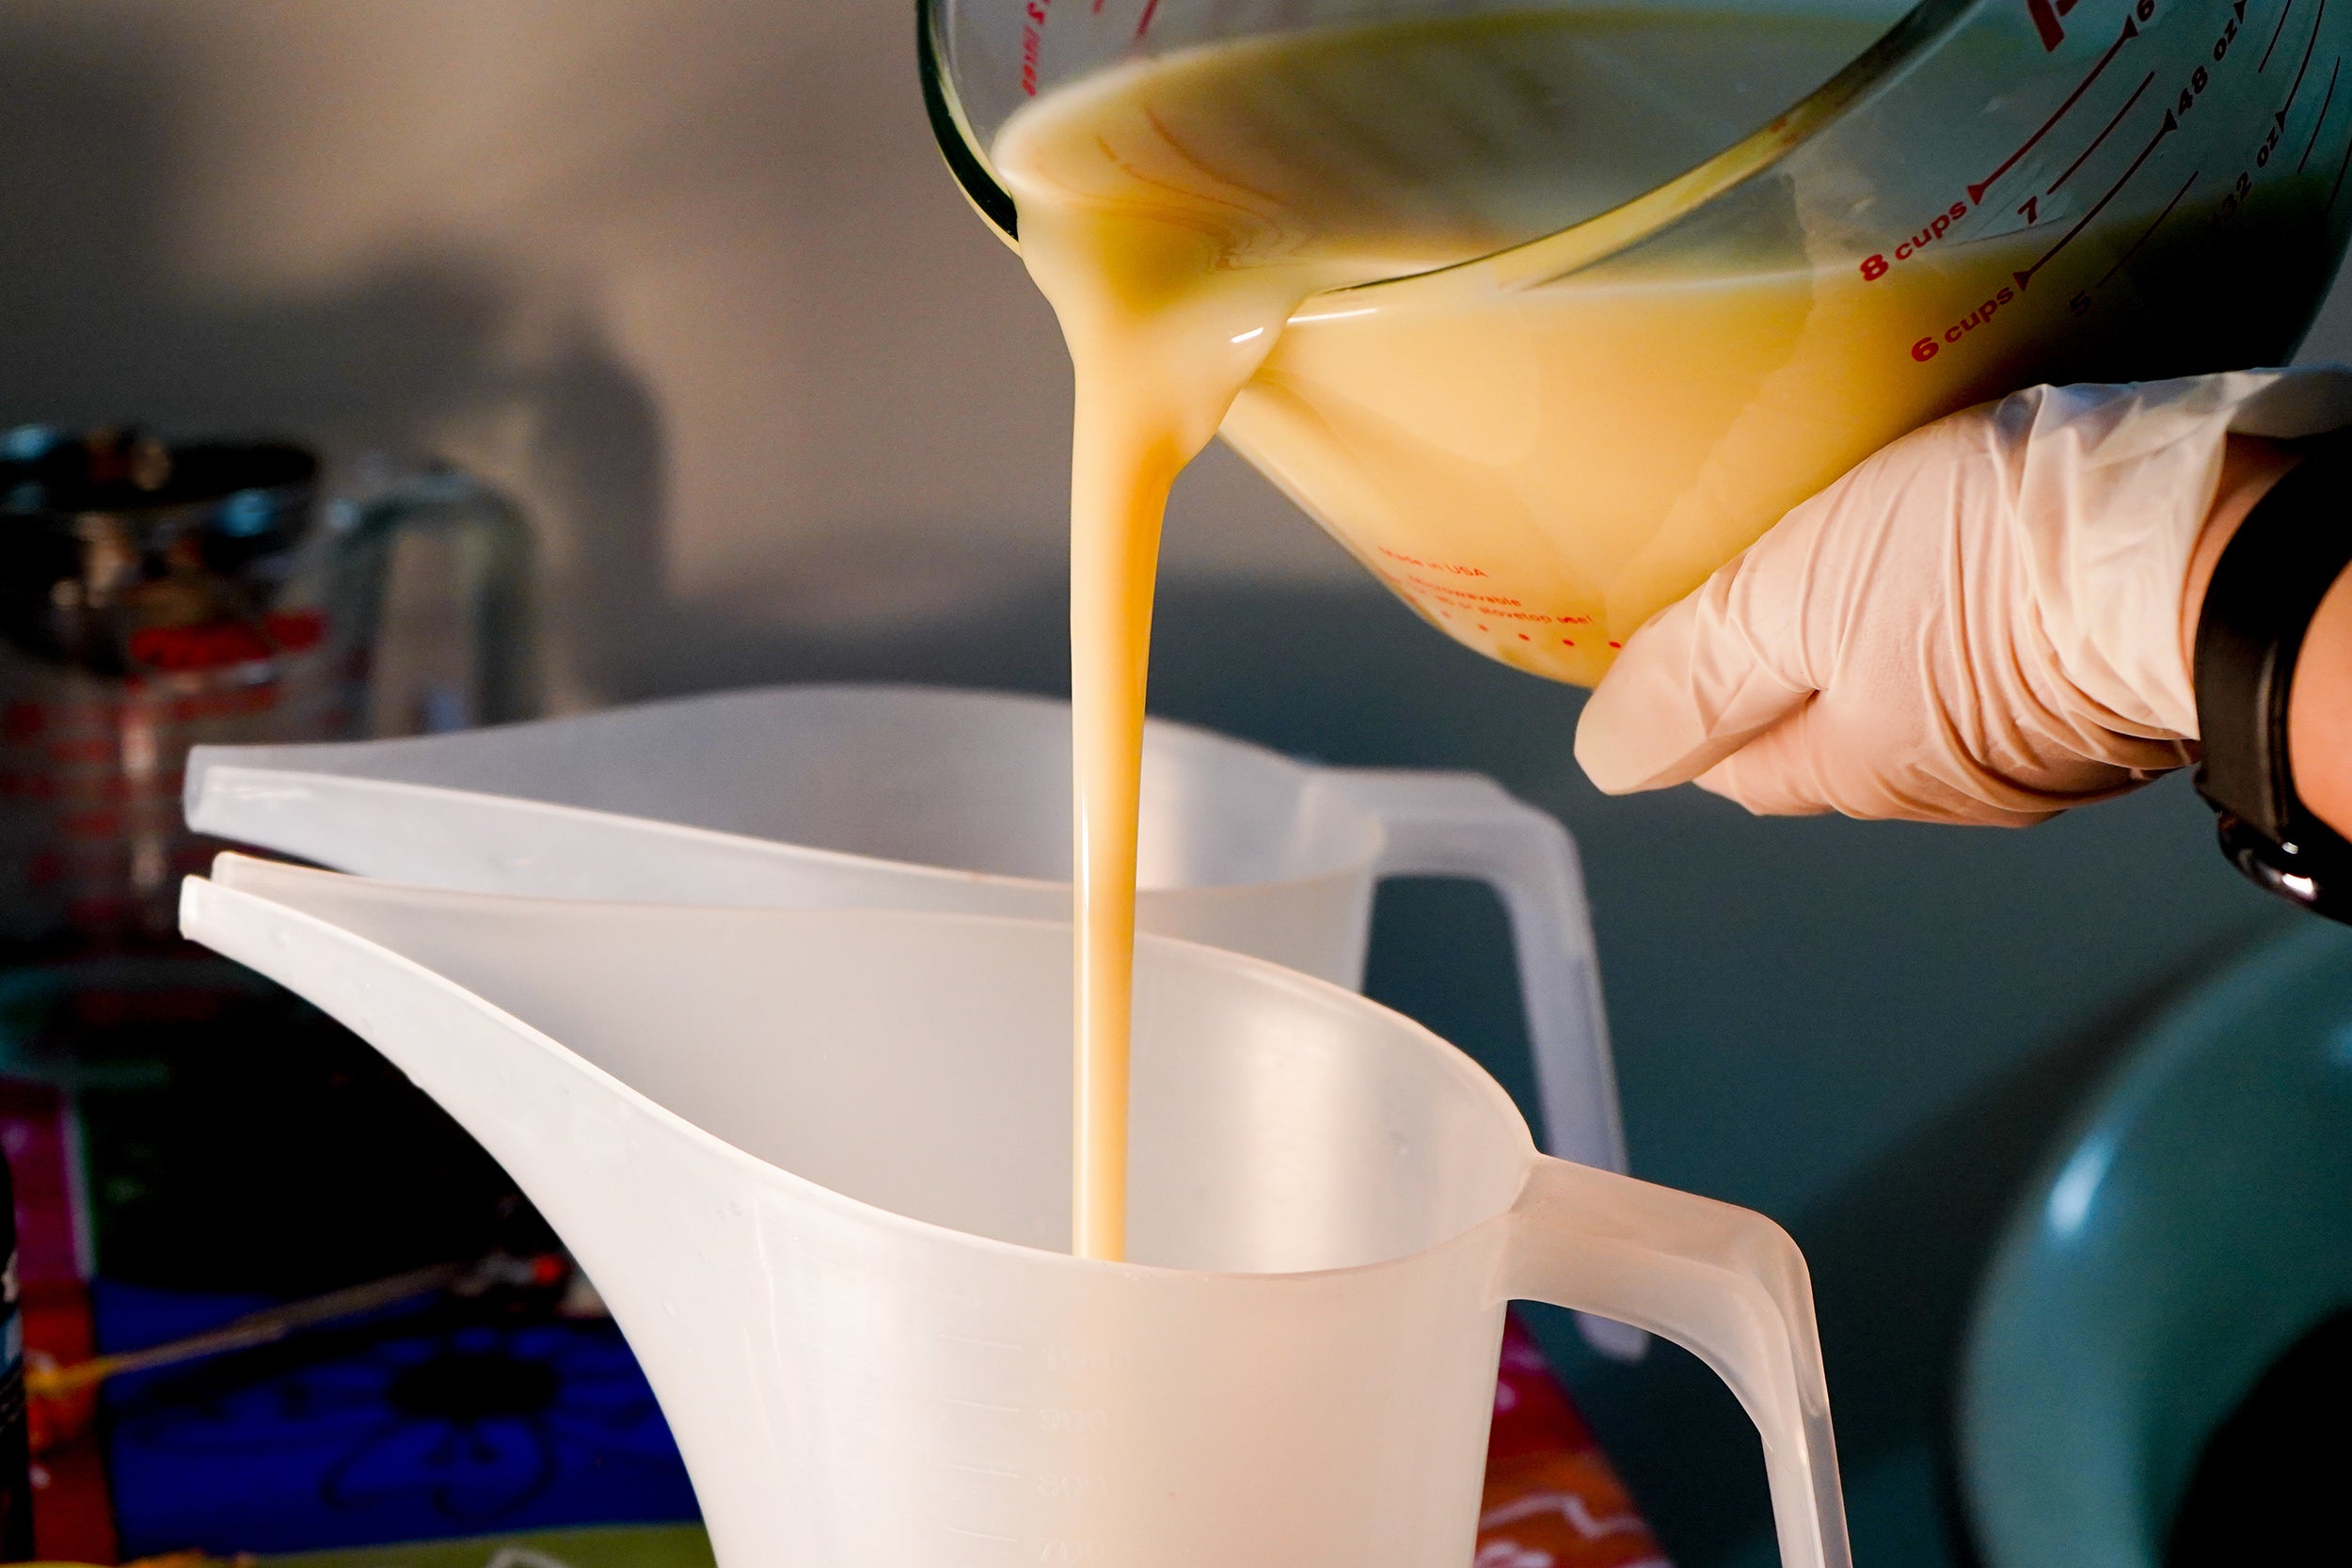
- Step 2: Weigh out in a mixing cup the Avocado Oil, Polysorbate 80 and Mystic Pear Fragrance Oil. Mix until combined, then pour the wet ingredients into the dry ingredients. Mix well.
- Step 3: Now add the Citric Acid and mix once again.
- Step 4: Split the mix into 3 equal parts .
- Step 5: Mix into one bowl the Bath Bomb Yellow Powder and into another bowl the Bath Bomb Orange Powder. Leave the third bowl natural. Test Bath Bomb mix by pushing some in your hand together and dropping into the bowl. If it sticks together without breaking It's ready to fill the mix into the mold. If it doesn't hold together add some water using a spray bottle until the mix holds together when dropping
- Step 6: Fill a small bowl with Cornstarch. Now using a spoon fill the mold with the cornstarch to coat it. Turn it around and hit with a spoon to release the cornstarch. Your mold should be light coated inside now which will help with the Bomb releasing easier especially when it has details. Repeat this with the other detailed side of the mold as well. And repeat this step after releasing each Bath Bomb as needed.
- Step 7: Place one side of the mold into the sleeve, then start filling the bottom of the mold with the yellow Bath Bomb mix. Try to make the line as straight as possible to perfectly resemble the Candy Corn candy.
- Step 8: Now fill the orange colored Bath Bomb mix into the mold. Again try to keep it in a straight line.
- Step 9: Lastly fill the rest of the mold with the white Bath Bomb mix.
- Step 10: Once you have filled the sleeve , use the top piece of the mold and place on top. Now push down on the top part of the mold either in your hands or on a table to form the Bath Bomb.
- Step 11: This will cause a bit of a suction between mold and Bath Bomb which you can easily break by tapping the back of a metal spoon against the mold.
- Step 12: Once you tapped a few times against all sides, place mold on the table and push the sleeve up.
- Step 13: Remove the sleeve and brush with your thumb or index finger around the exposed ring of the bath bomb to smoothen it out.
- Step 14: Securely hold the mold together as you push the popsicle stick through the opening at the bottom of the assembled mold.
- Step 15: Gently tap with the spoon on the side of the top mold to release the suction.
- Step 16: Release the Bath Bomb by carefully pulling the mold piece straight up.
- Step 17: While gently holding the exposed part of the Bath Bomb, turn it upside down and place on a flat surface. Carefully tap the mold with the metal spoon to release the suction, then pull the mold diagonally upward to release your finished Bath Bomb.
- Step 18: Repeat the entire process until all the mix is used up. Now allow your Bath Bombs to dry for at least 24h , do not pick it up , especially by grabbing the wooden popsicle stick until it has fully hardened. If there is a white film on the Bath Bombs from the Cornstarch coating on the mold , just spray your Bath Bomb with the 99% Isopropyl Alcohol and the film will disappear.
Humidity
Humidity can cause Bath Bomb mix to become tricky. We prefer working with this recipe between 30% to 50% humidity.
We also found that adding clay to the recipe can help at a higher humidity.If the mix activates , try adding a little bit of clay .
This recipe was tested at 46% humidity in a room temperature of 28.6 degrees. We highly recommend working in a space with a humidifier.
If for some reason the Bath Bombs do crumble , do not throw out the mix(or any leftovers from making Bath Bombs, rather package it and sell it as a Bath Bomb powder).
Caring for your 3d printed Bath Bomb molds:
Do not submerge in water , as water can get trapped inside the plastic , causing Bath Bombs to activate upon making. You may wipe the mold with cold water and paper towel if needed, hot water can deform the plastic. Do not place it in a dishwasher!
If the mold was submerged in water accidentally , place it on a metal drying tray for at least 24h, to be sure the water fully evaporated from all sides.


